Administrators can easily add and publish resources in the Cast Editor.
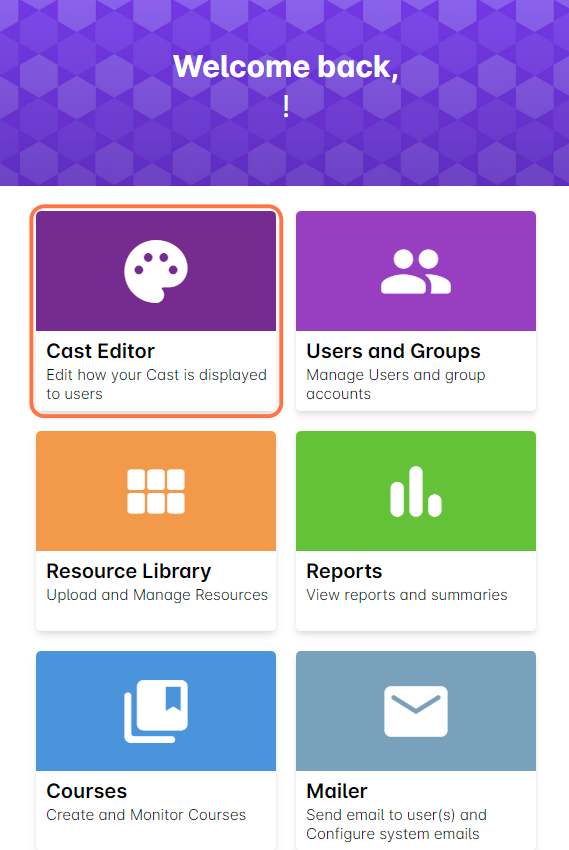
1. Navigate to the Cast Editor by clicking on it from the Admin dashboard.
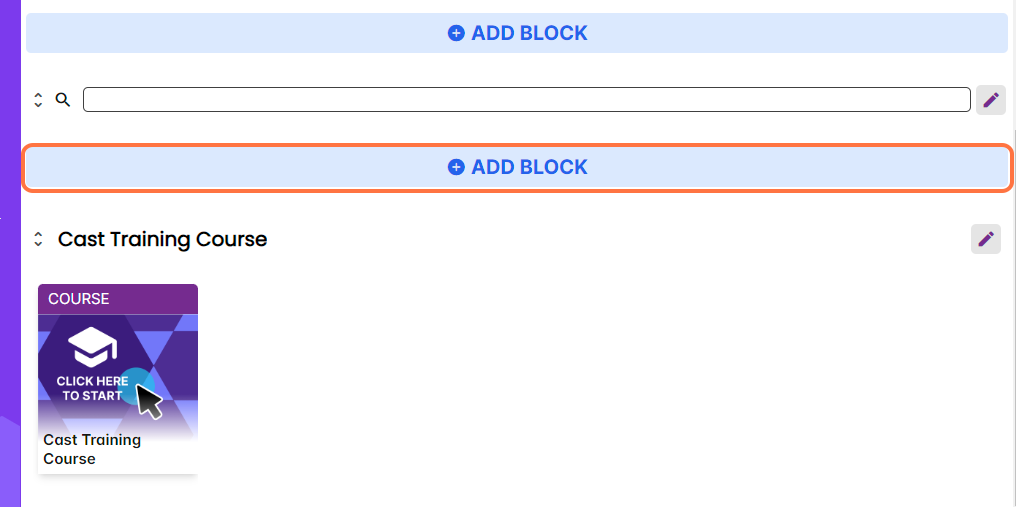
2. Click on "Add Block" to create a new block that will organize your resources effectively.
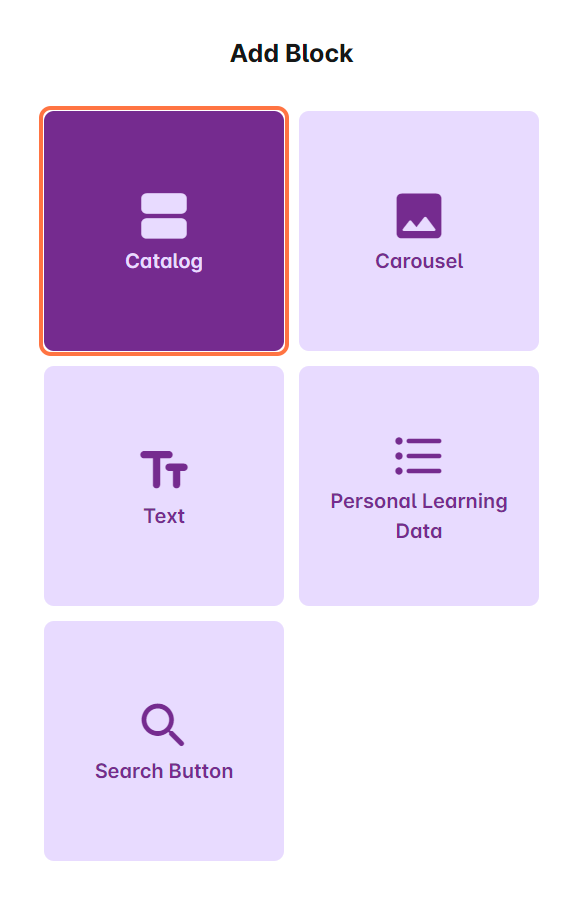
3. Choose "Catalog" as the block type, which is designed for storing resources and courses.
4. Click the edit button located in the upper right corner of the created block.
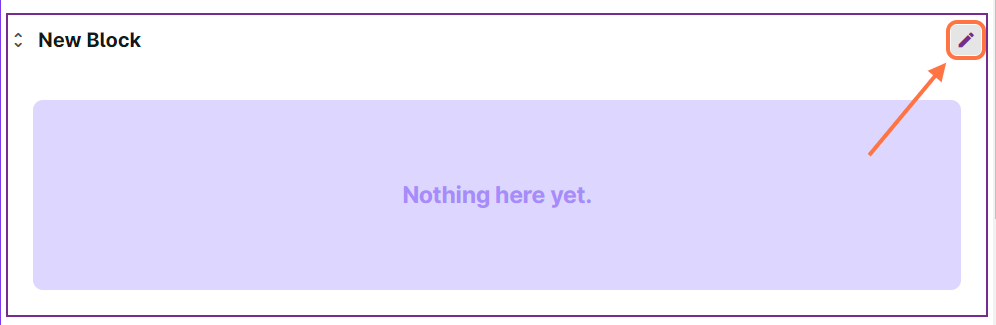
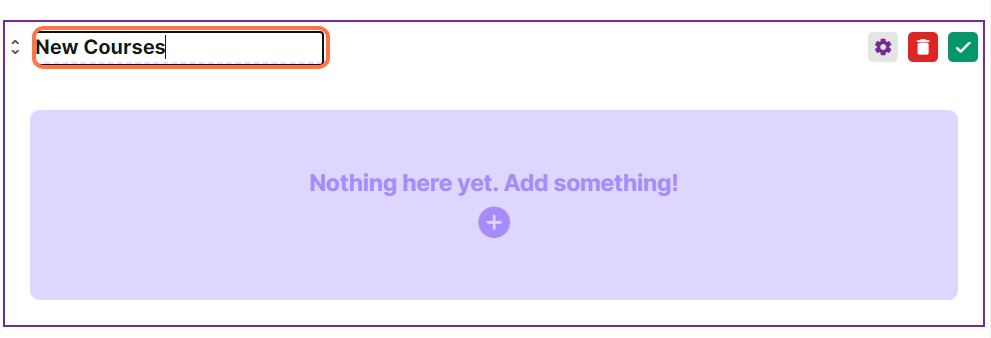
5. Provide a name for the block, which will be helpful for categorizing your resources.
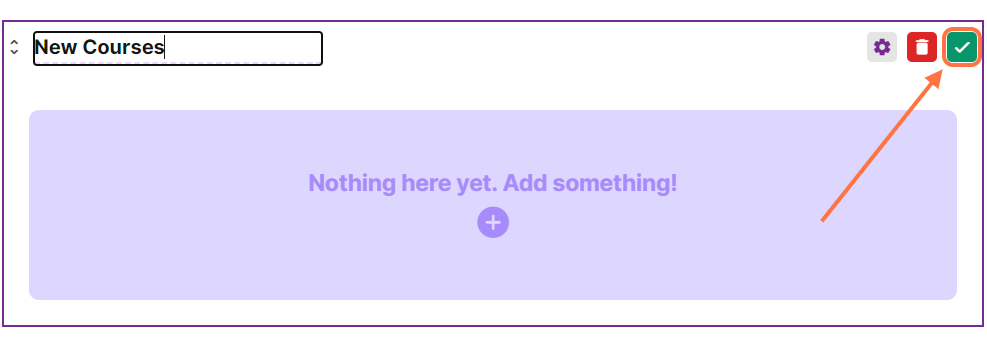
6. Save your changes by clicking the green checkmark.
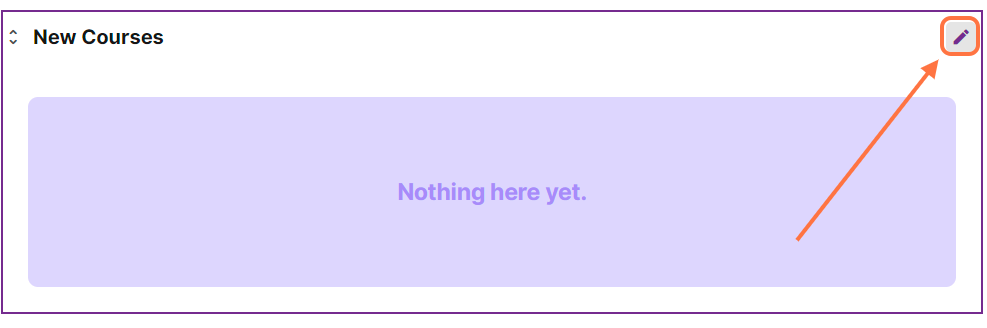
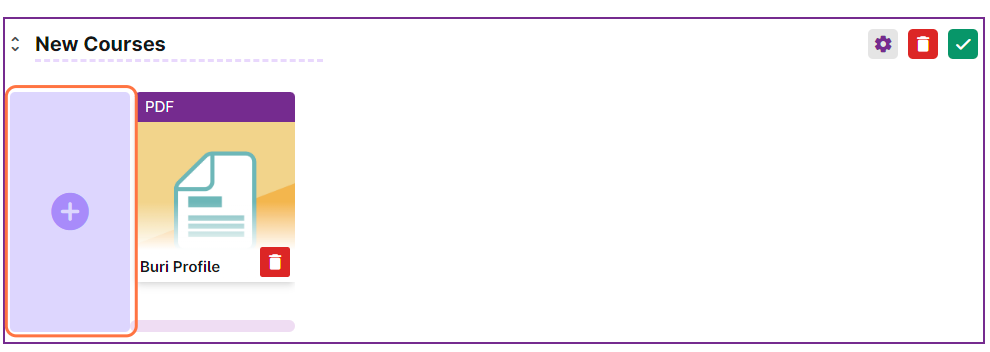
7. To add resources to this block, click on the edit button once again.
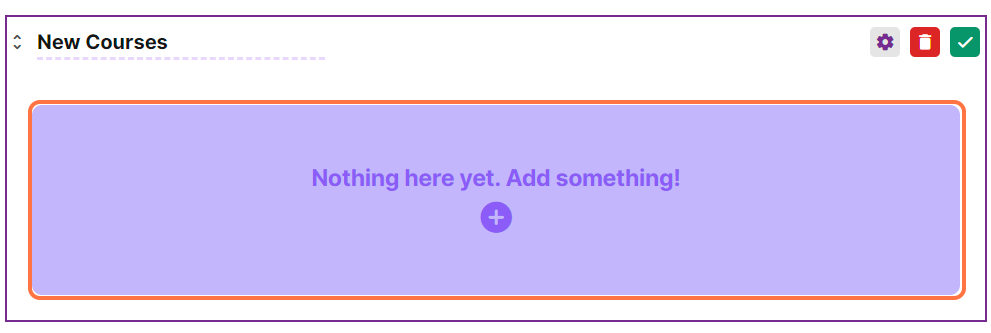
8. Within the block, click on the plus (+) button to insert a new resource.
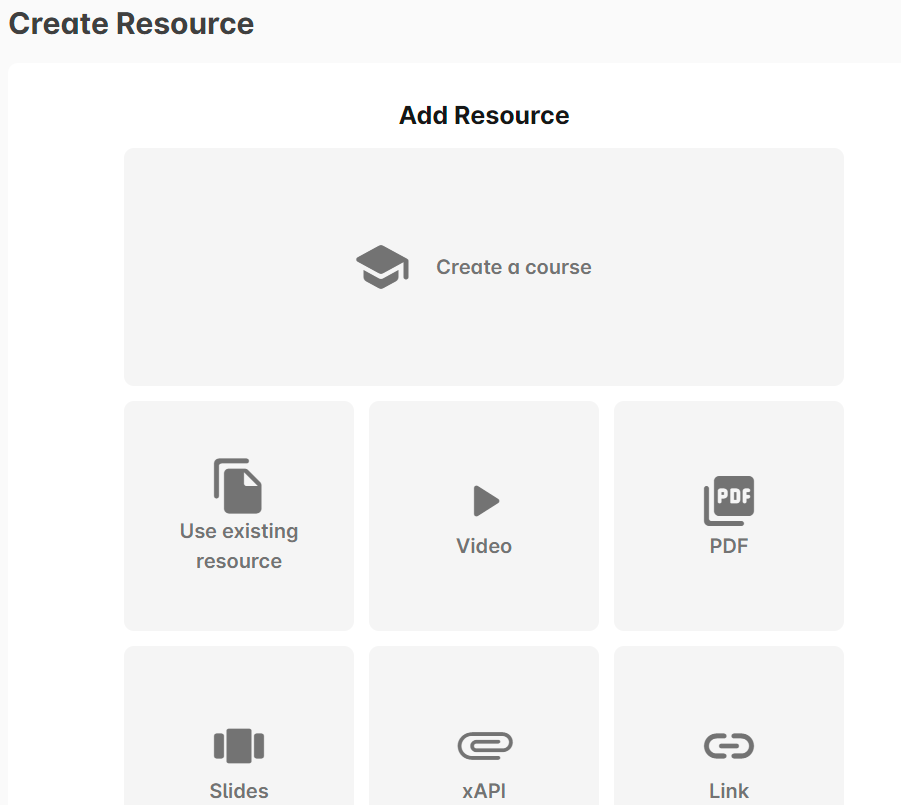
9. Select the appropriate resource type. For detailed instructions on uploading specific resource types, refer to the linked articles on this page.
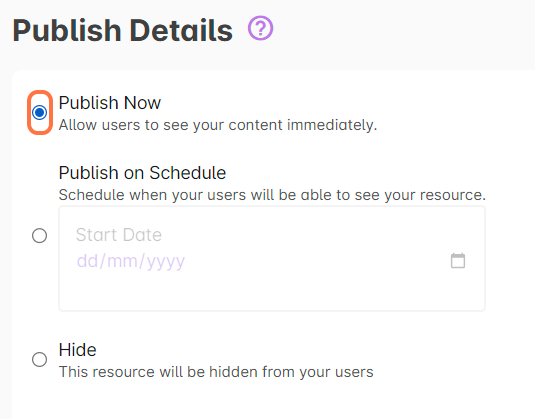
10. After uploading your resource and proceeding to the "Next" step, you will be directed to the "Publish Details" page. Here, you can choose to "Publish Now" for an immediate publication on your page. Alternatively, opt for "Publish on Schedule" and specify a date for the resource to be published to learners. If you prefer the resource not to appear on the learner's portal, select "Hide."
11. Click on "Done" to confirm your settings.

If you have selected "Publish Now" in the "Publish Details" section, learners will be able to see the resource instantly through their portal. If you have chosen Publish on Schedule and specified a date, the resource will become visible on the learner's portal only on the designated date.