You can now upload a bulk of questions to your assessment using a CSV file. To begin uploading a bulk of questions, you must fill out this CSV template.
Here are the important guidelines for using the template:
1. Each row corresponds to one question.
2. For each question, specify the question Type using the two-letter initials in the template:
Multiple Choice (MC)
Image Choice (IC)
True or False (TF)
Checkbox (CB)
Image Checkbox (IB)
Short Answer (SA)
Long Answer (LA)
Poll (PO)
Media URL/File Submission (ME)
Freedom Wall (FW)
Tally (TA)
Fill-in-the-blanks (FB)
3. For multiple choice and poll questions, you can select the display option for answers/choices. Put "DD" in the second column for "subtype" to have your choices displayed as dropdown. For fill-in-the-blank questions with the date input type, put "DT" as subtype. If no subtype is indicated for the question, the answers in multiple choice questions will be displayed as usual.
4. Input the question text in the columns for title, text, and instructions.
5. If you want to include an image with the question, upload it to a third-party site (e.g., Imgur) and paste the image link in the "media_url" column.
6. Under the "order_id" column, select the order in which the question appears in the assessment.
7. In the "is_graded" column, put "TRUE" if you want this question to contribute to the assessment grade. Put "FALSE" if not.
8. Input the weight of the assessment.

9. In the "shuffle_choices" column, put "TRUE" to shuffle options in each attempt by learners. Put "FALSE" otherwise.
10. In the "required" column, put "TRUE" to make answering the question mandatory for learners. Put "FALSE" otherwise.
11. In the "show results" column, put "TRUE" to display correct/incorrect feedback to learners after submitting answers.
12. If "show results" is set to "TRUE," you can provide a "correct_feedback_message" and "incorrect_feedback_message" that will accompany the default feedback ("Correct" and "Incorrect" for each question). You can also add images by providing URLs in "correct_feedback_image_url" and "incorrect_feedback_image_url."

13. In the subsequent columns, input the choices. Start with the first option text under "choices_0_short_input" or "choices_0_long_input."
Add an image URL under "choices_0_image_url" to include an image for the option. You can also add an audio file URL under "choices_0_audio_url."

To rearrange the display order of this choice, assign a number under "choices_0_order_id."
For correct and incorrect answers among these options, put "TRUE" for correct and "FALSE" for incorrect under "choices_0_is_correct."
Repeat this step for other choices by following the numbering order (e.g., to add another option, use new columns like "choices_4_short_input," "choices_4_long_input," "choices_4_order_id," "choices_4_is_correct").
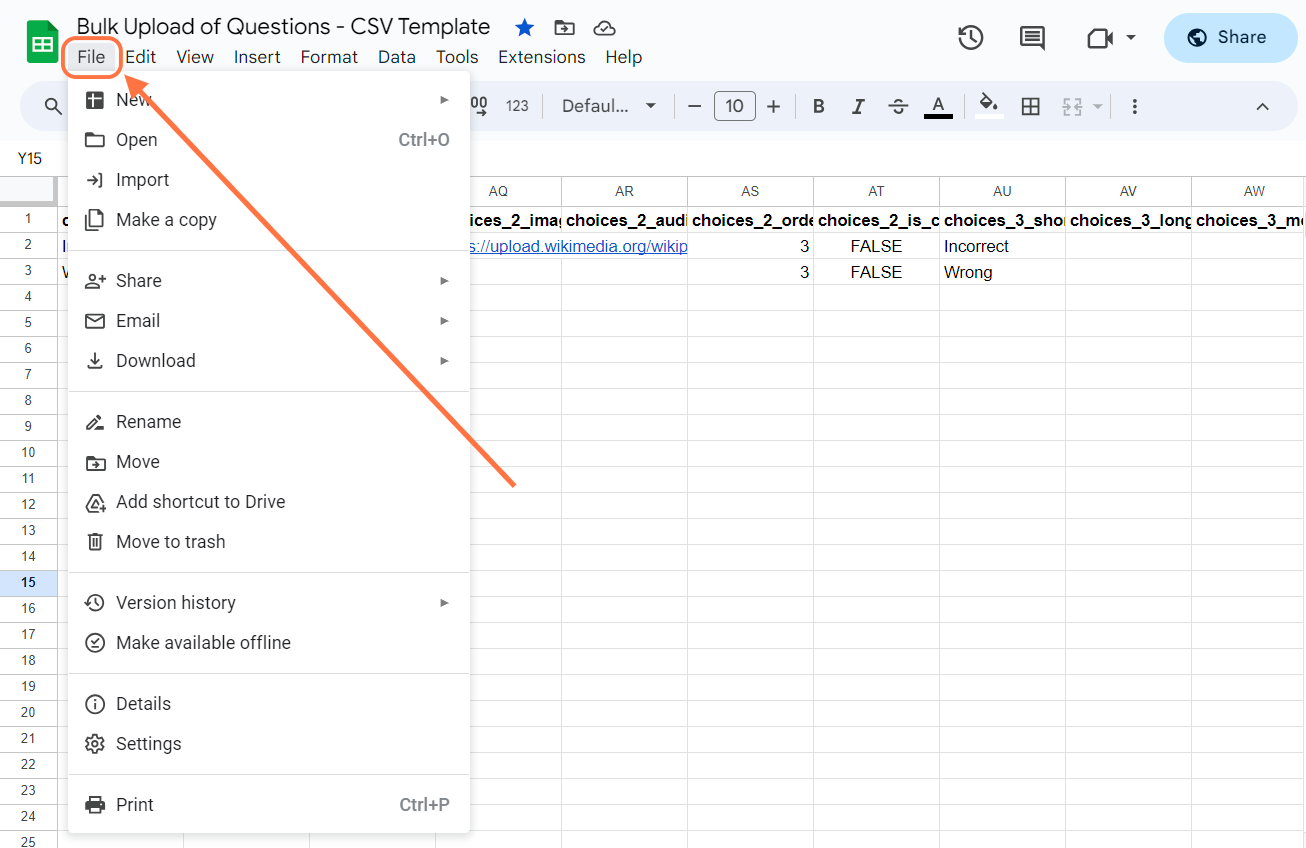
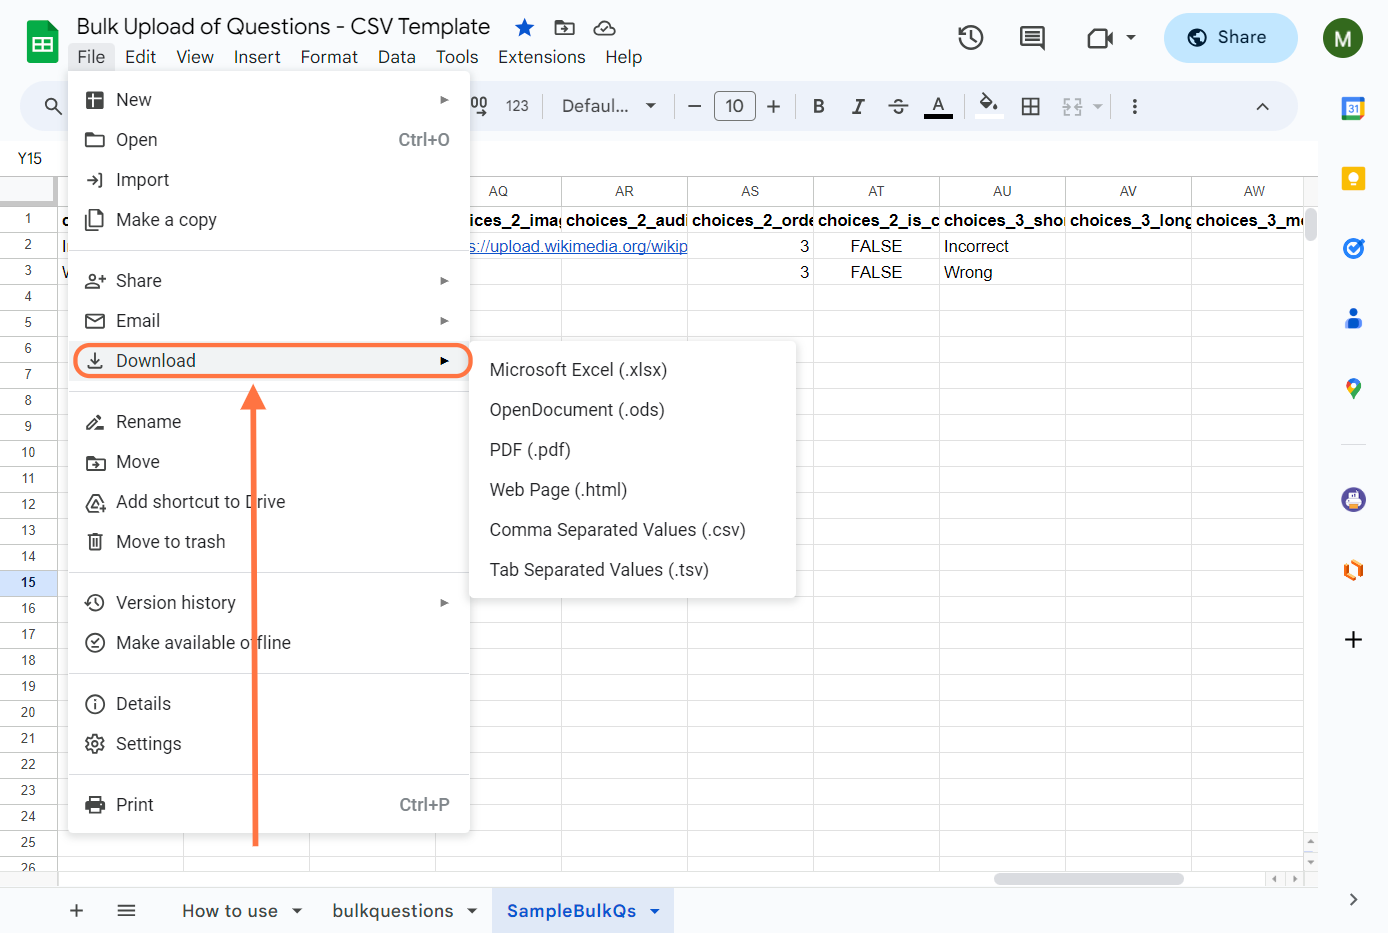
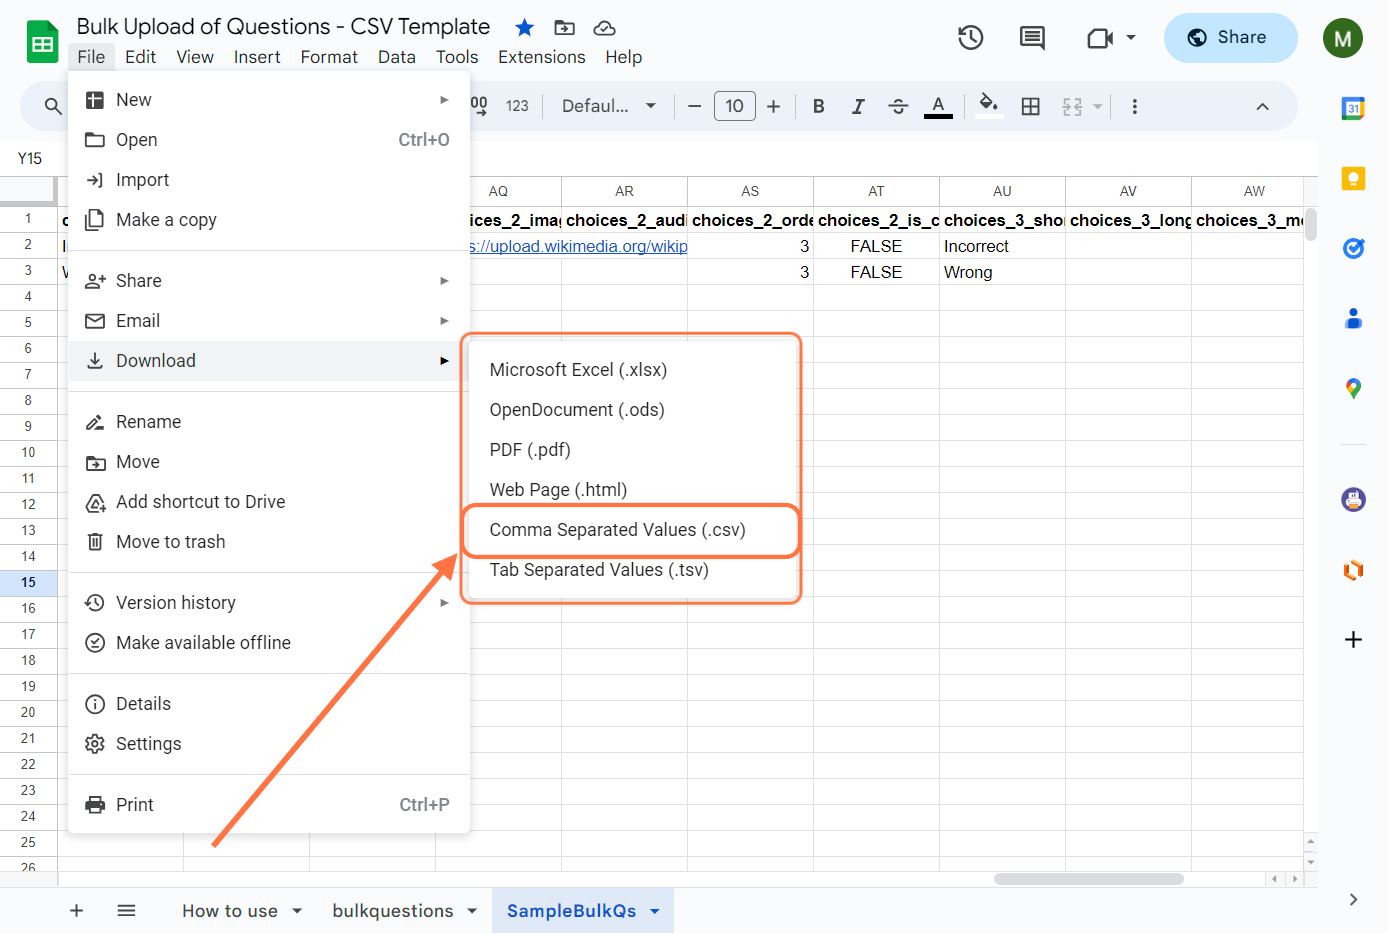
Make sure to save the filled out sheet as CSV:
1. Click on File.
2. Select Download.
3. Choose CSV.
4. Wait for the file to download to your device.
After completing the sheet with all assessment questions, upload it to the dashboard:
1. Log in to the admin dashboard and select Cast Editor or Courses.
2. Find and click on your preferred course.
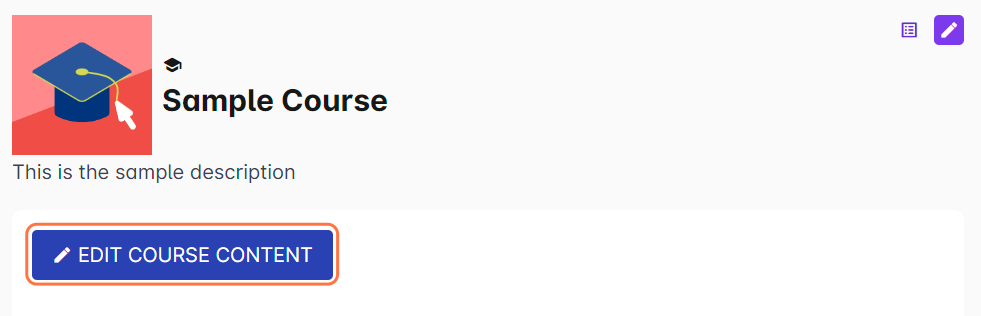
3. Click Edit Course Content.
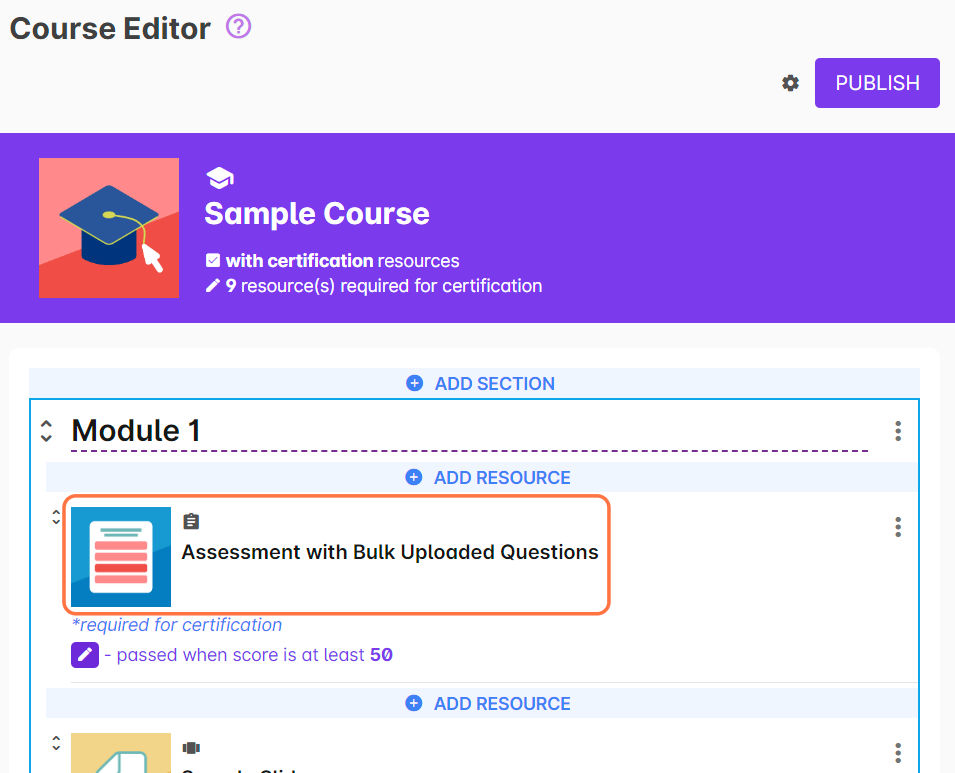
4. Add an assessment resource or go to an existing one.
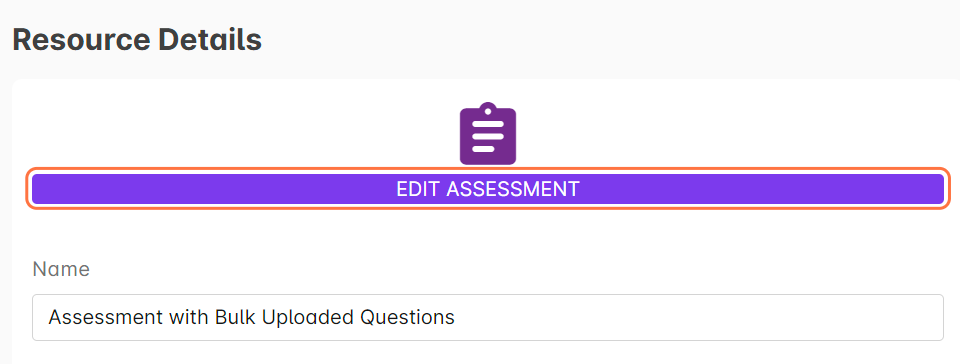
For existing assessments, click Edit Assessment to begin adding questions.
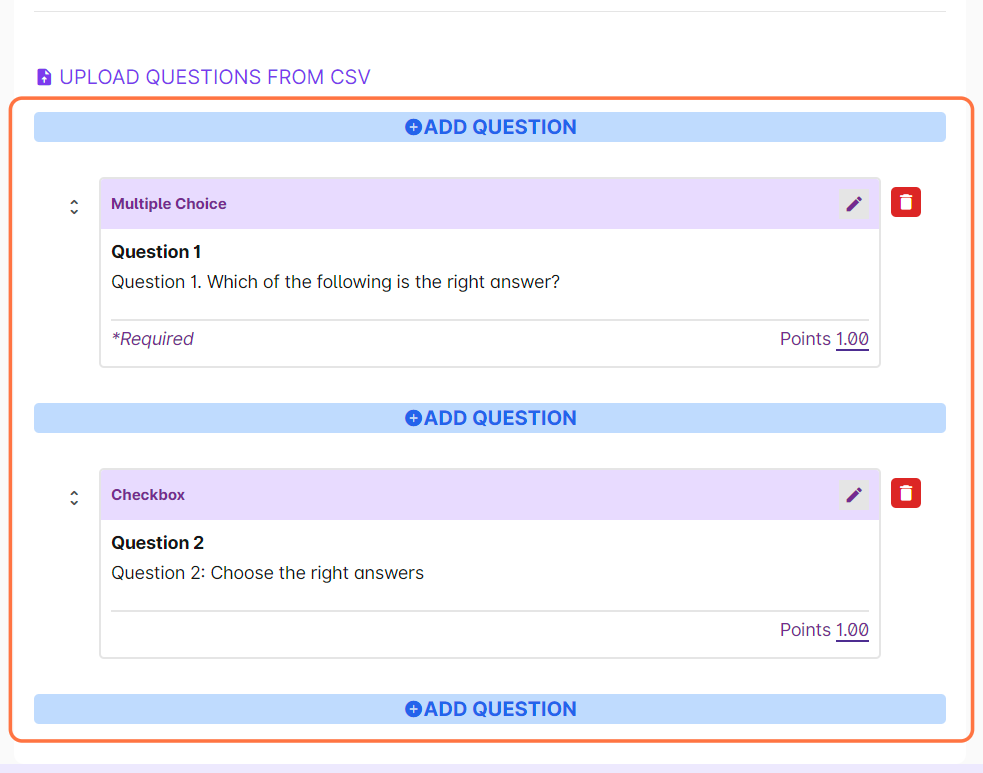
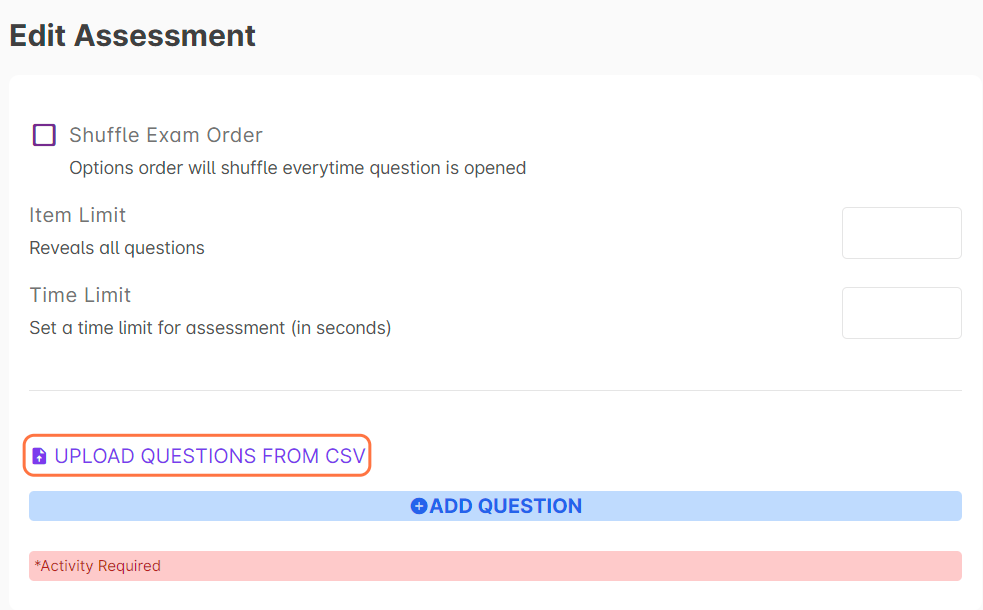
5. Click UPLOAD QUESTIONS FROM CSV.
6. Browse your computer for the CSV file, then select it.
7. After uploading, wait for the page to load. Your questions will appear on the Edit Assessment page. You can review or edit the questions by clicking the edit button for each question.