Open the HTML file provided for your certificate template.
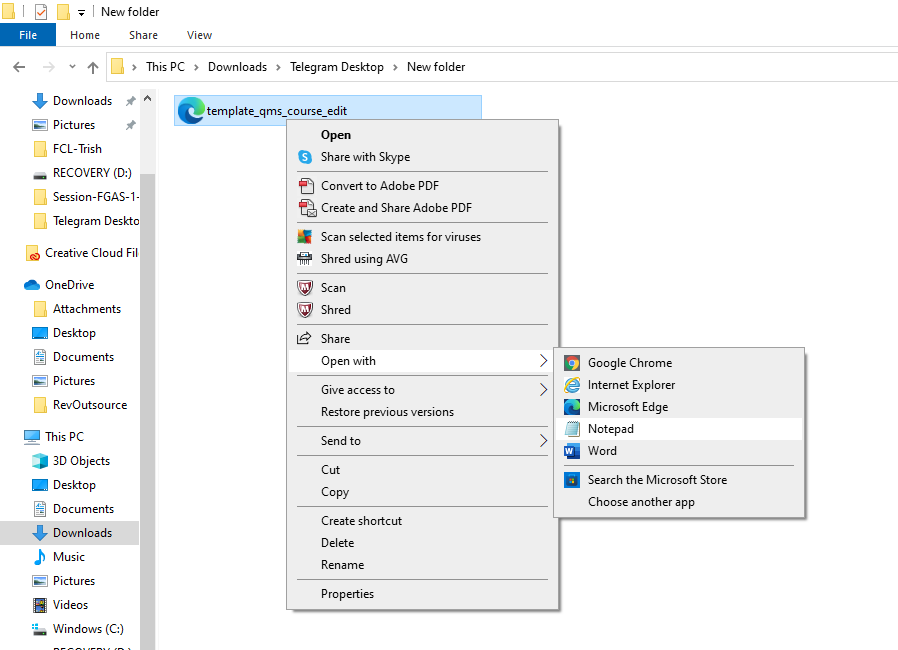
For Windows, right-click the file and open with Notepad.
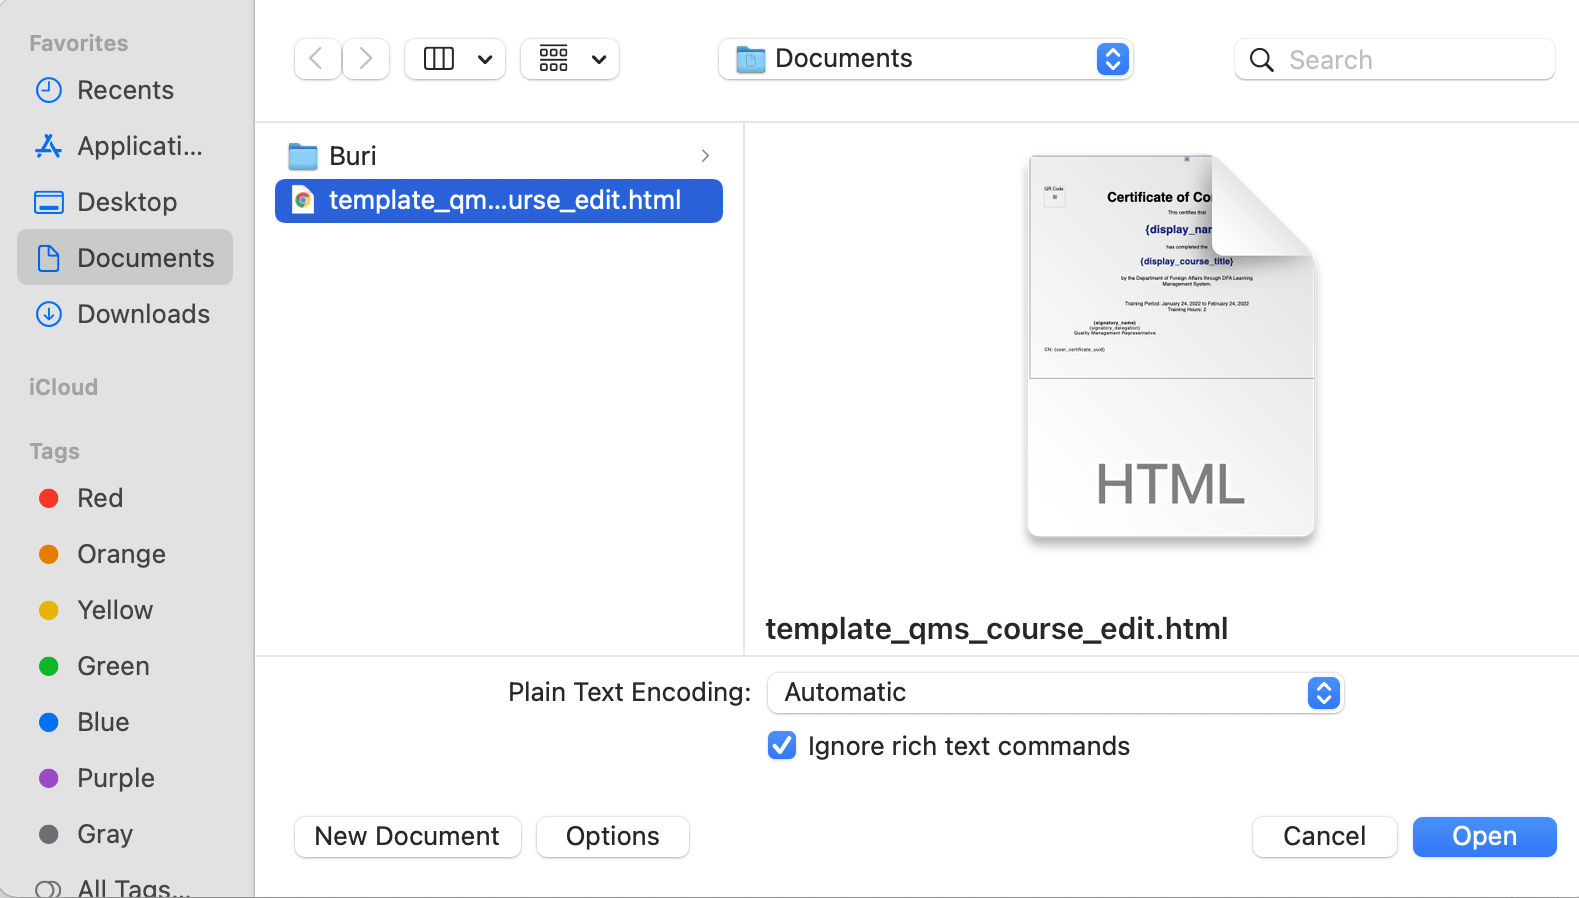
For Mac, open TextEdit, then select the HTML file.
Click the "Options button, then tick the "Ignore rich text commands" checkbox.
Once you have opened the notepad, find <!-- EDIT HERE -->
For Windows, press ctrl+F and copy-paste <!-- EDIT HERE --> on the search bar.
For Mac, press command+F and copy-paste <!-- EDIT HERE --> on the search bar.
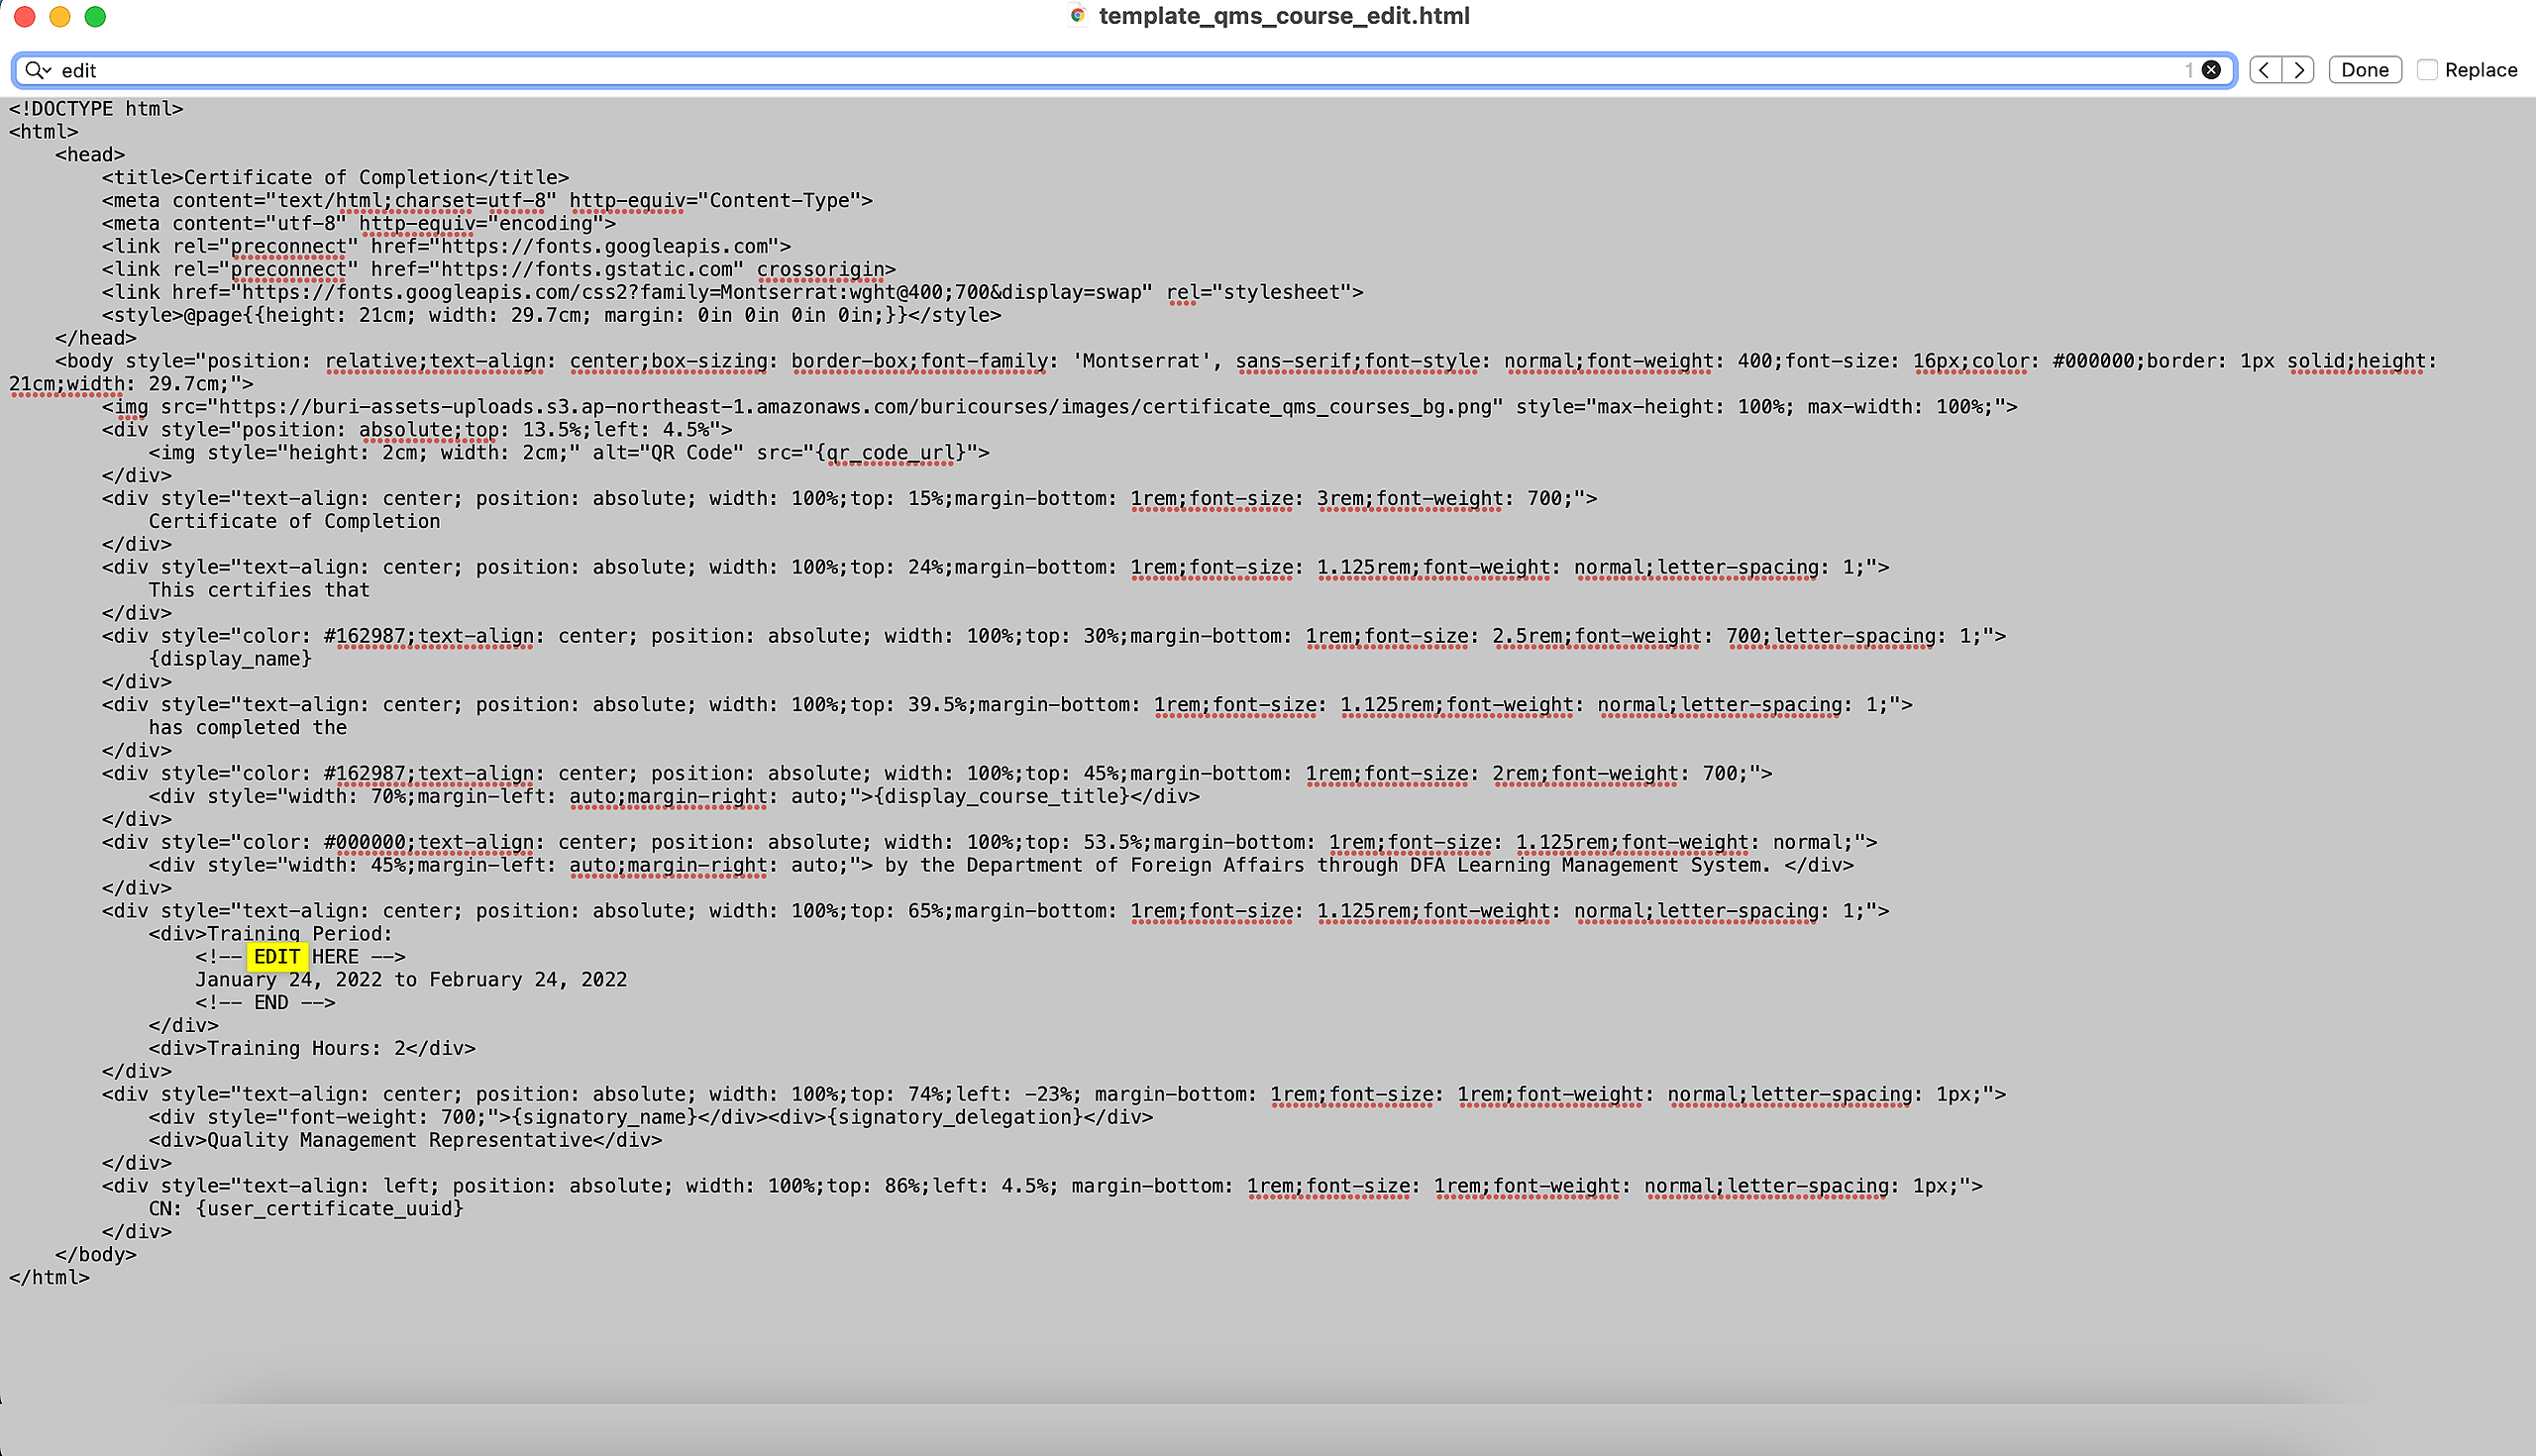
Edit the date under <!-- EDIT HERE -->

Save the HTML file.
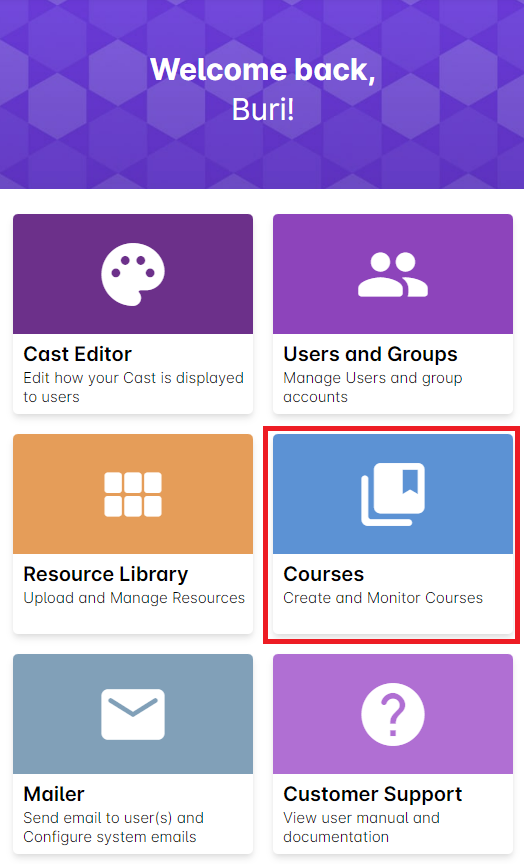
On your dashboard, go to "Courses."
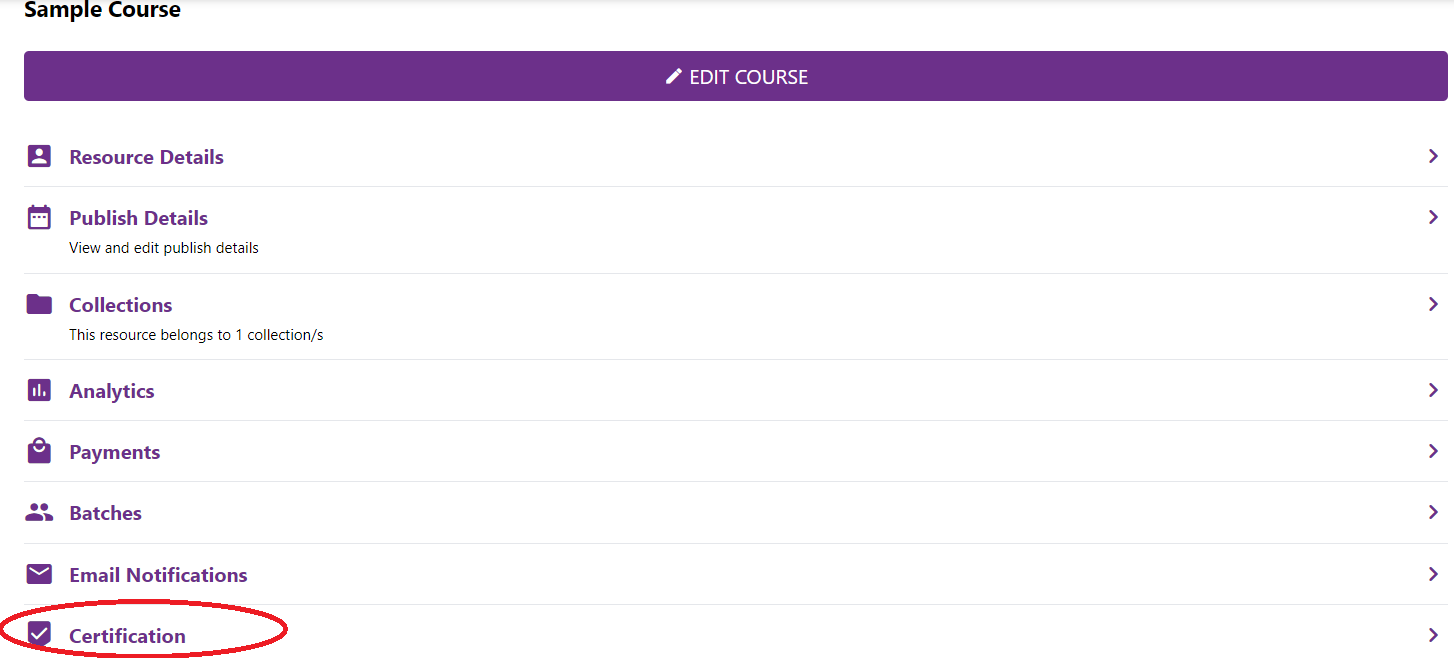
Select the course that this certificate will be used for, then click Certification.
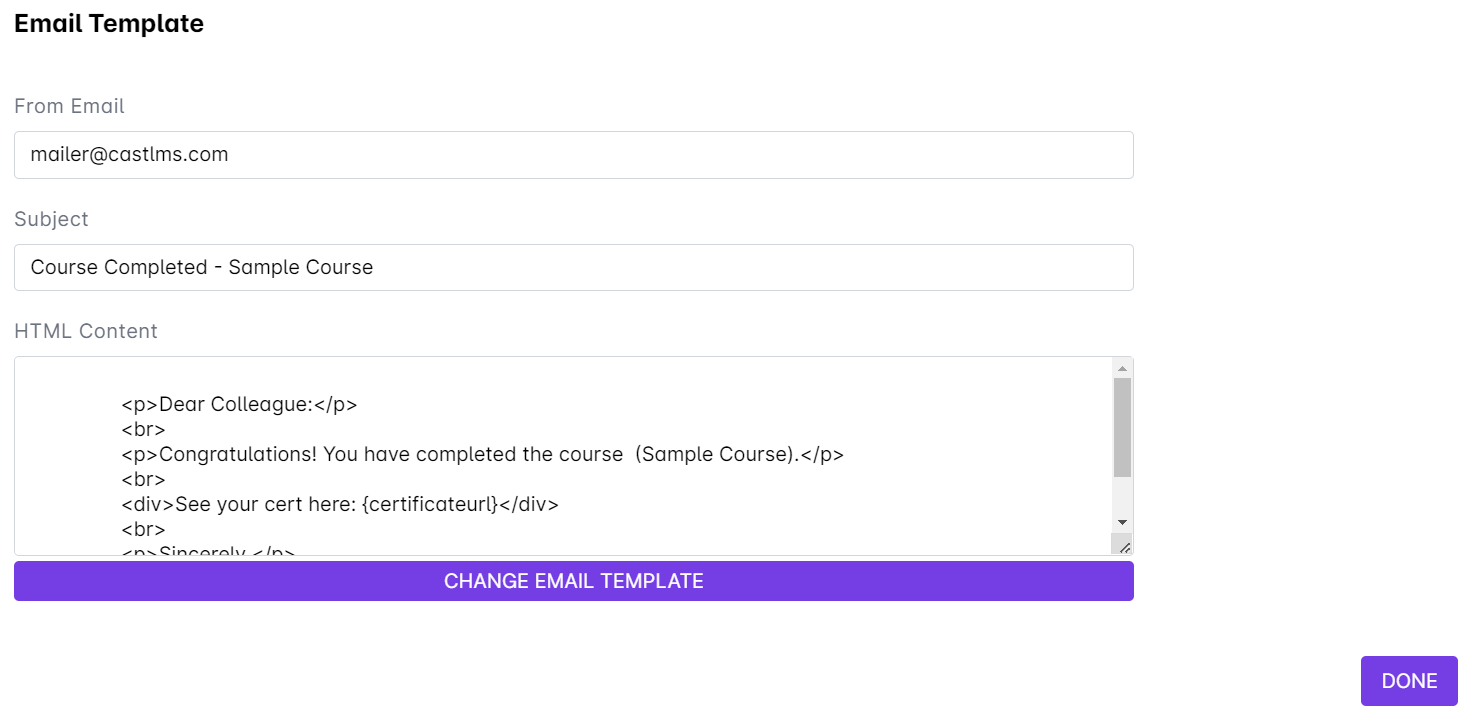
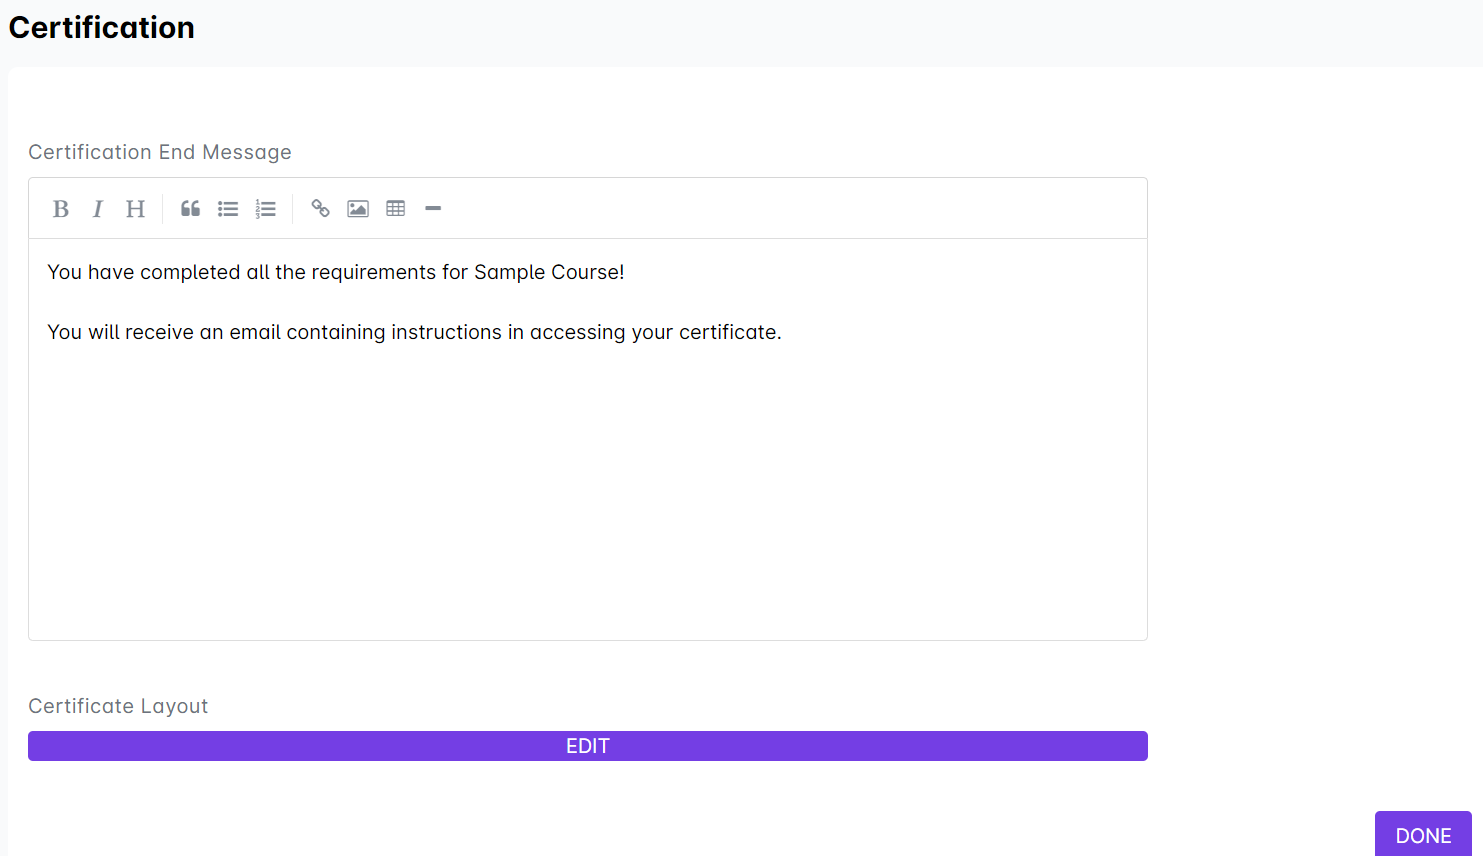
7. You can edit how your certificate looks by clicking the Edit button under Certificate Layout.
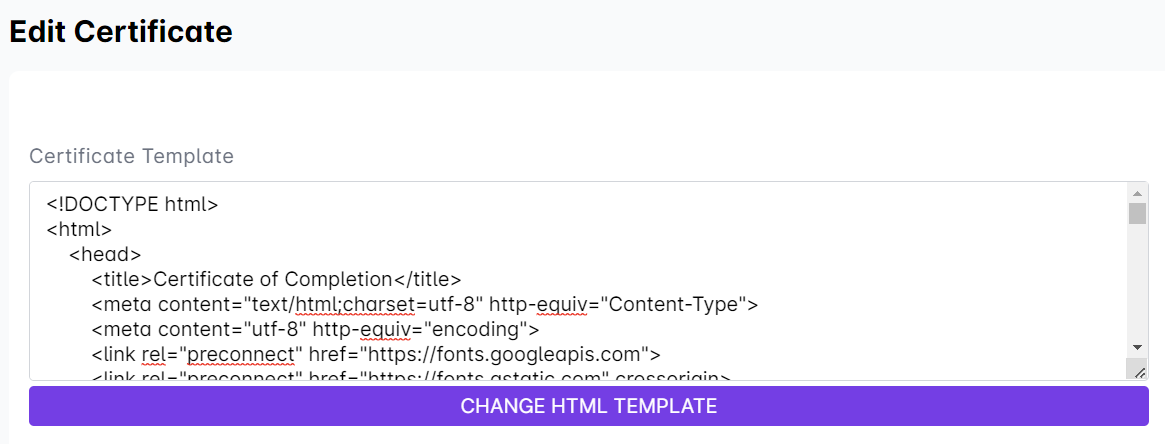
Paste your HTML file on the space provided, or click the "Change HTML Template" button and select your HTML file.
8. Scroll down to the bottom of the page and then click on Done to save your changes. Your certification is now ready. If you need further assistance in the generation of certificates, feel free to email us at support@buri.io.