Before publishing your course and enrolling users in a batch, make sure the Certification option is turned on so participants who pass the course automatically receive their certificates.
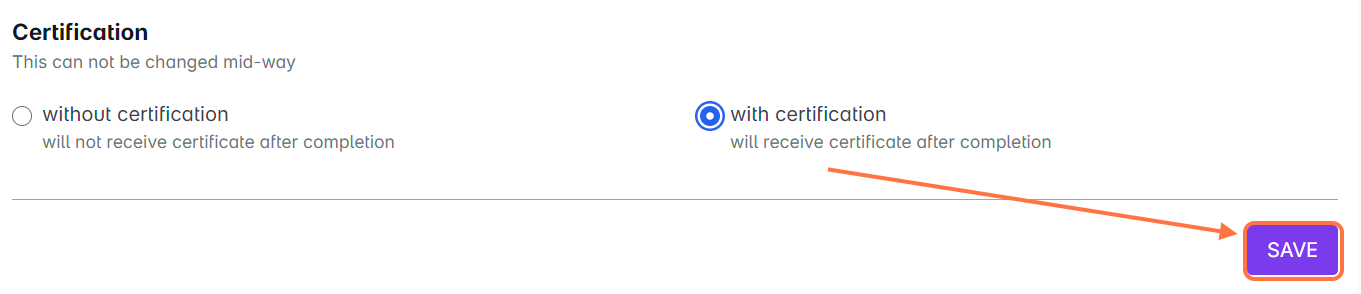
1. Certification is enabled per batch. This lets you generate unique certificates for each group of enrollees. At the bottom of the Add Batch page, select With Certification, then click SAVE.
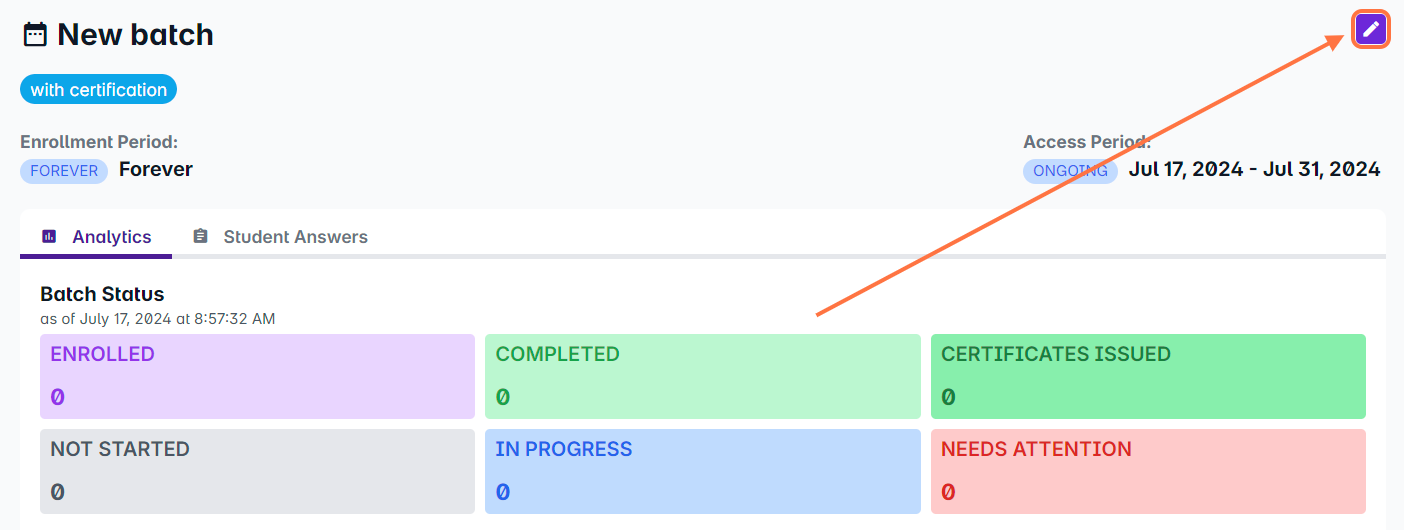
2. Once your batch is created, click the Edit button next to the batch name. Batches with certification enabled will display a with certification tag under the batch name.
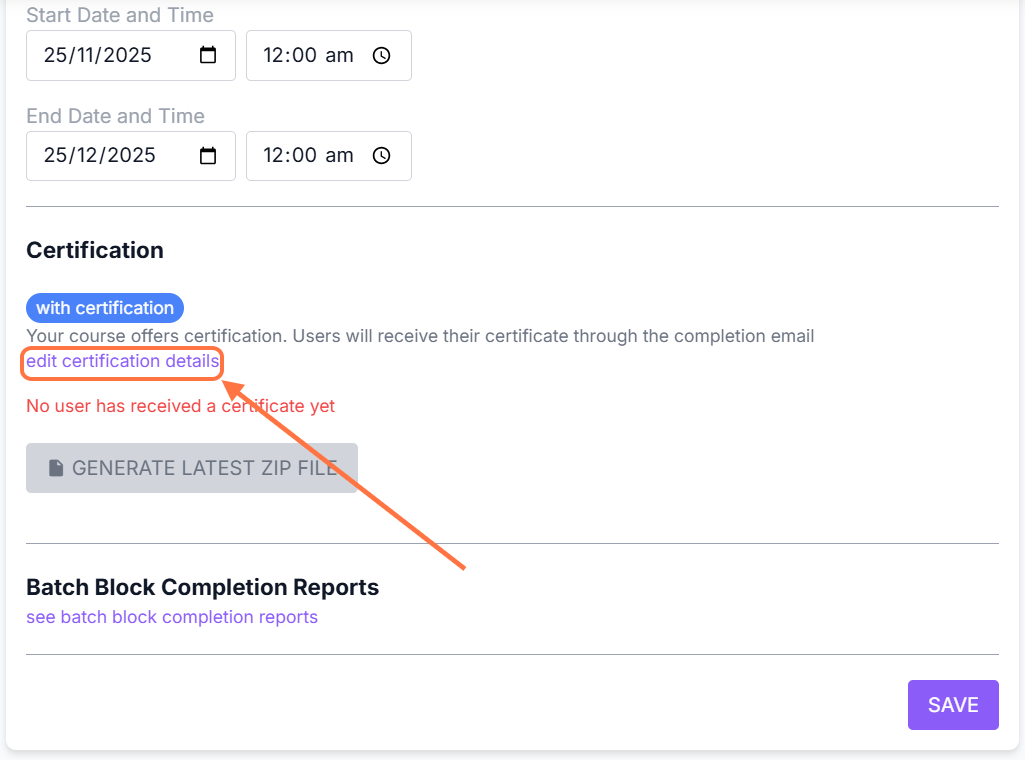
3. Scroll down to the Certification section. To edit the certificate details, click Edit Certification Details.
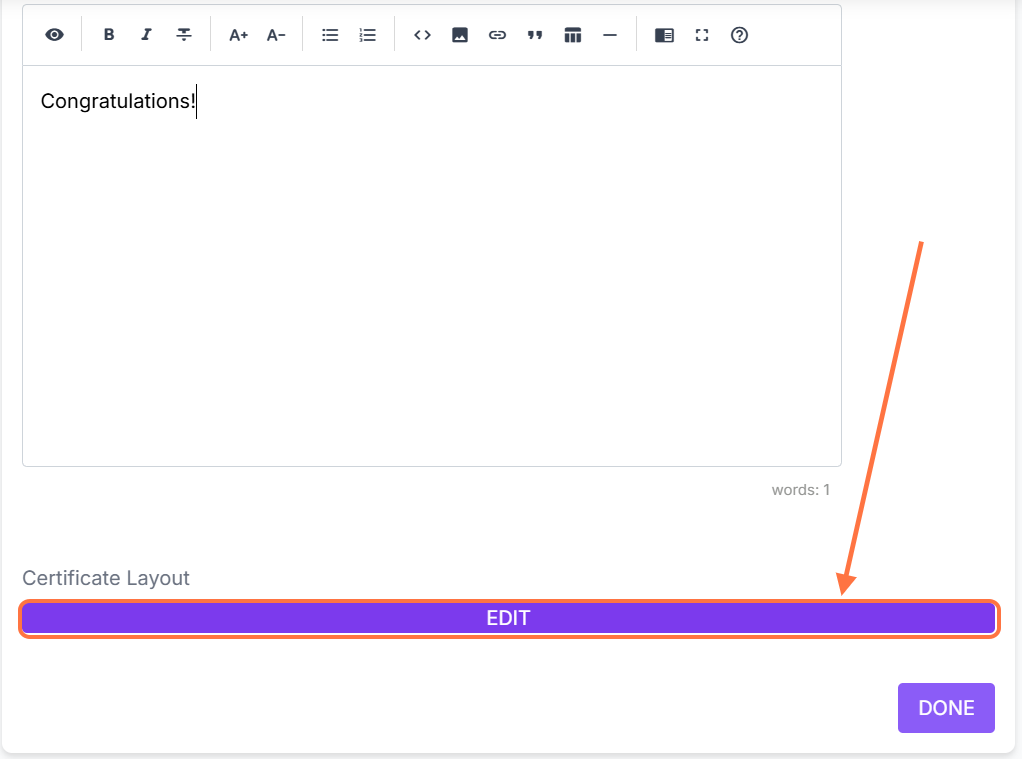
4. The Certification End Message box will appear first. Enter your message and format it using the markdown editor.
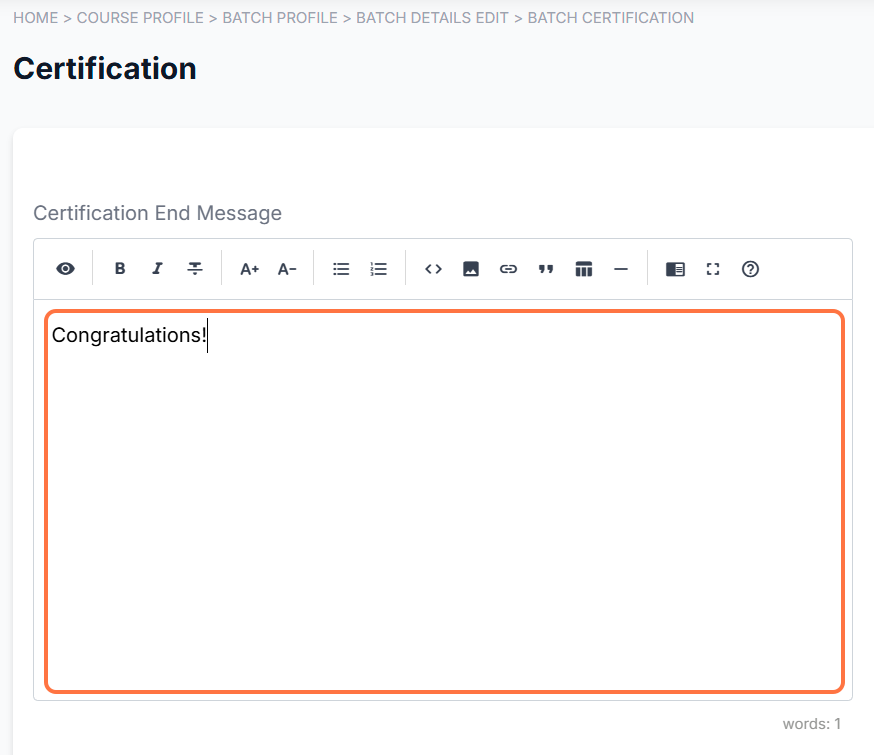
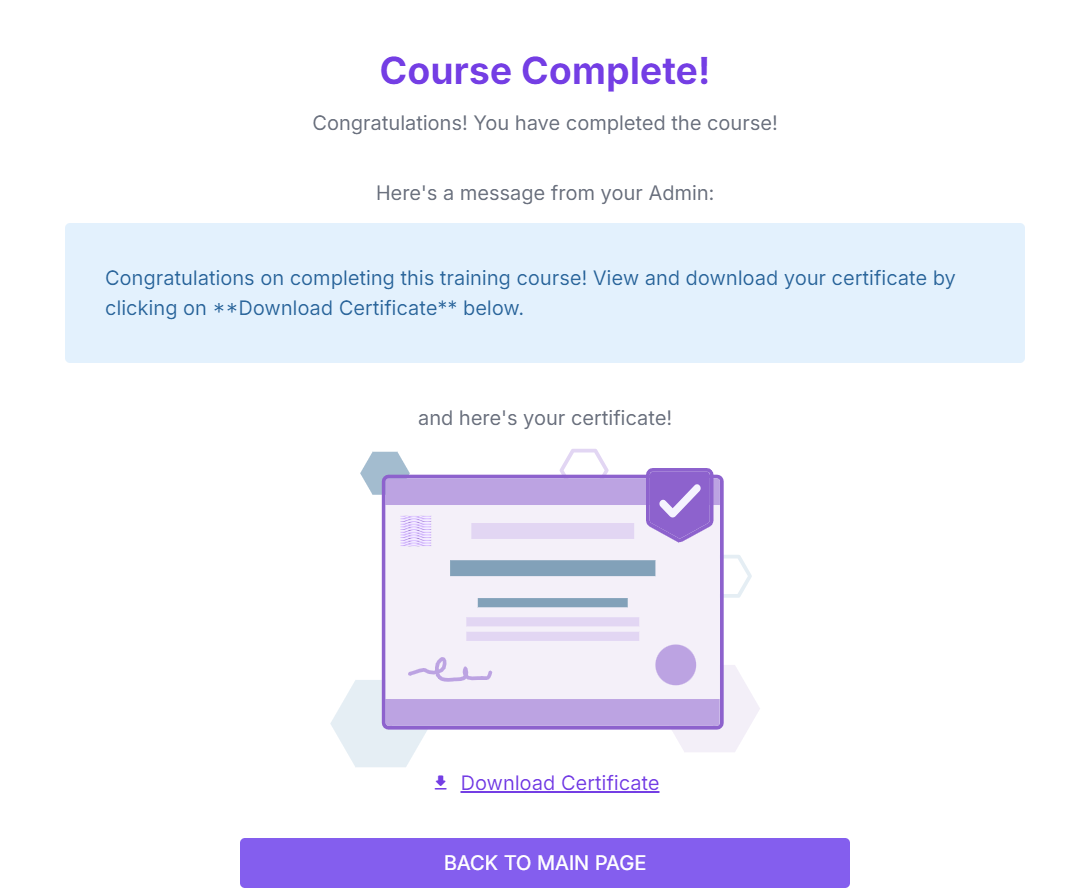
This message appears inside View Details under the Course Completed banner when a participant successfully passes the course.

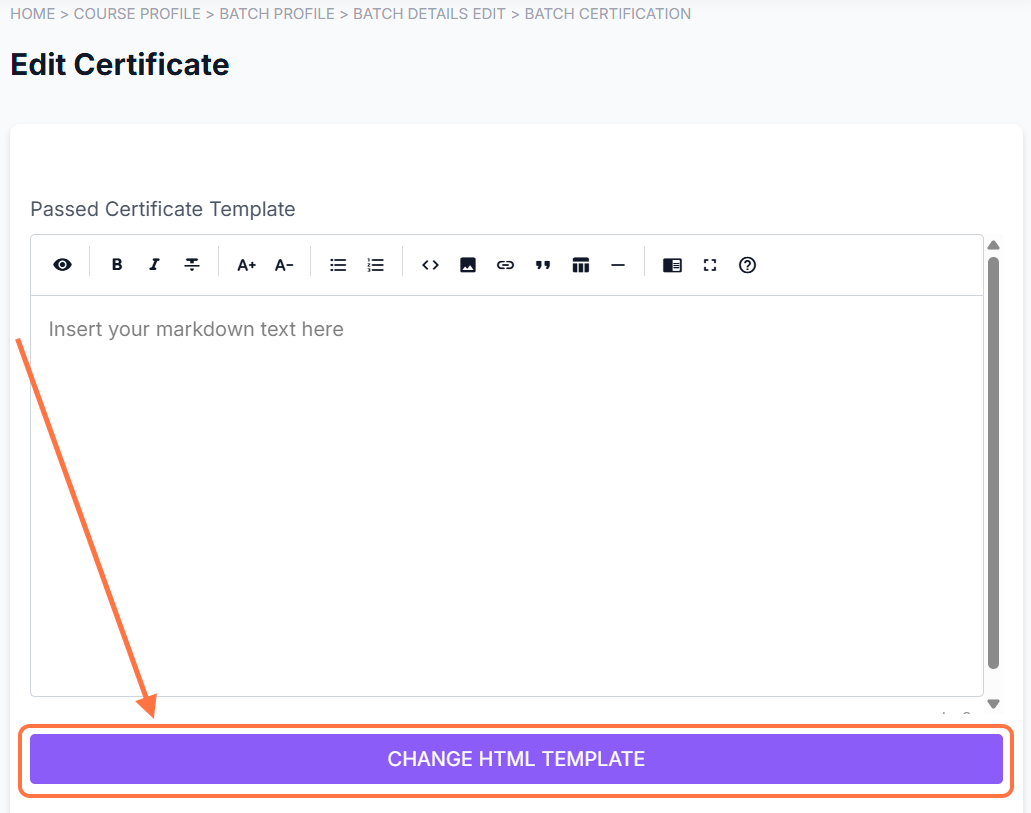
5. To customize your certificate layout, click EDIT under Certificate Layout.
If you have a prepared certificate design, you may request assistance with setting up the HTML template by contacting support@castlms.com.
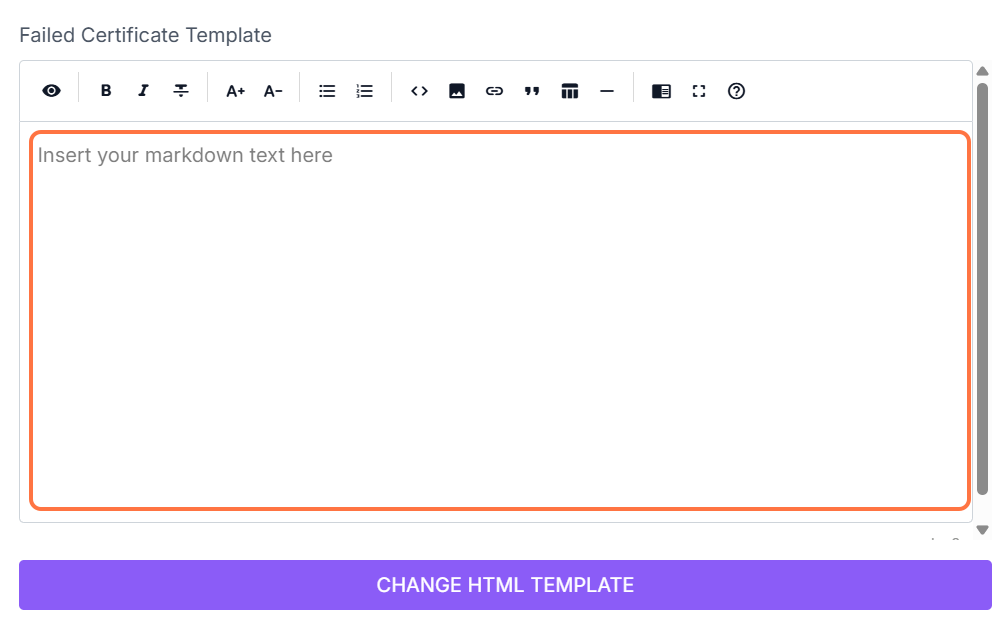
If you already have the certificate’s HTML file, click Change HTML Template to upload it from your device. You can also open the HTML file in a text editor and copy–paste its contents into the provided box.
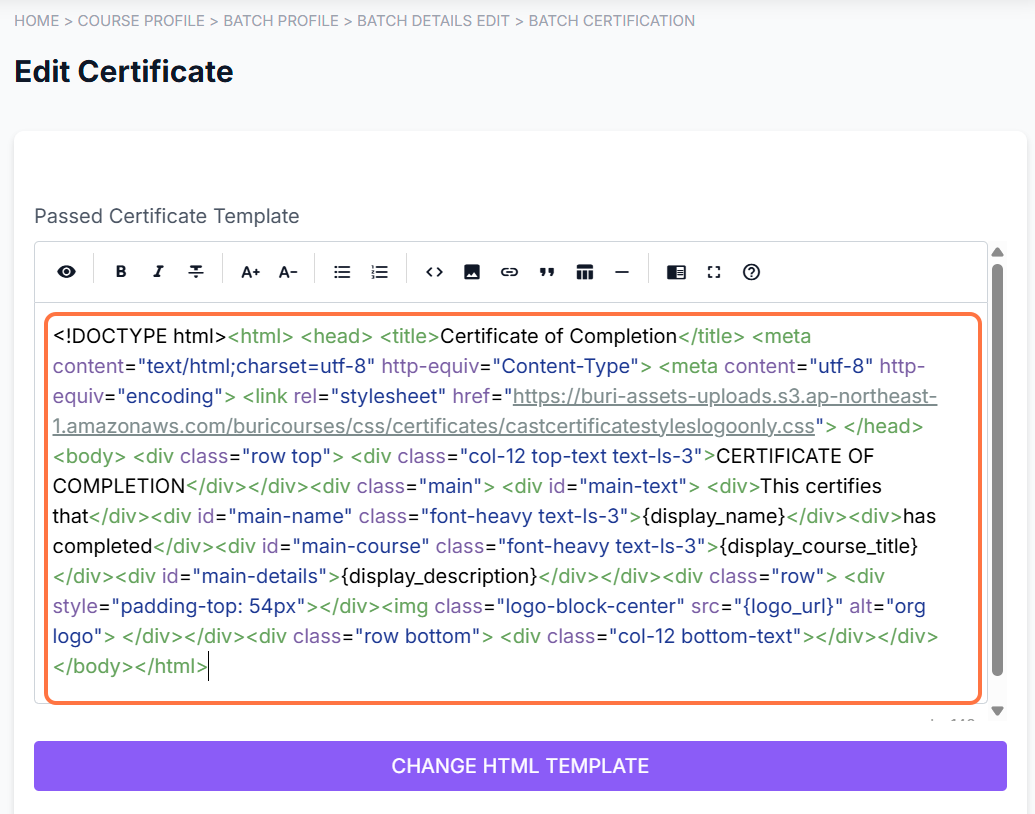
The certificate template may use the following tags:
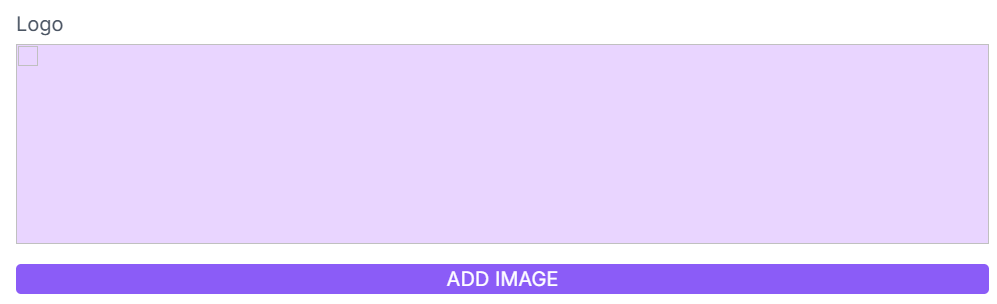
{logo_url} – organization logo image
{display_name} – user’s full name in Cast LMS
{display_course_title} – course title
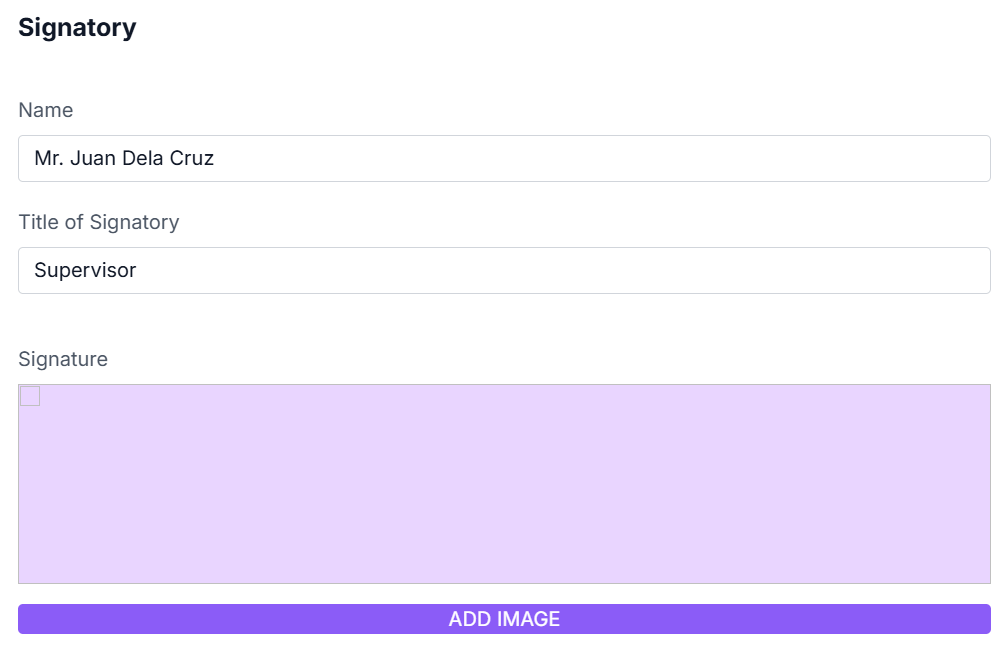
{signatory_name} – signatory’s full name
{signatory_delegation} – signatory’s title or designation
{signature_url} – signature image
You can also create a separate template for certificates that will be issued to learners who failed the course.
6. You can further adjust the certificate layout by editing the Signatory and Logo sections.
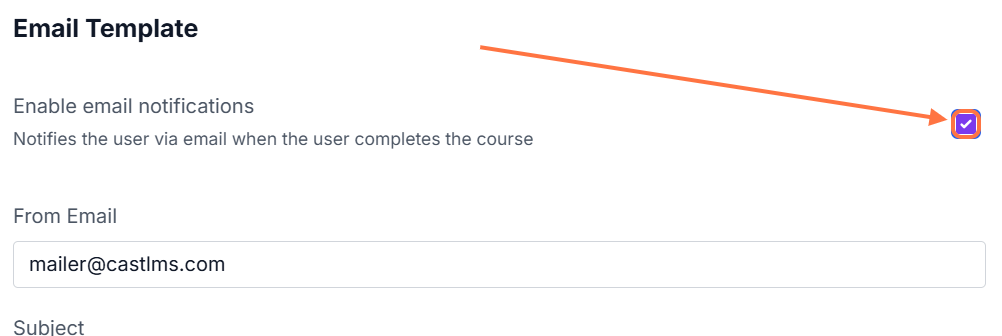
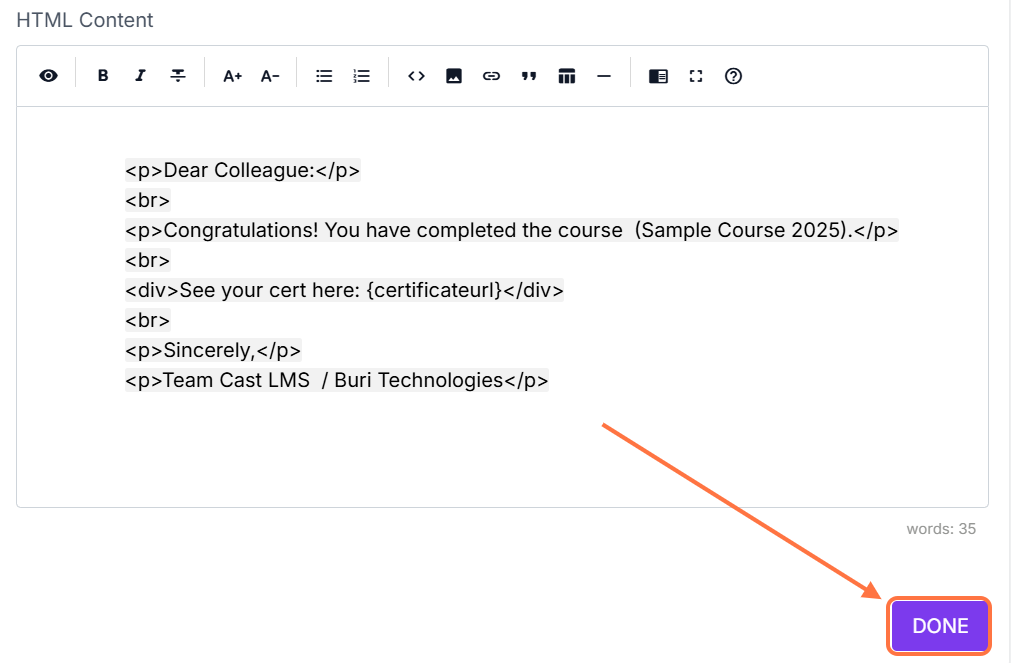
7. Finally, check the box for Email Template if you intend to send out completion emails to users who complete the course. You can also modify the content of the email template in the spaces provided. If the {certificateurl} tag is in the email template, the email will also contain a PDF copy of the learner's certificate.
8. Click Done to save your changes. Your certification setup is now ready. Users who complete and pass the course will automatically receive their certificates. If you need additional help with certificate generation, feel free to email support@castlms.com.
Related Articles: