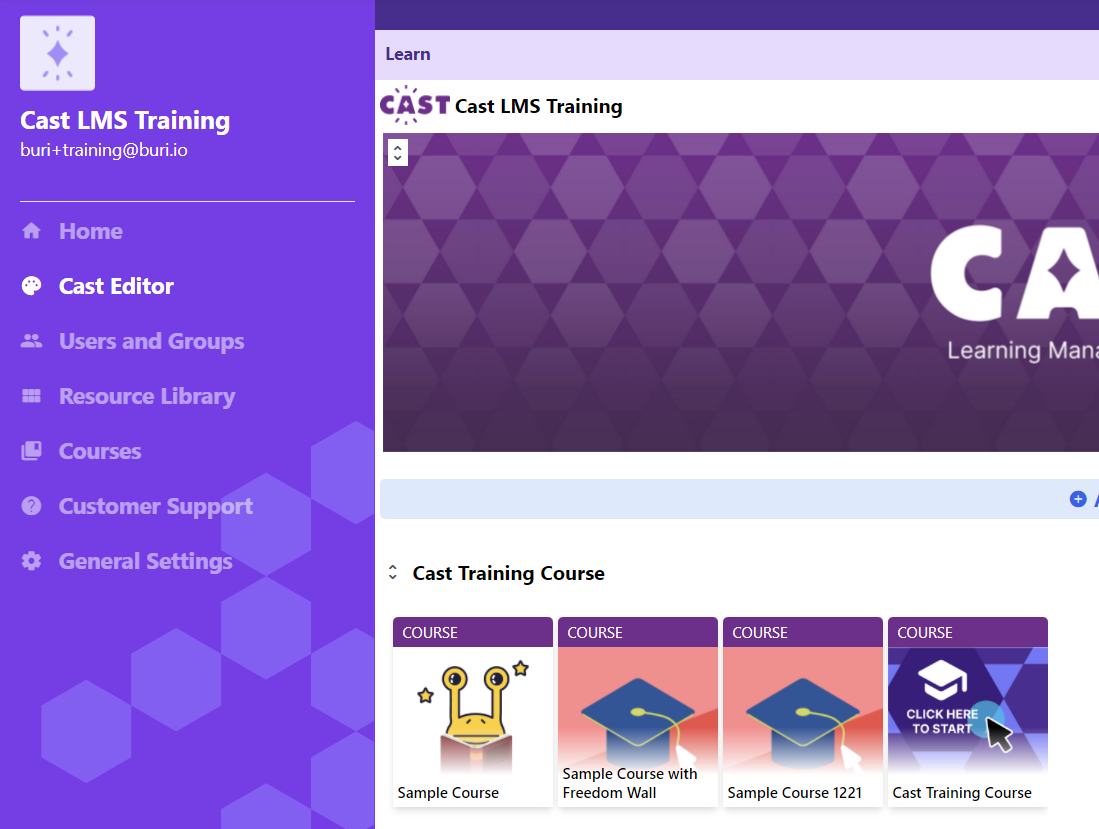
1. Go to Cast Editor from the Admin dashboard. Click on the edit button on your chosen block. Click the ‘+’ sign to add a new resource.
If you intend to upload the resource inside a course, click on any course in the Cast Editor.
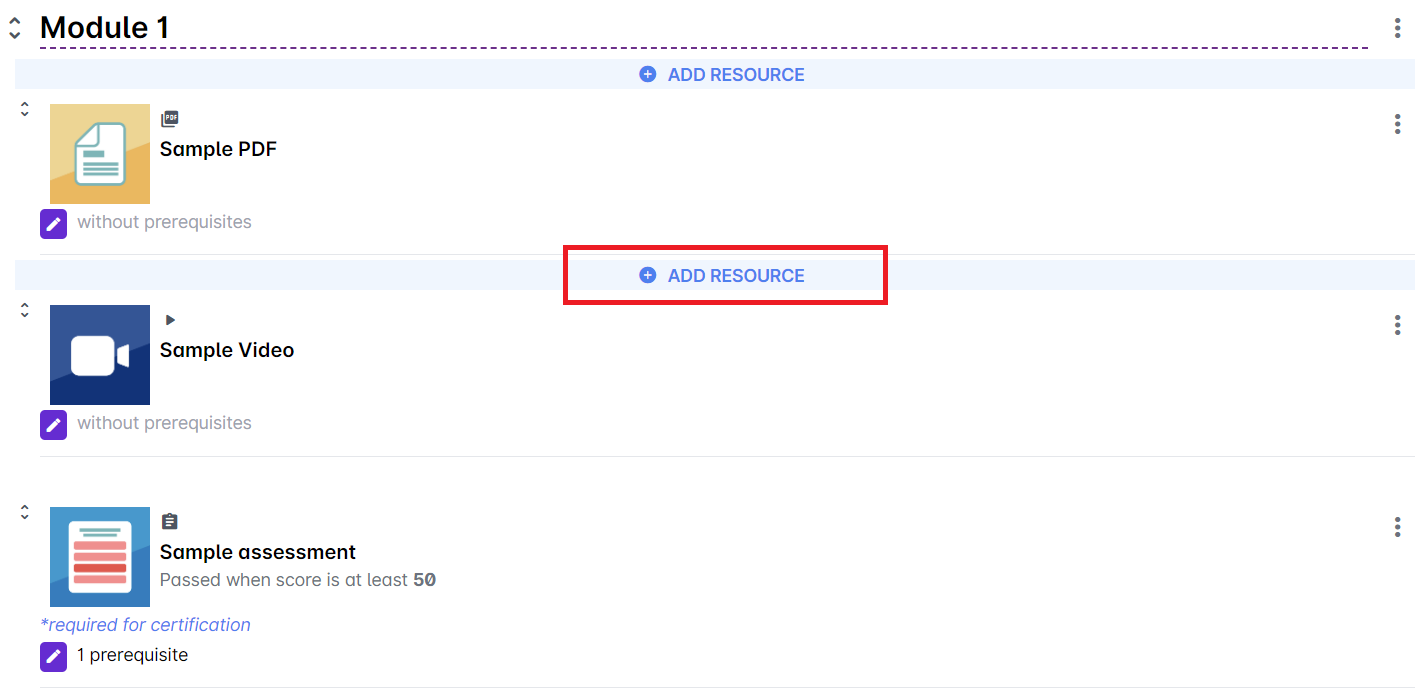
2. Click on the Edit Course Content button in the Course Profile.
3. Click on the + Add Resource button in the section where you want to put the resource in.
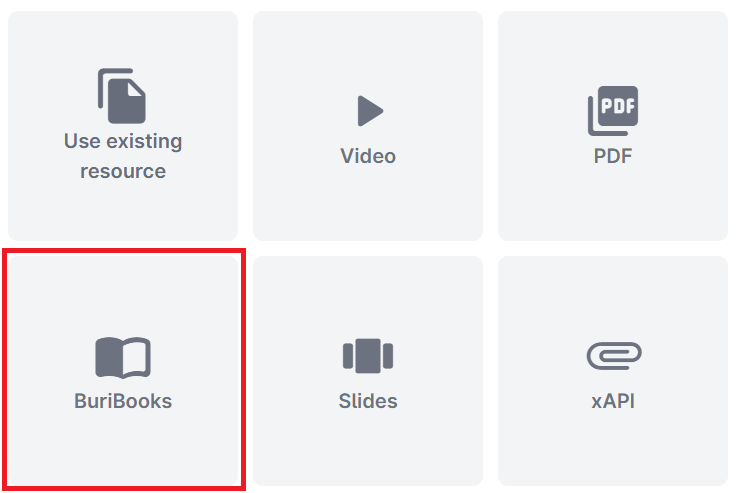
4. Select BuriBooks from the list of resources.
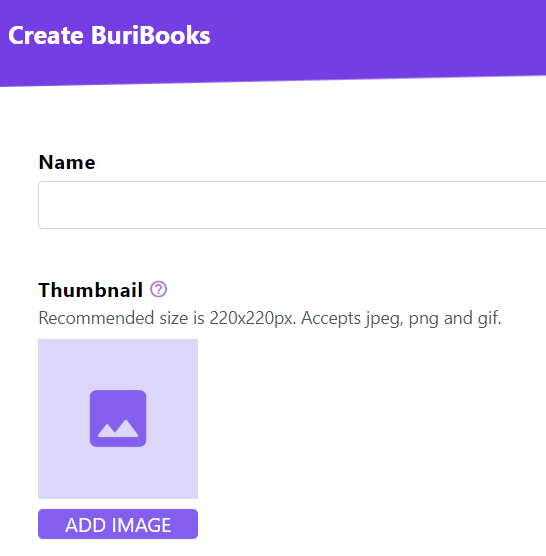
5. Give your BuriBook a name. Click the “change” button or the image icon to change the thumbnail of the BuriBook.
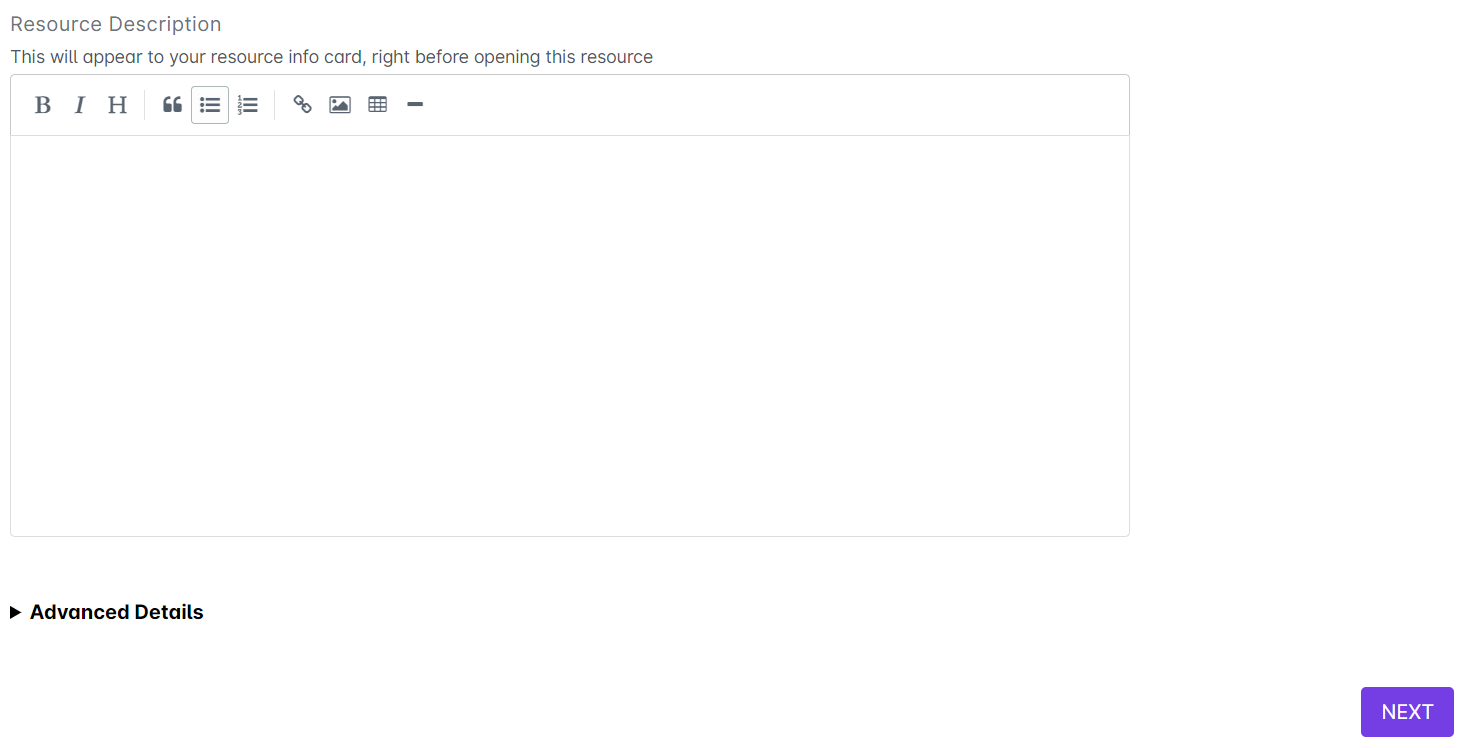
6. You may put a description for this resource and once the resource details have been set, click Next.
7. To start creating your BuriBook, you need to click on the Change button at the top of the Edit Pages page. Select the image files of the BuriBook on your device.
Note: Your BuriBook could have the same size and dimensions as your Powerpoint slides. Please remember to split your files horizontally into two for it to create a spread.
8. Your selected images for the BuriBook will appear under the Change button. Click on Done once it's ready.
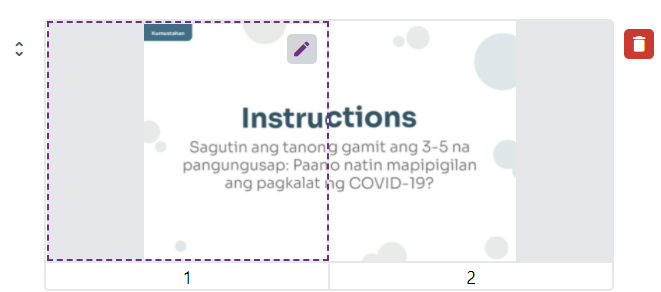
If you want to modify a page in a spread, hover your mouse over it and click on the edit button on the top right corner of the page box and select the correct file from your device.
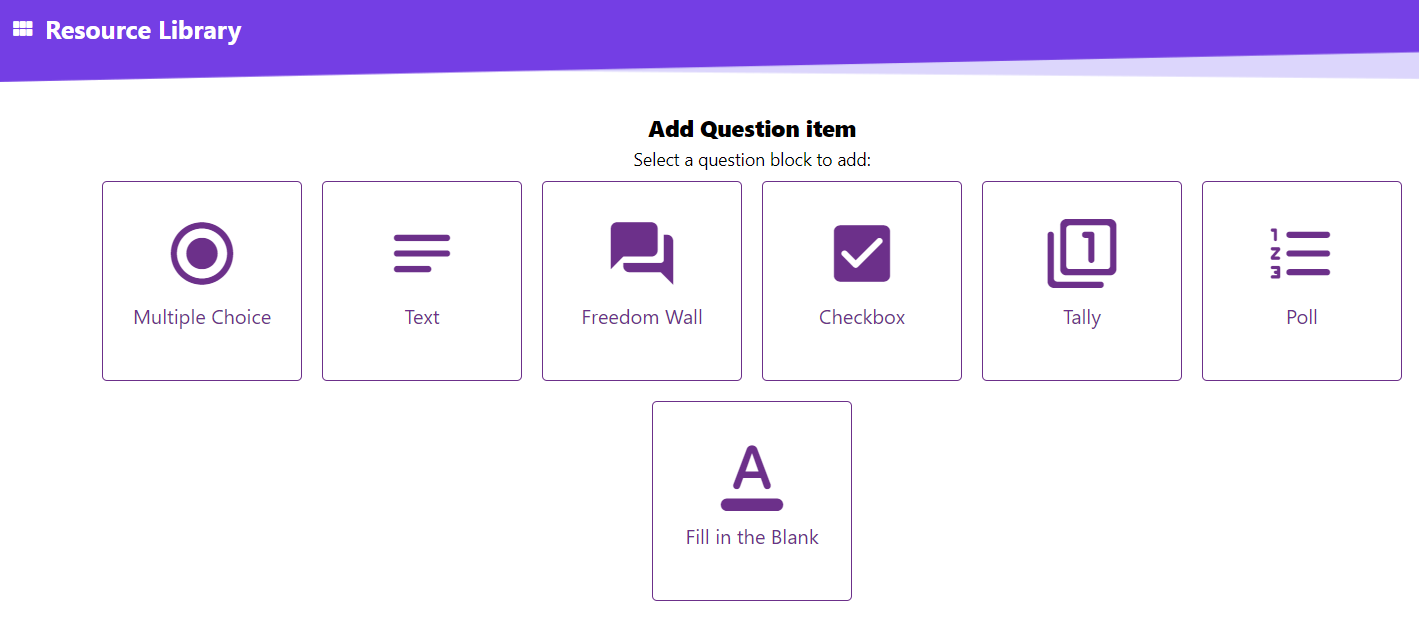
9. You can also add question items in between spreads. Click on the + button at the bottom and select a question item. 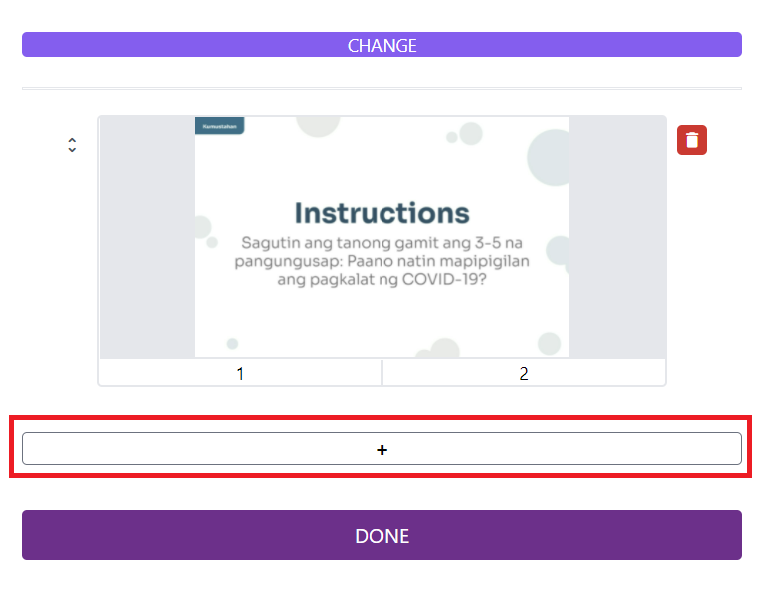
10. After creating your question, you may choose to either save the question or save and add another item. This will help you easily create consecutive questions in between the BuriBook pages.


