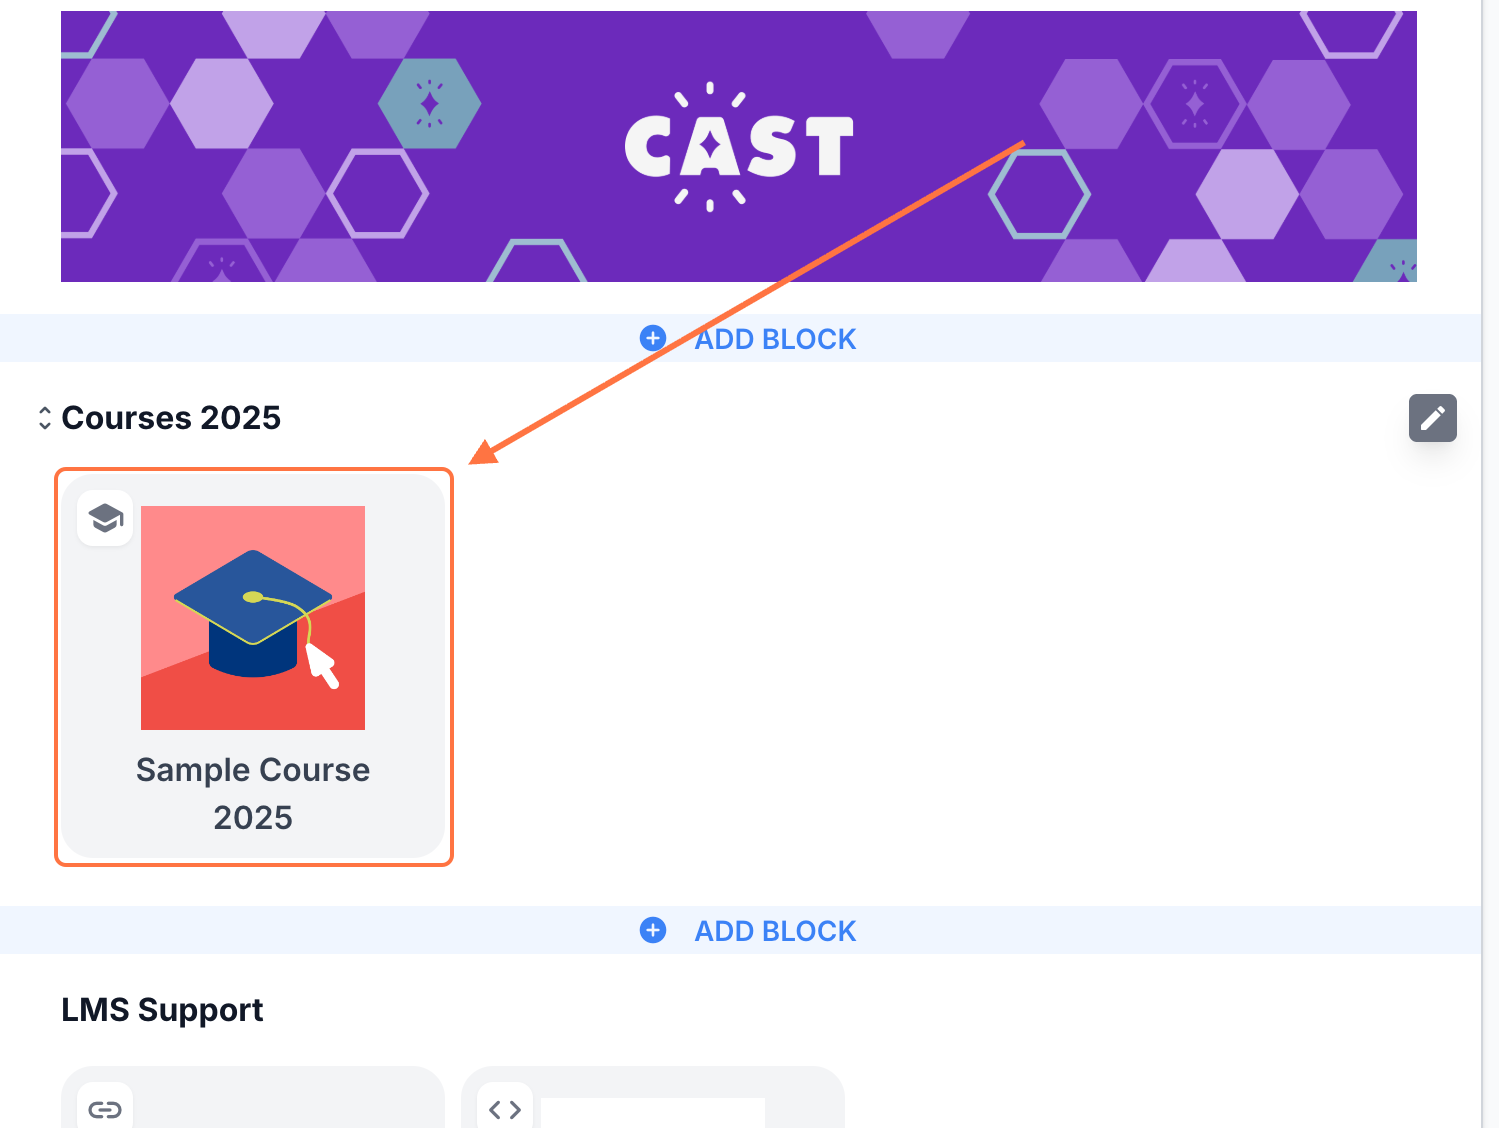
1. If you intend to upload the resource inside a course, open any course in the Cast Editor.
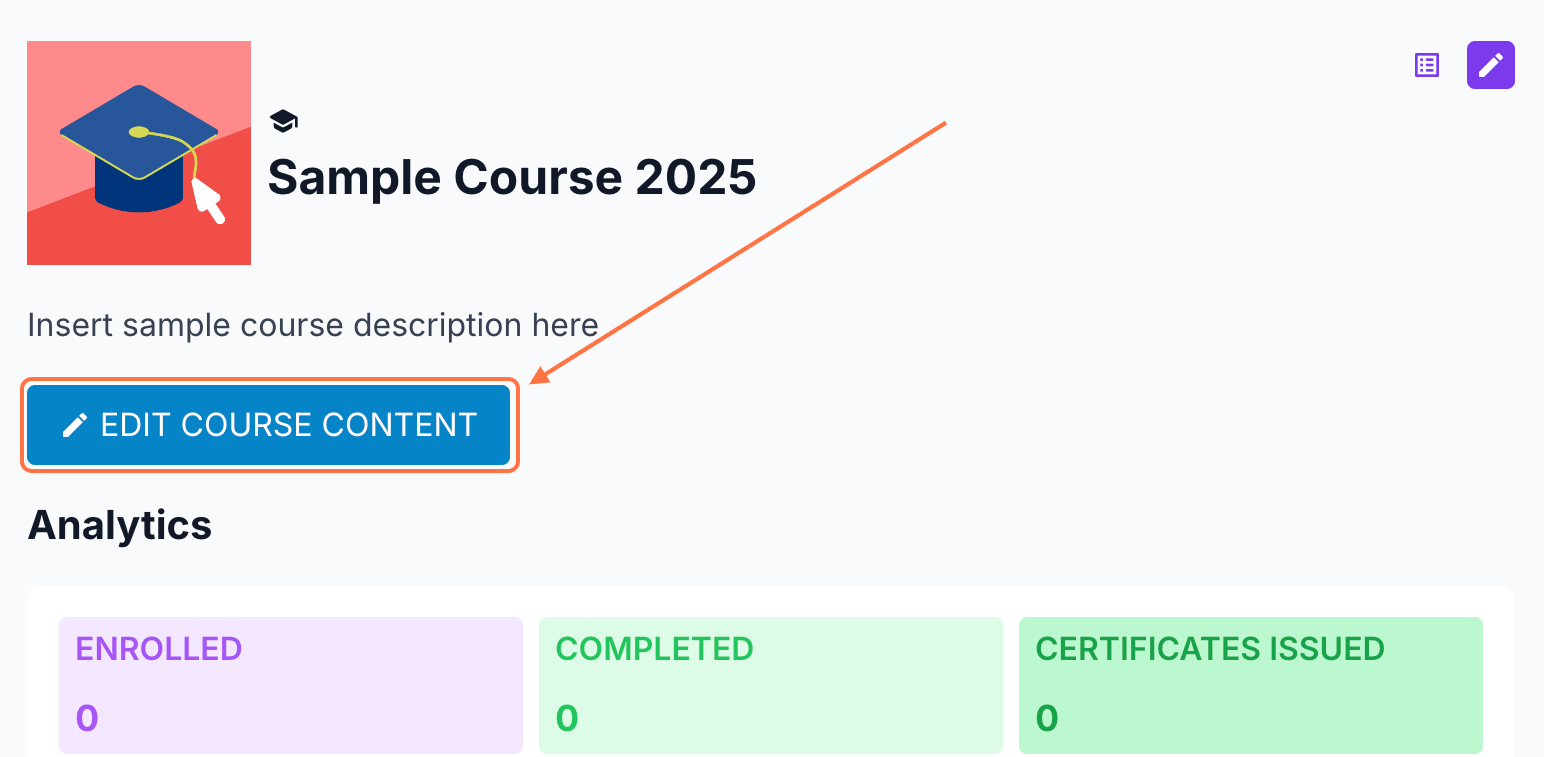
Then, click the Edit Course Content button in the Course Profile.
If you want to upload the resource directly to a page, go to Cast Editor from the Admin Dashboard.
Click the Edit (pencil) icon on your chosen block, then click the “+” sign to add a new resource.
Learn more about uploading resources in the Cast Editor through this article.
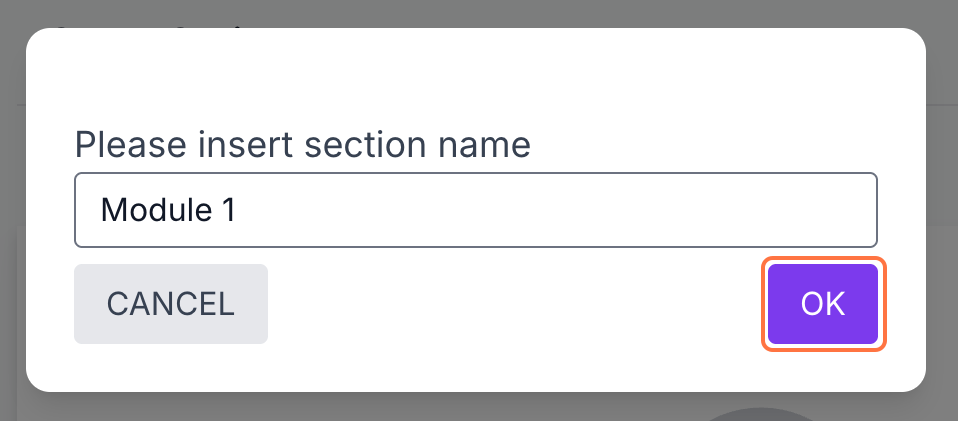
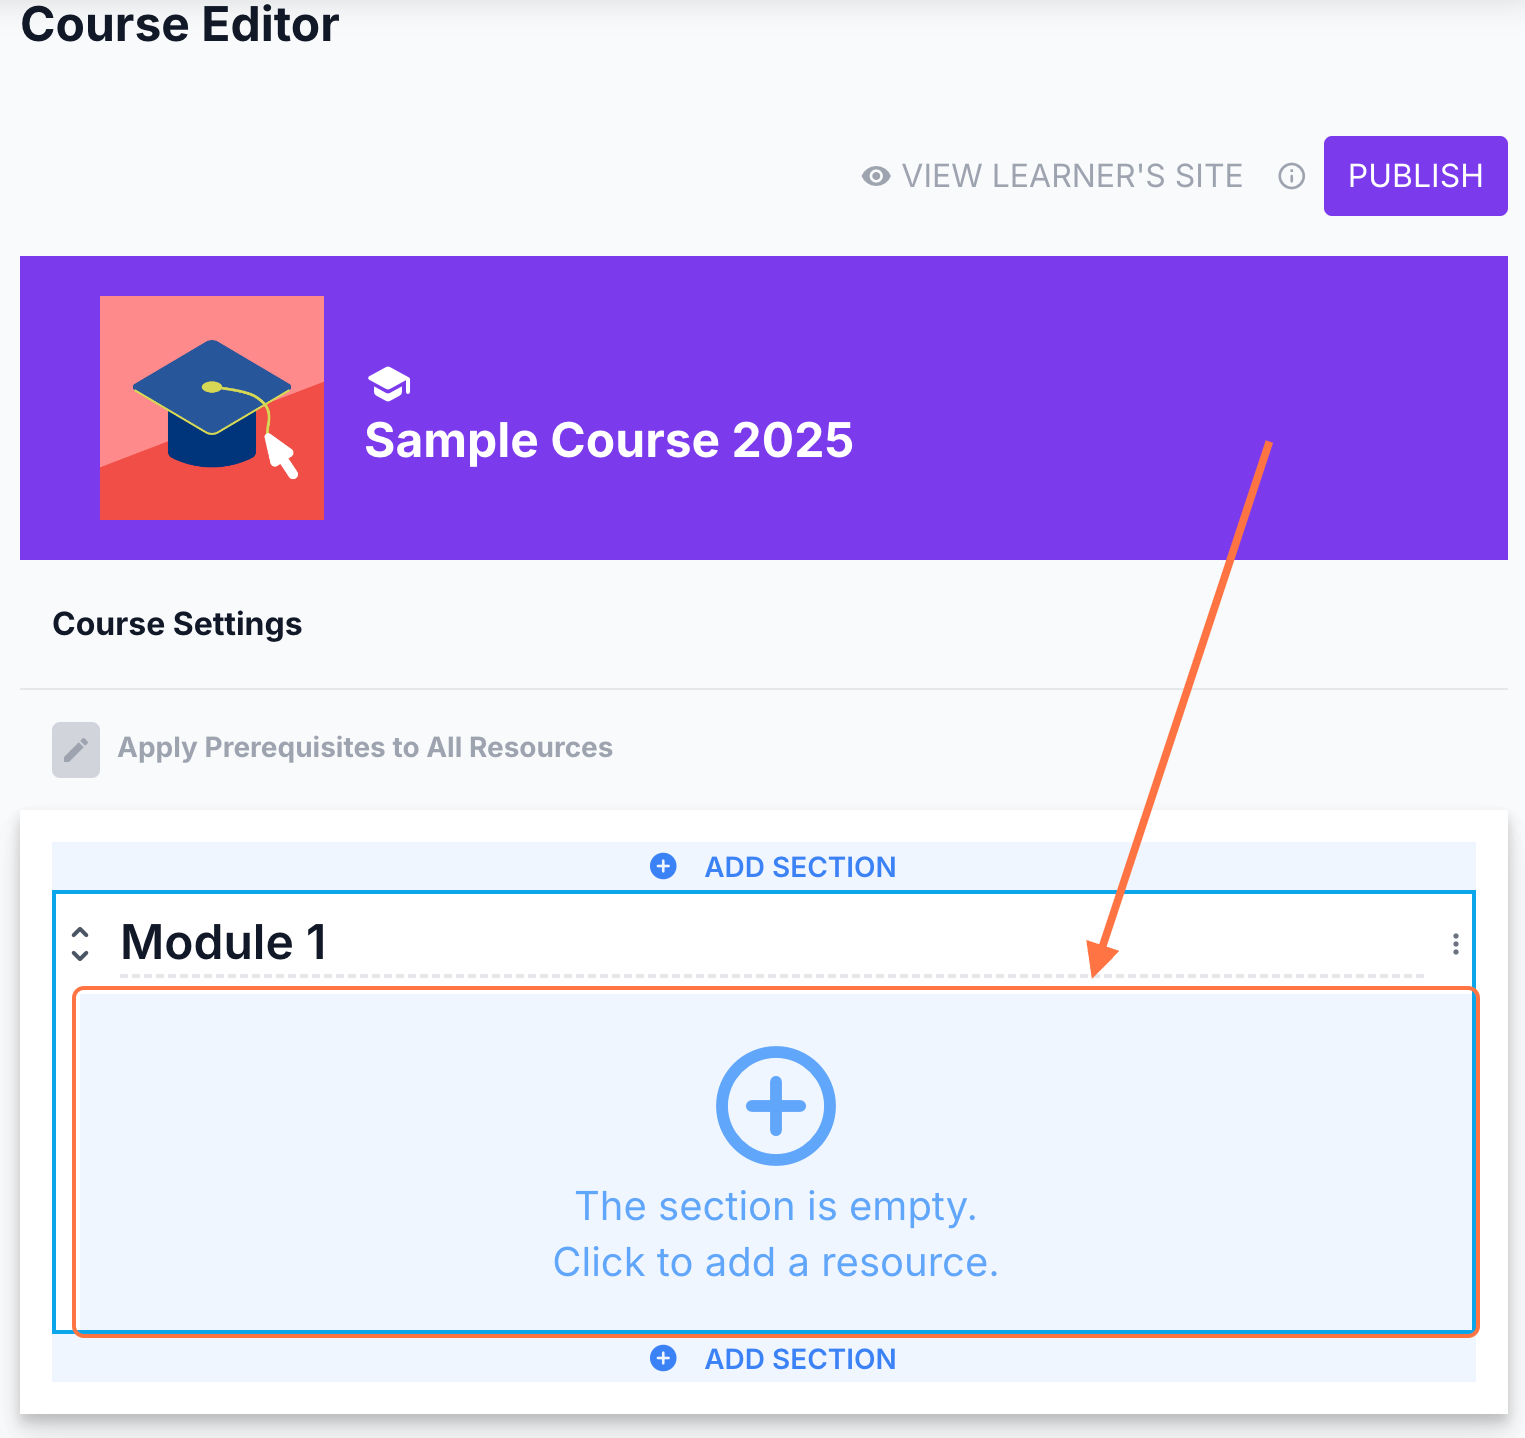
2. If your course is new, add a section by clicking on + Add Section.
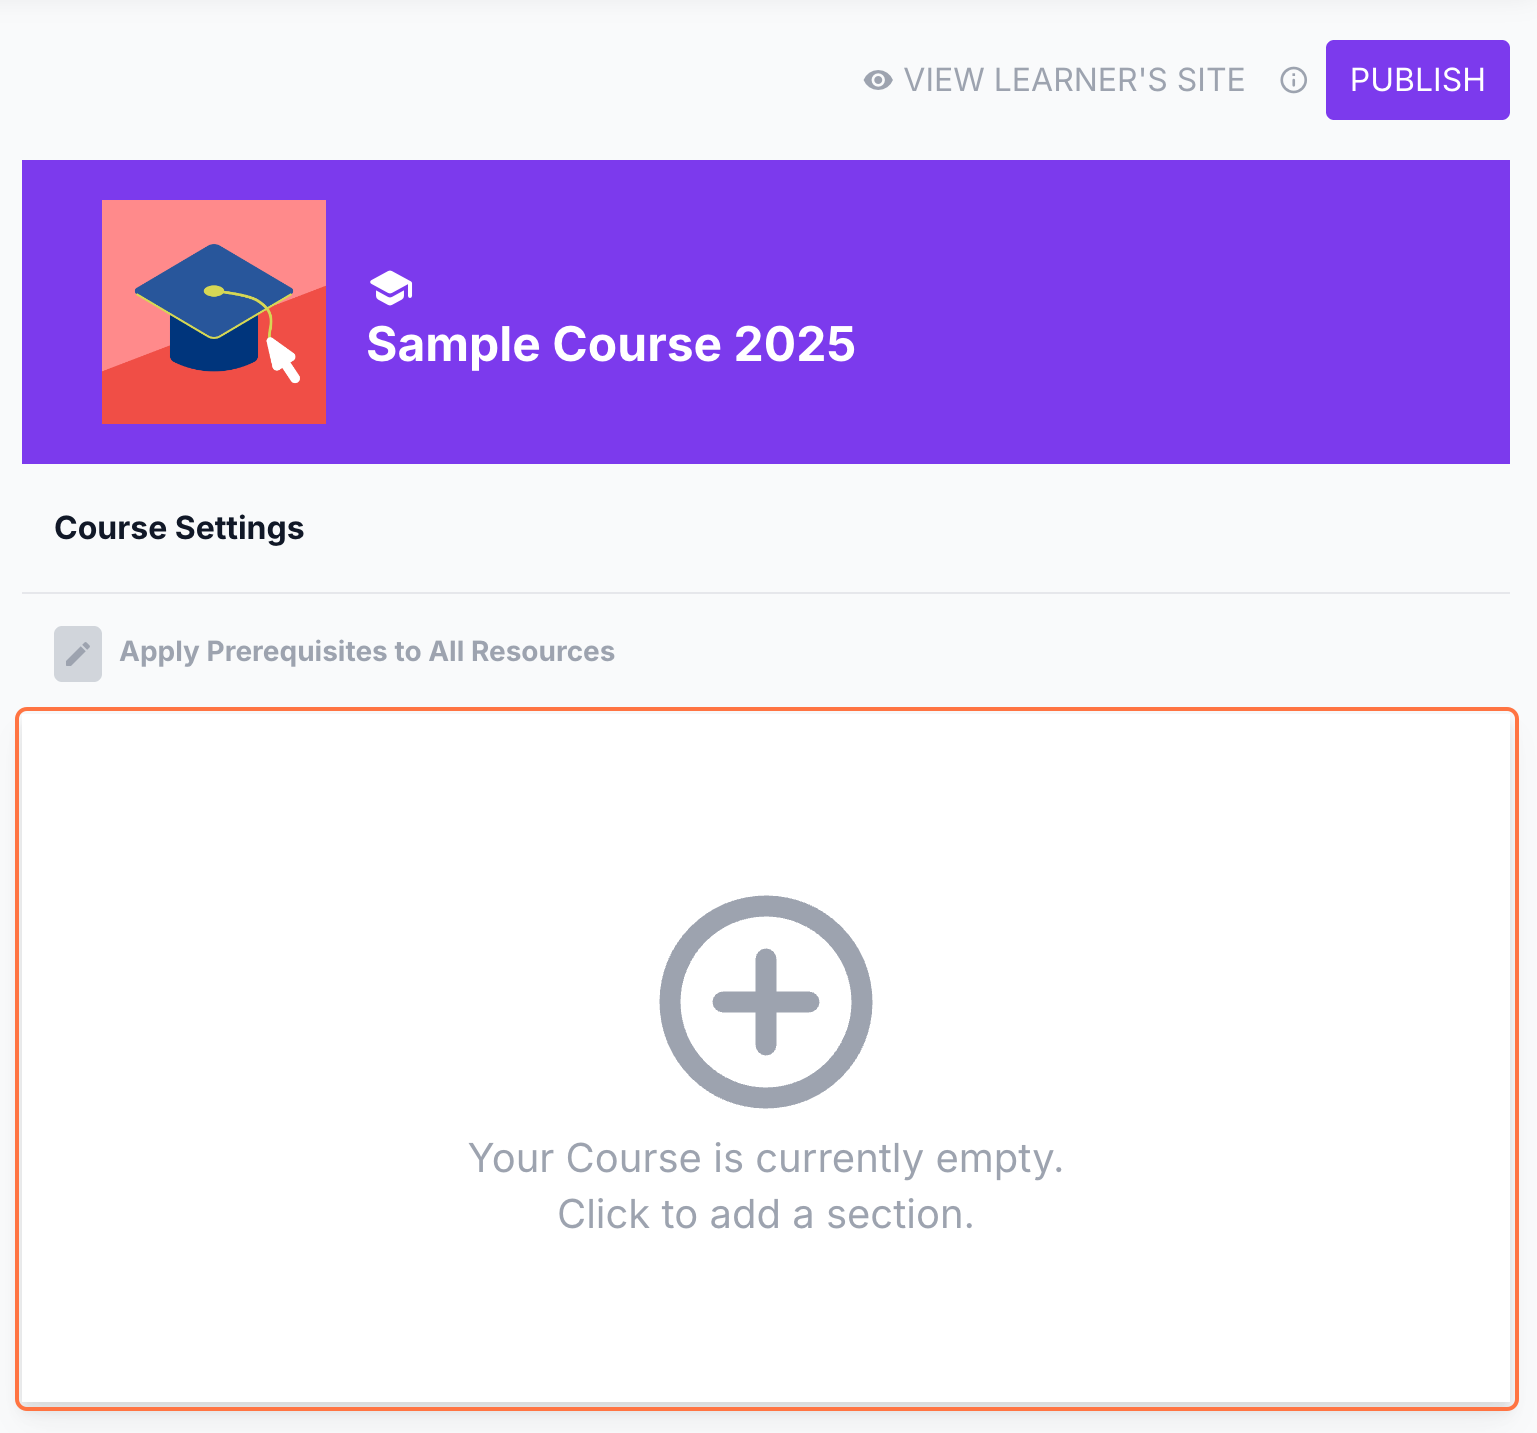
Then, click the + Add Resource button in the section where you want to place the resource.
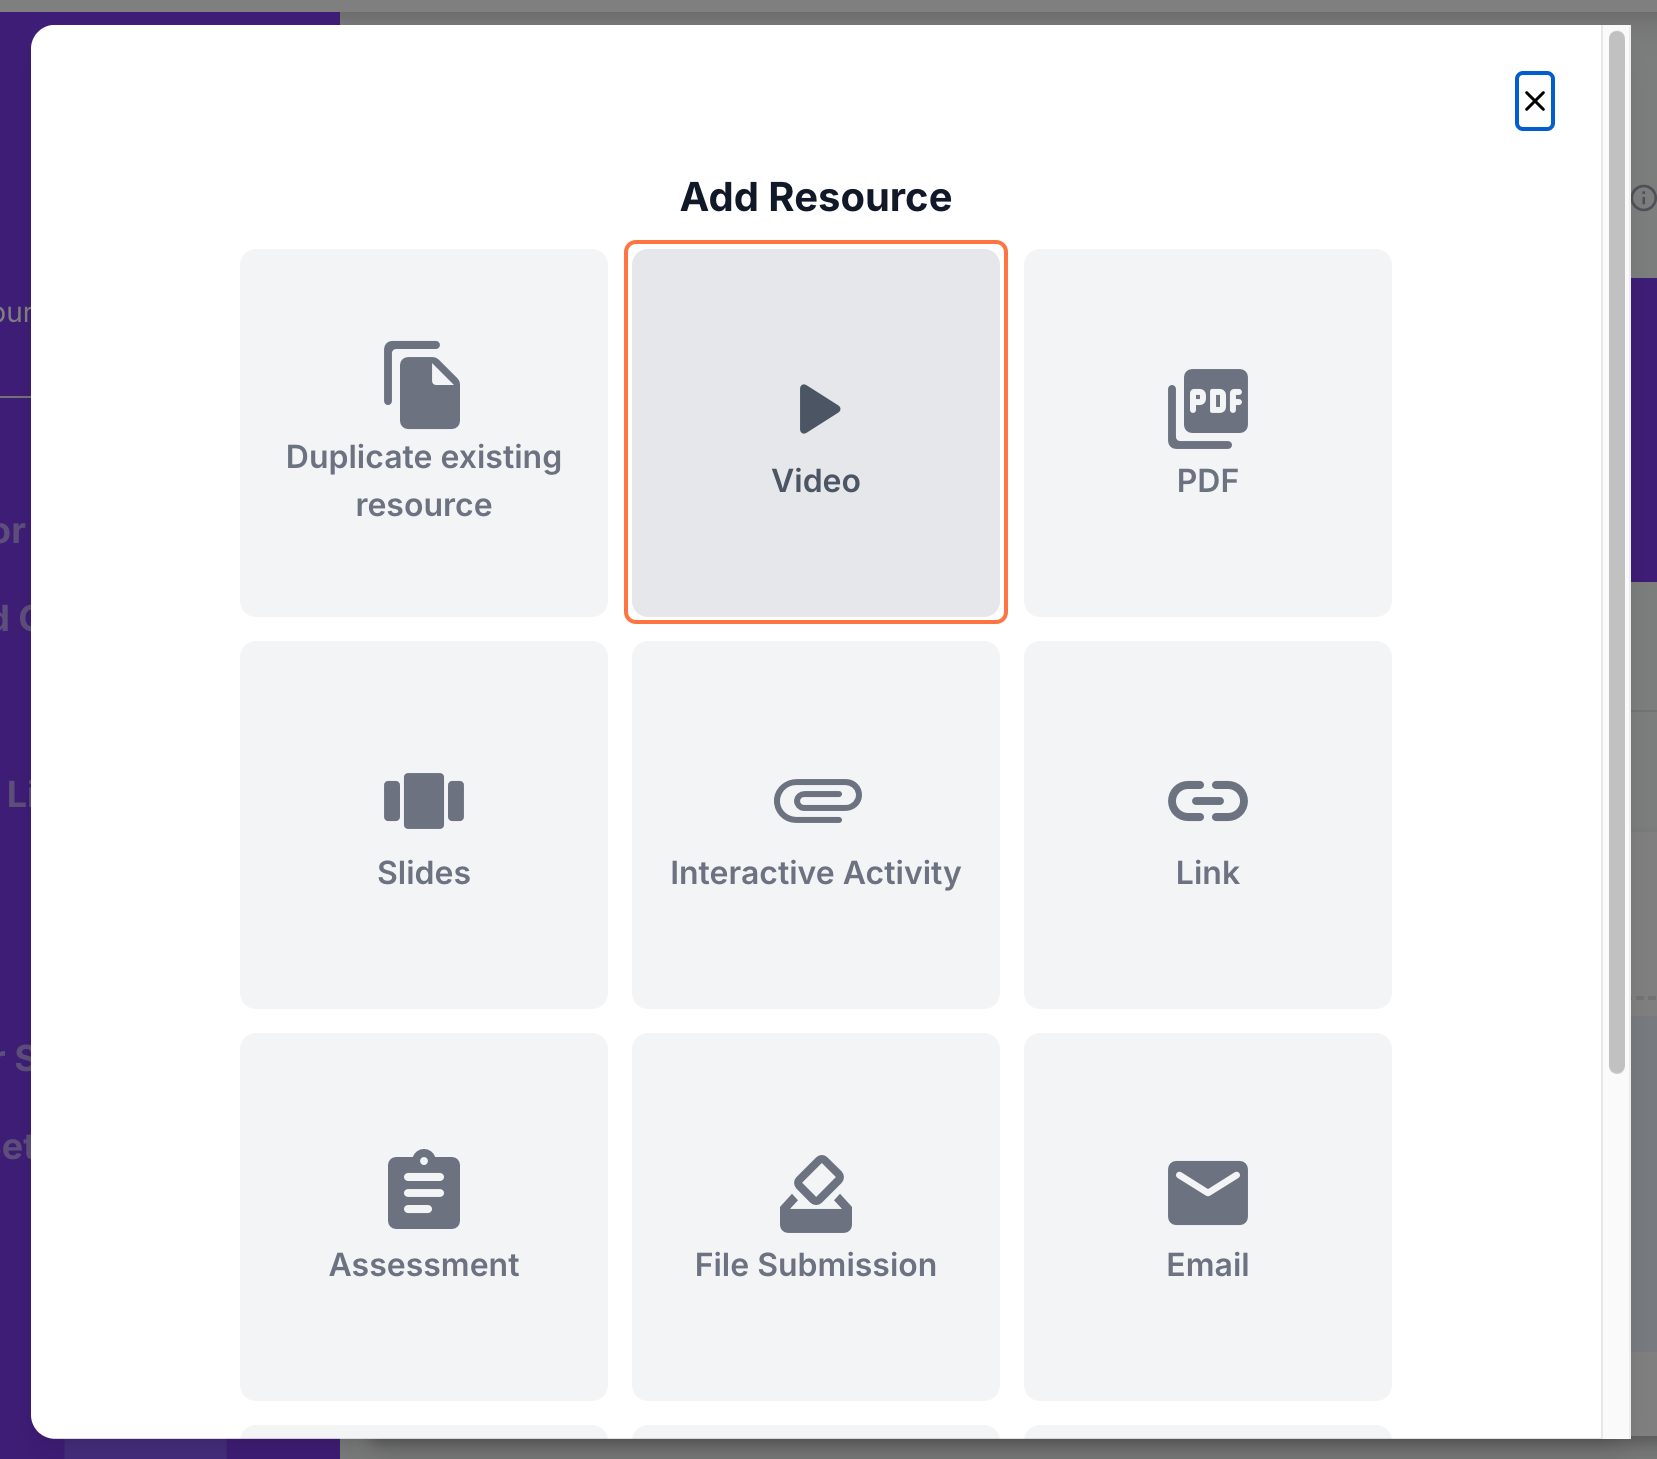
3. Select Video from the list of resource types.
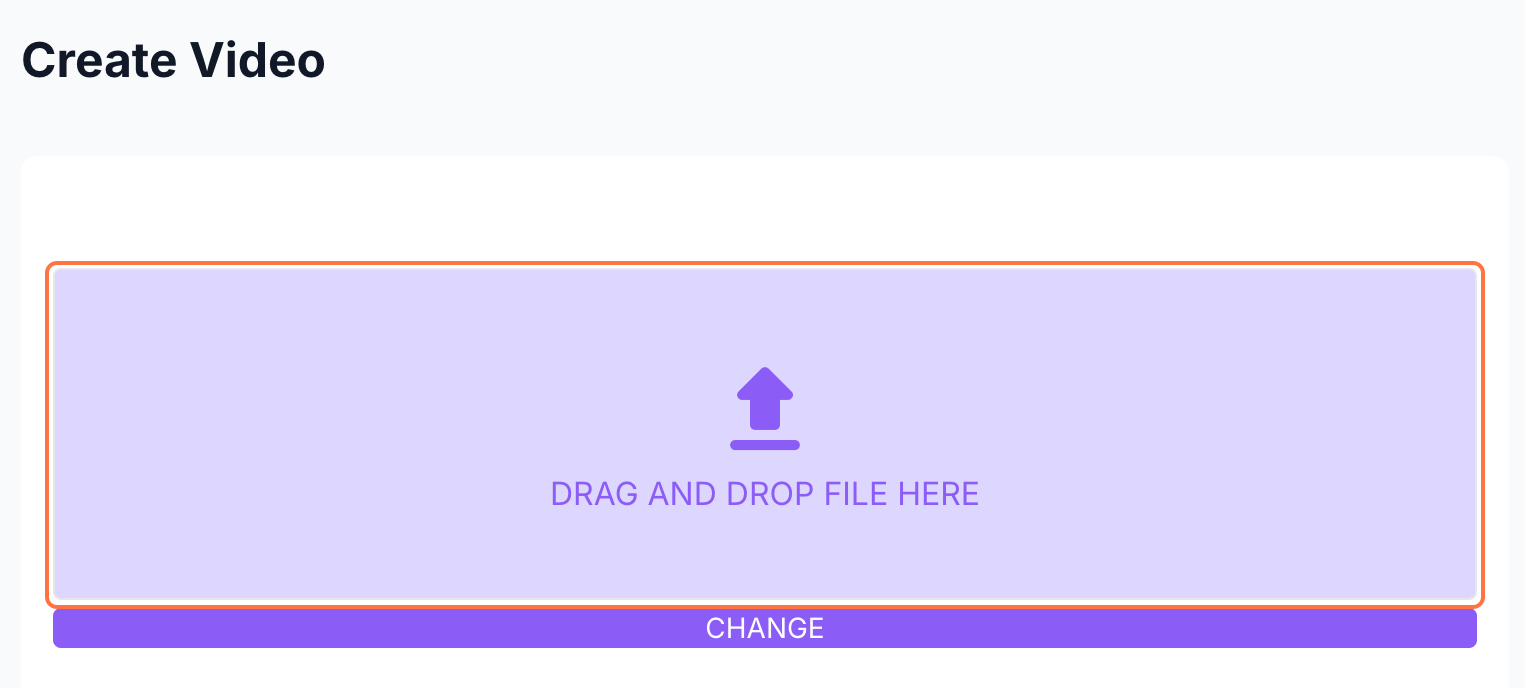
4. Drag and drop your file into the space provided, or select the video you want to upload from your device.
Take note of the file size — smaller files upload faster and load more smoothly for learners. The recommended file size for videos is 500MB or below. Any file size higher than this may need to be compressed first before uploading.
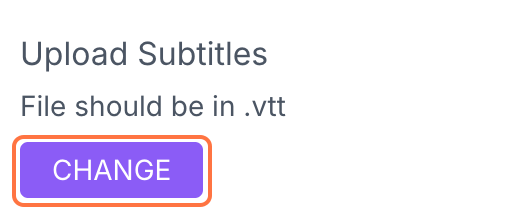
5. You can also upload subtitles for the video in .vtt format. Click on CHANGE below subtitles to add one.
You can adjust the font size of the subtitles using the scrubber.

Optionally, provide a description for this video using the markdown editor.
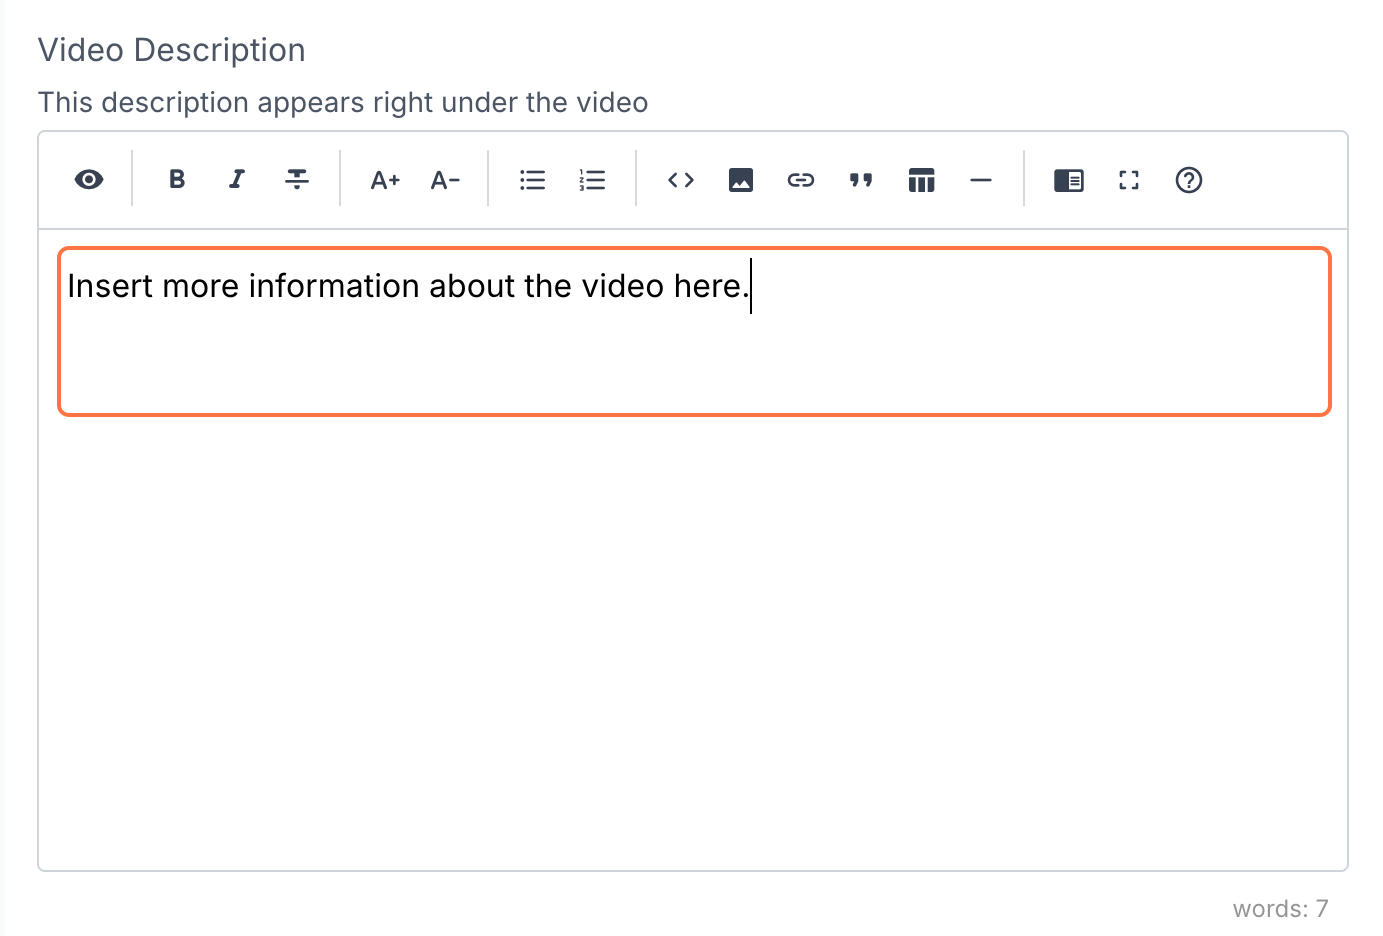
The video description appears below the video on the learner's portal.
6. Enter a name or title for the video.
Click the image icon or the Add Image button to change the video thumbnail.

7. You can also provide a Resource Description under the corresponding field.
8. Click SAVE to save your changes.
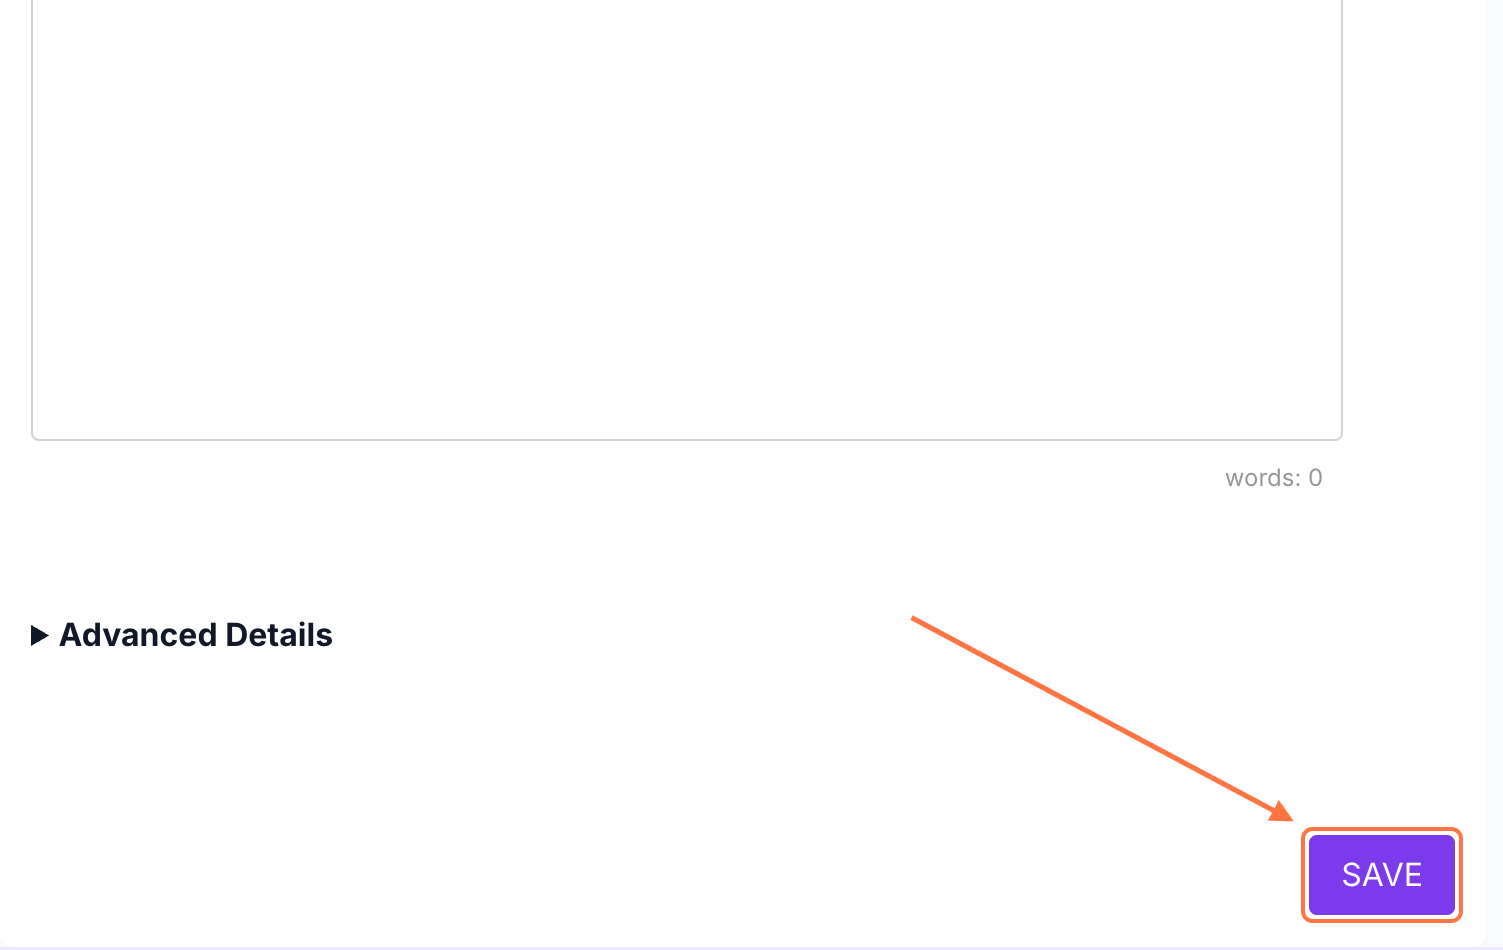
The save button will only be clickable once the video has finished uploading. Make sure to wait until the video at the top of this page allows playback.