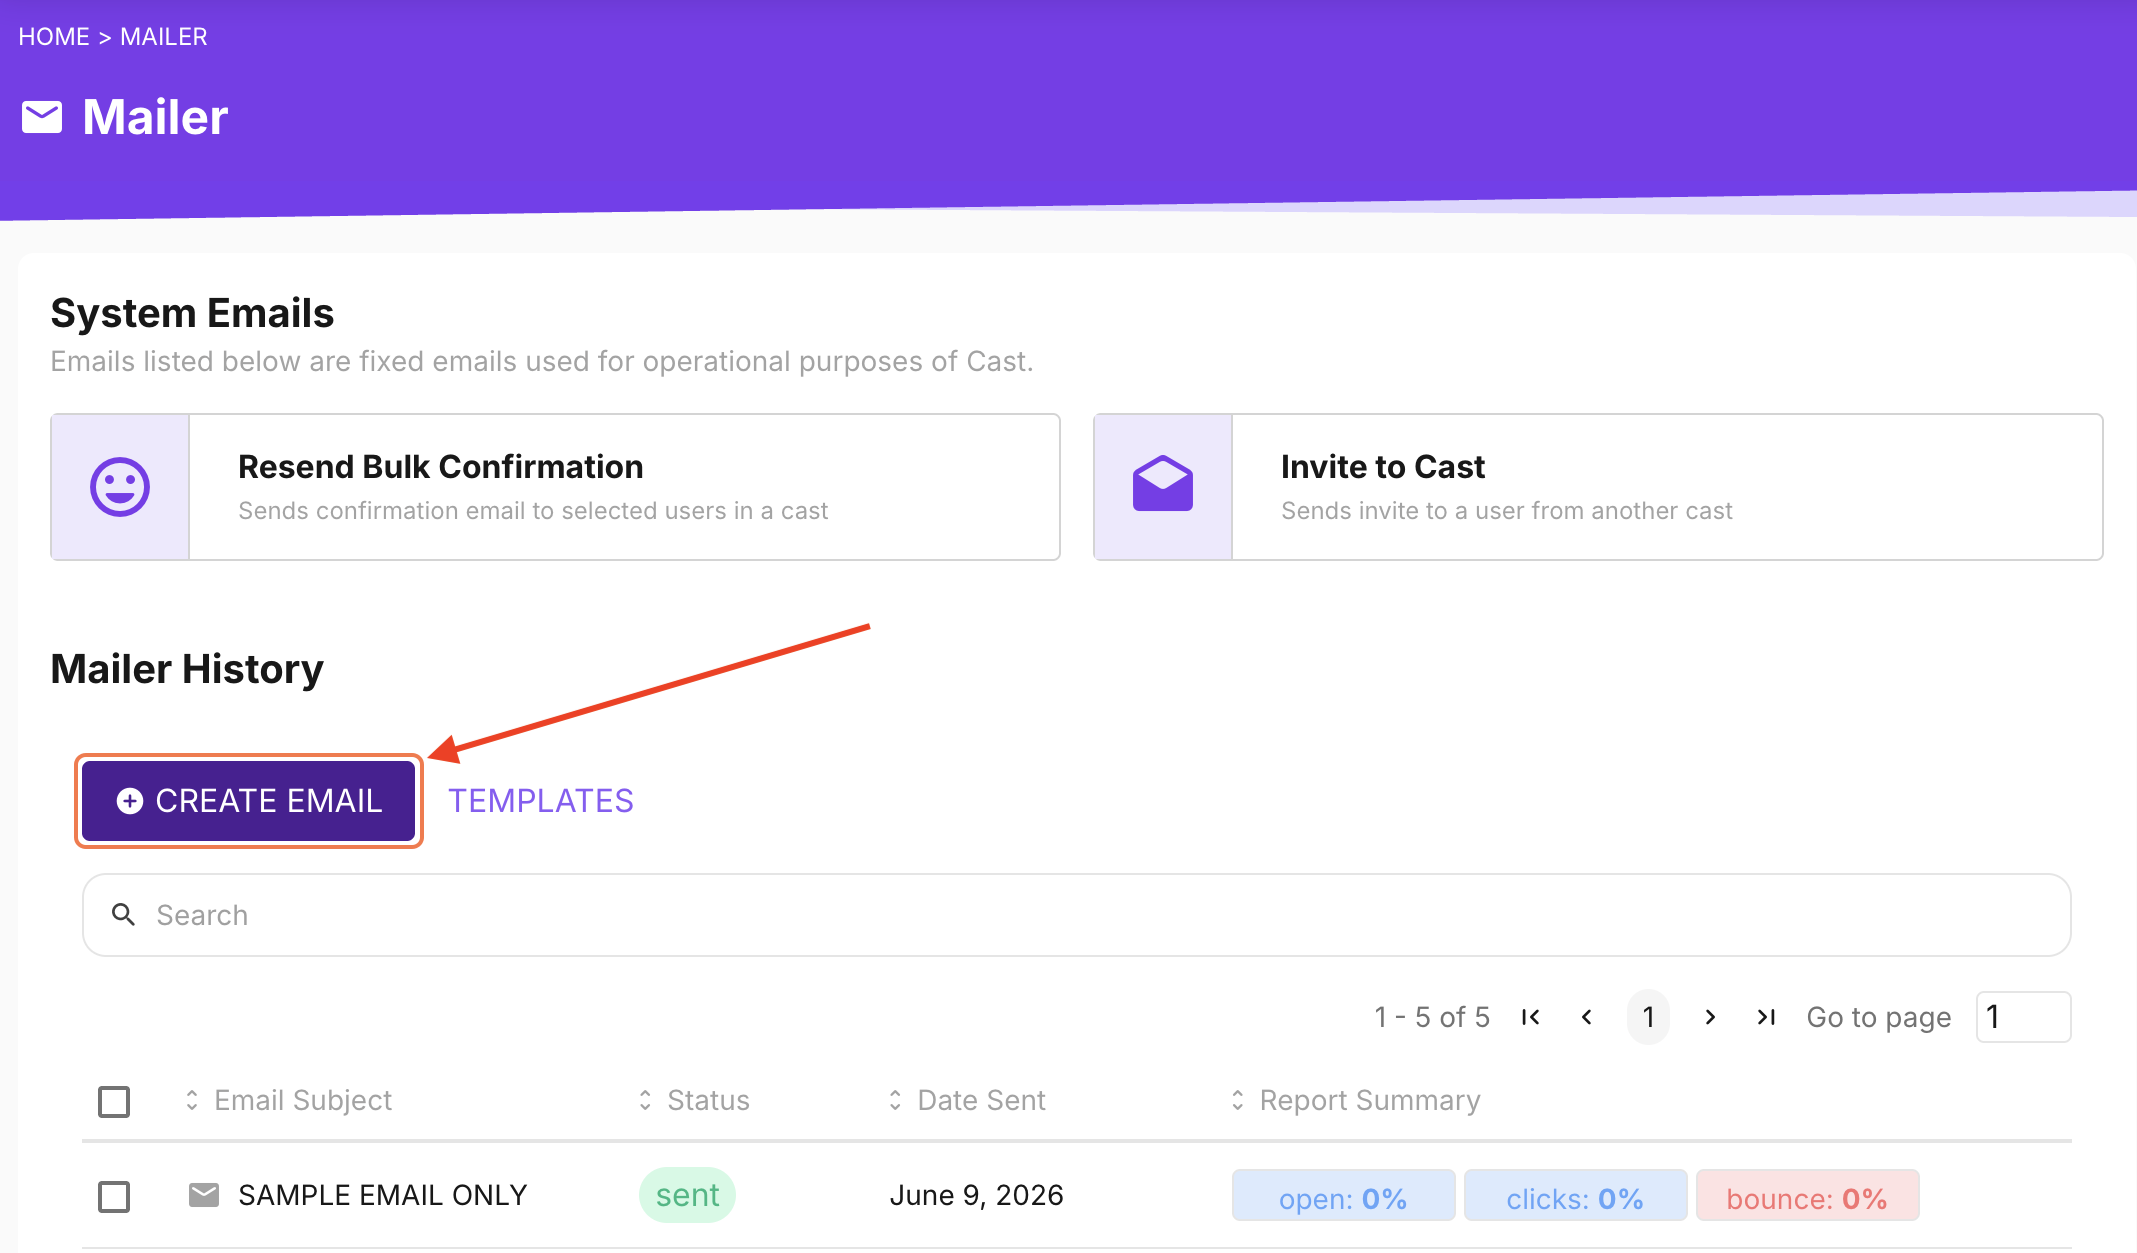
1. Go to Mailer.
2. Click on + Create Email button.
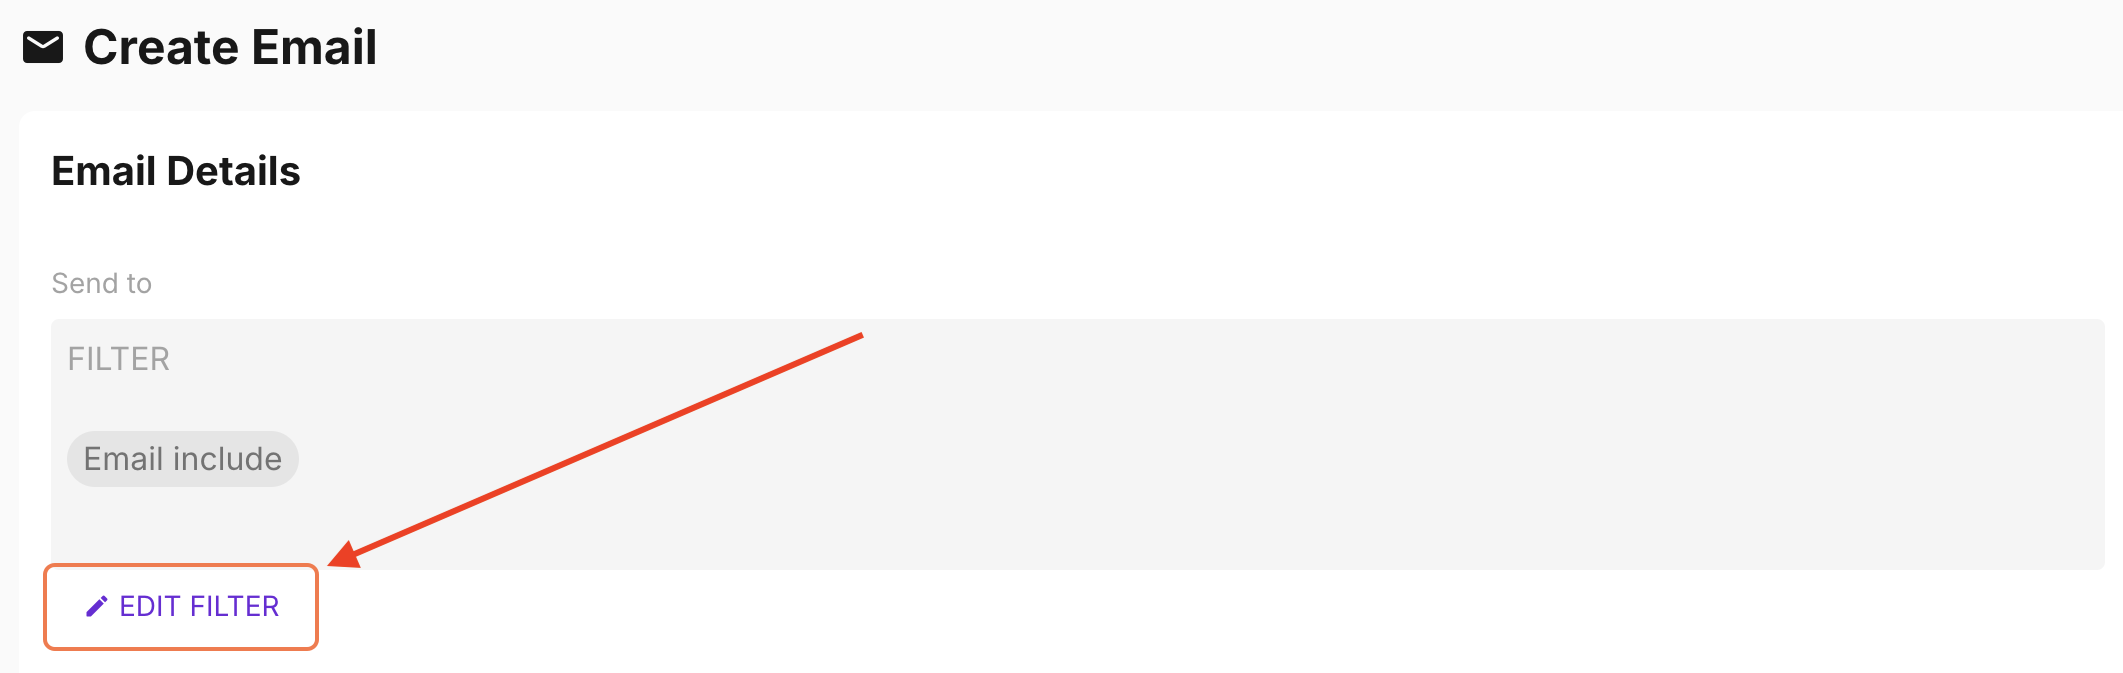
3. Under Email Details, you can filter the targeted recipients of the email. Click on Edit Filter.
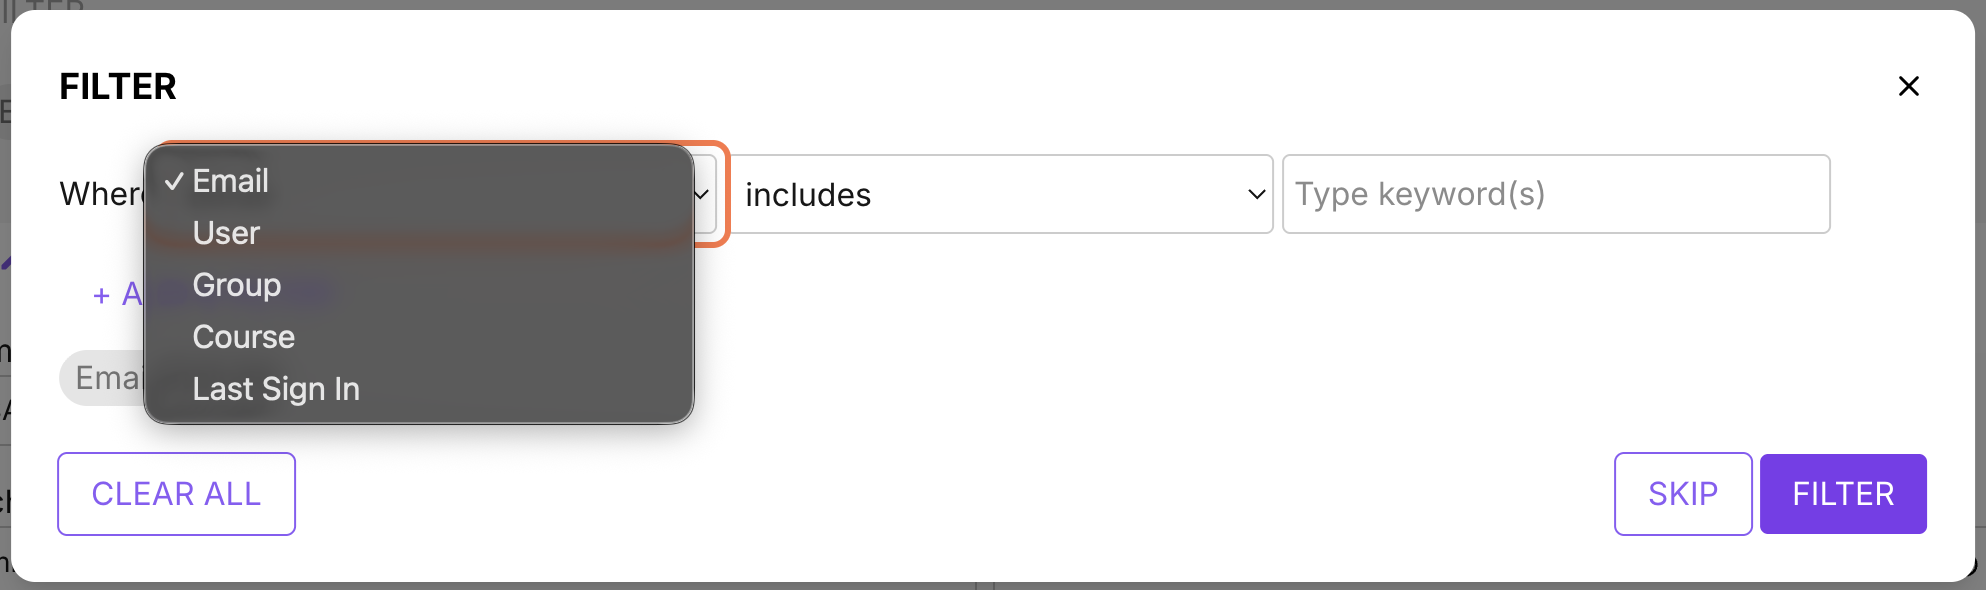
You can select any filtering option available:
Email (select recipients through their email addresses)
Type keywords in emails you want to automatically select as recipients. All users that have this exact keyword/s will be selected as a recipient.User (select a particular user from your existing user list)
Select a user by checking the box beside their email address. Click DONE to finalize the selection.Group (select an existing group)
Select a group by checking the box beside the group name. Click DONE to finalize the selection.Course (select a particular course and filter the recipients by batch or by status in the course)
Select a course by checking the box beside the course name. Click DONE to finalize the selection. Click the next dropdown menu to select another filter. You can choose between batch or student status. Another dropdown menu will appear beside your selected filter so you can choose a batch and/or student status available.Last Sign In (select users who last signed in after or before a specific date)
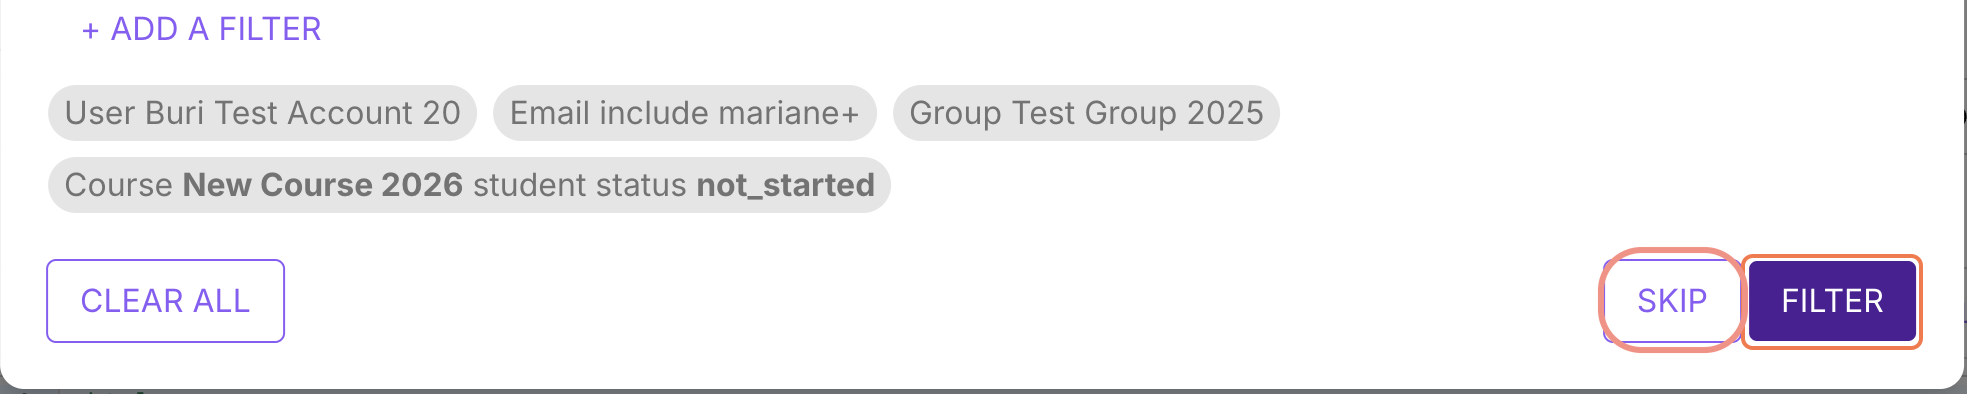
You can add more filters by clicking on ADD A FILTER and selecting another filtering option. You can also click on CLEAR ALL to remove all the filters.
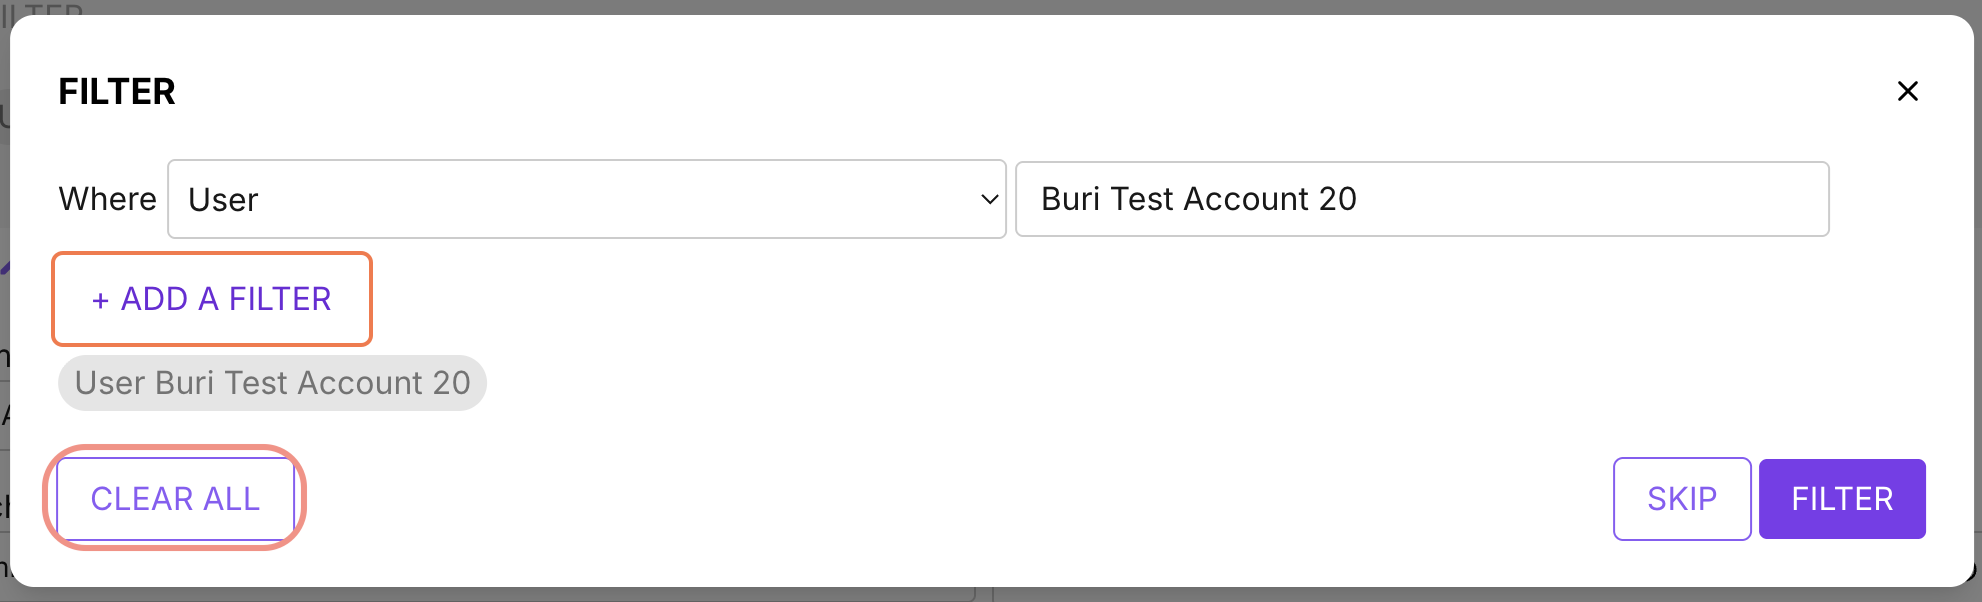
After editing the filter for recipients, click on FILTER to proceed. If you haven't decided on the recipients yet, click on SKIP.
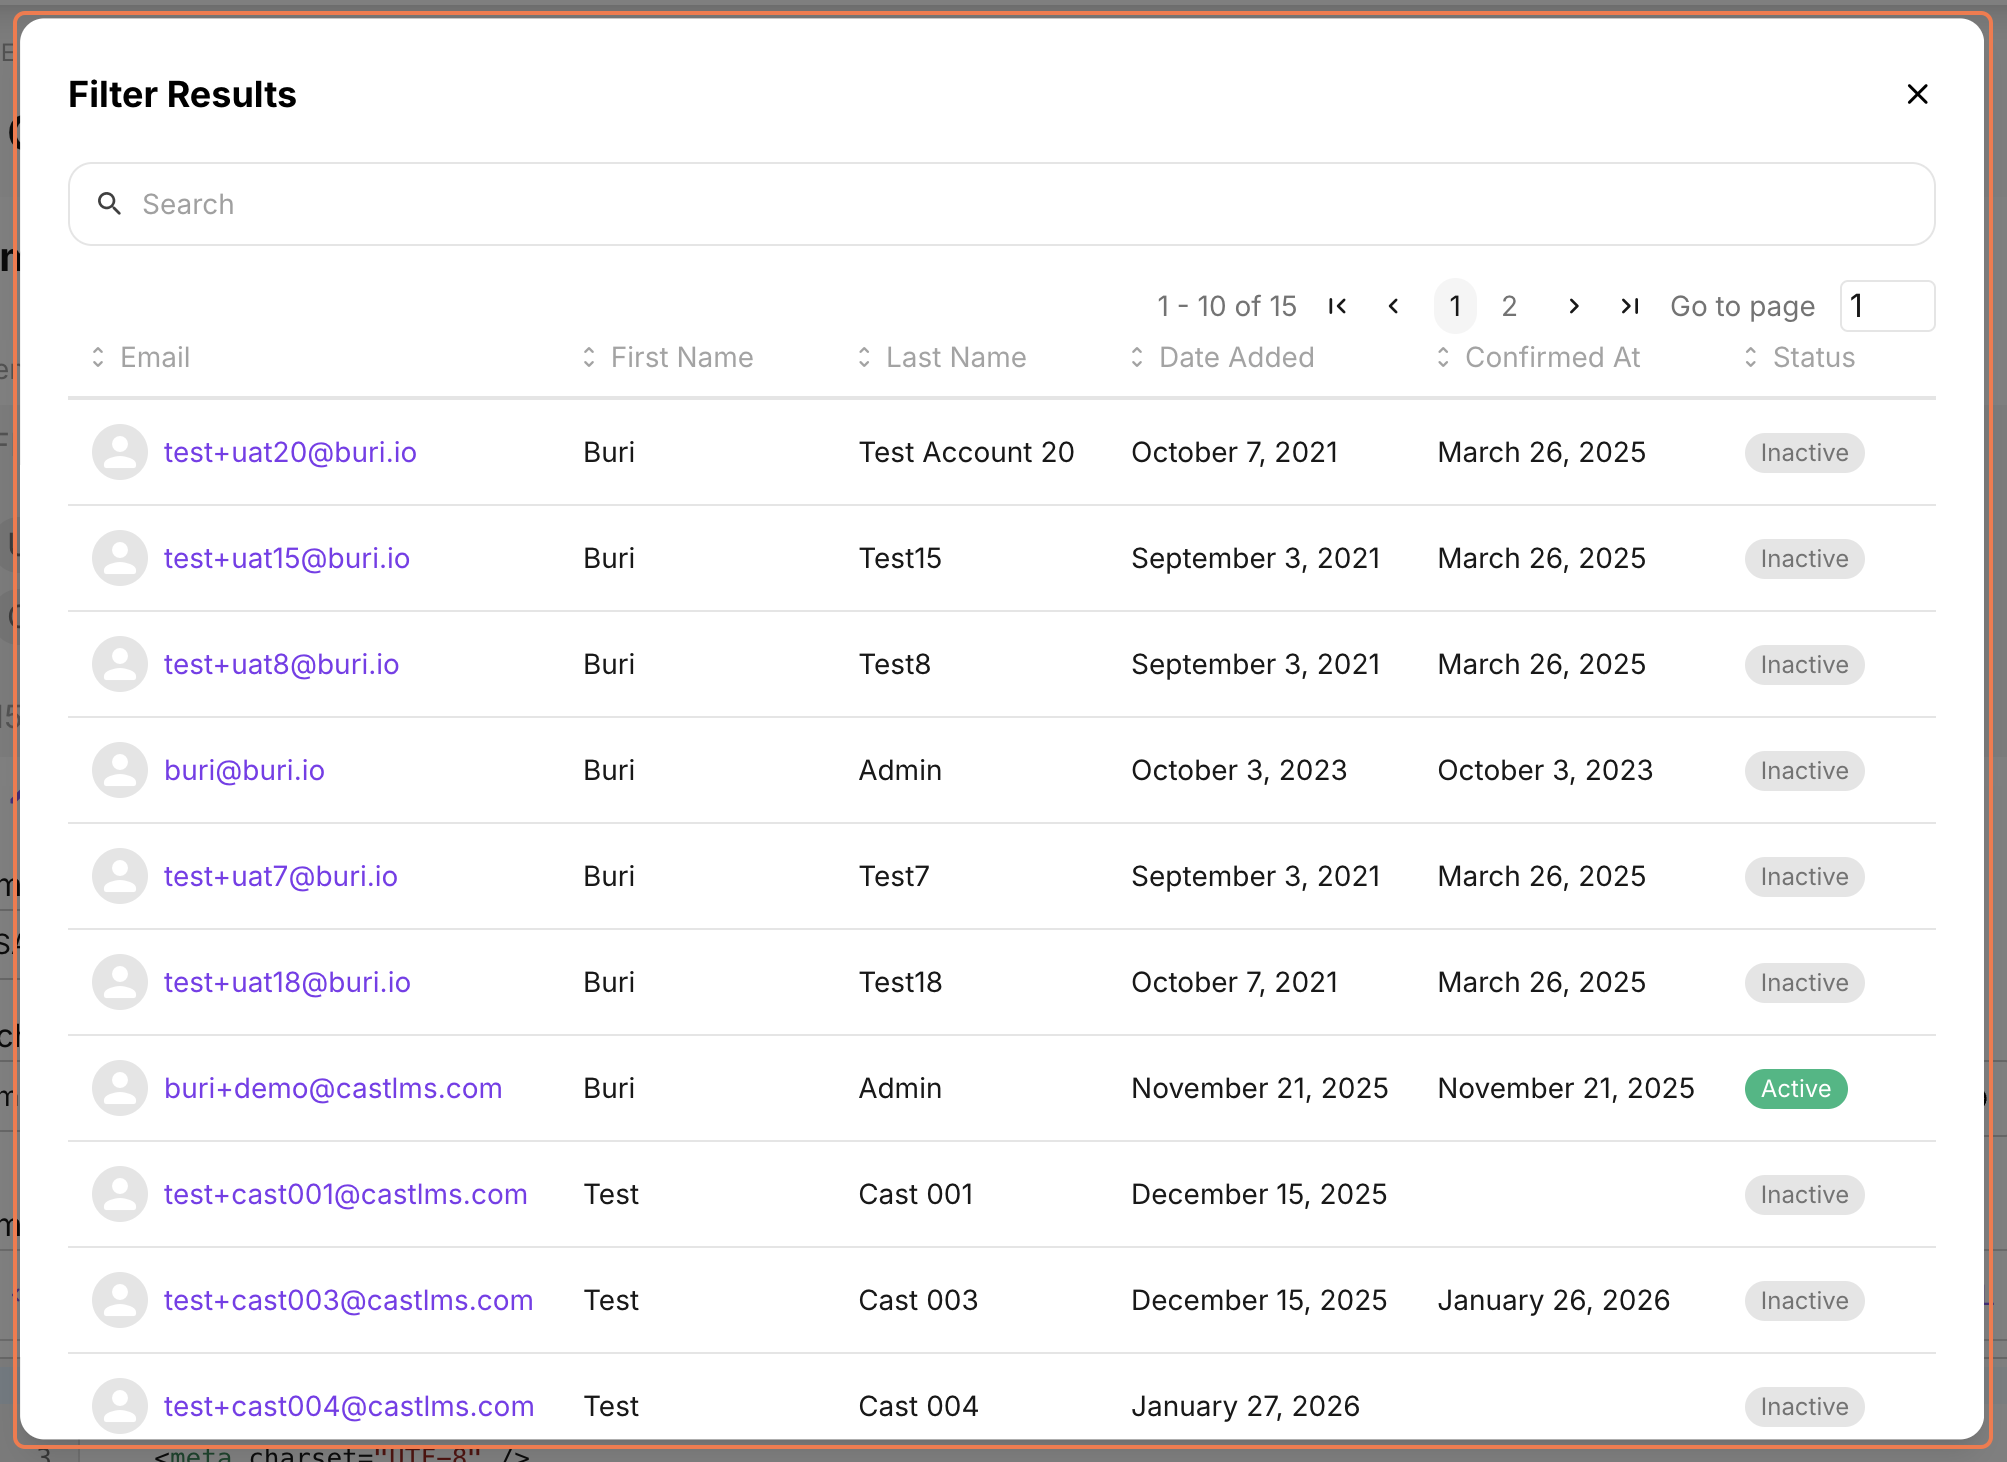
Once you have selected the filter for your recipients, the number of results or selected recipients will appear in the SEND TO box.
Click on the results to view the email addresses or the users you have selected using the filter. Note: Always check the results to make sure that your recipients are correct. If you encounter issues in the filter results, please contact any member of our support team or email us at support@buri.io.

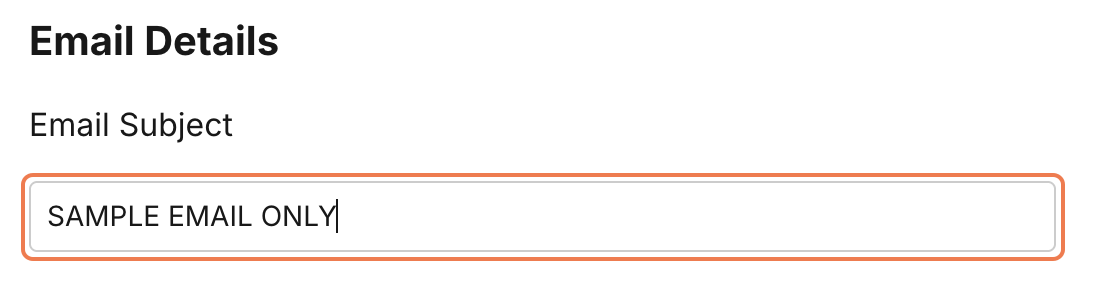
4. After selecting the recipients, give your email an Email Subject.
5. For Schedule, you can select a date and time when the email will be sent to the selected recipients. Click on the Calendar icon to easily select a date. For time, you can click on the Clock icon to select a specific time.


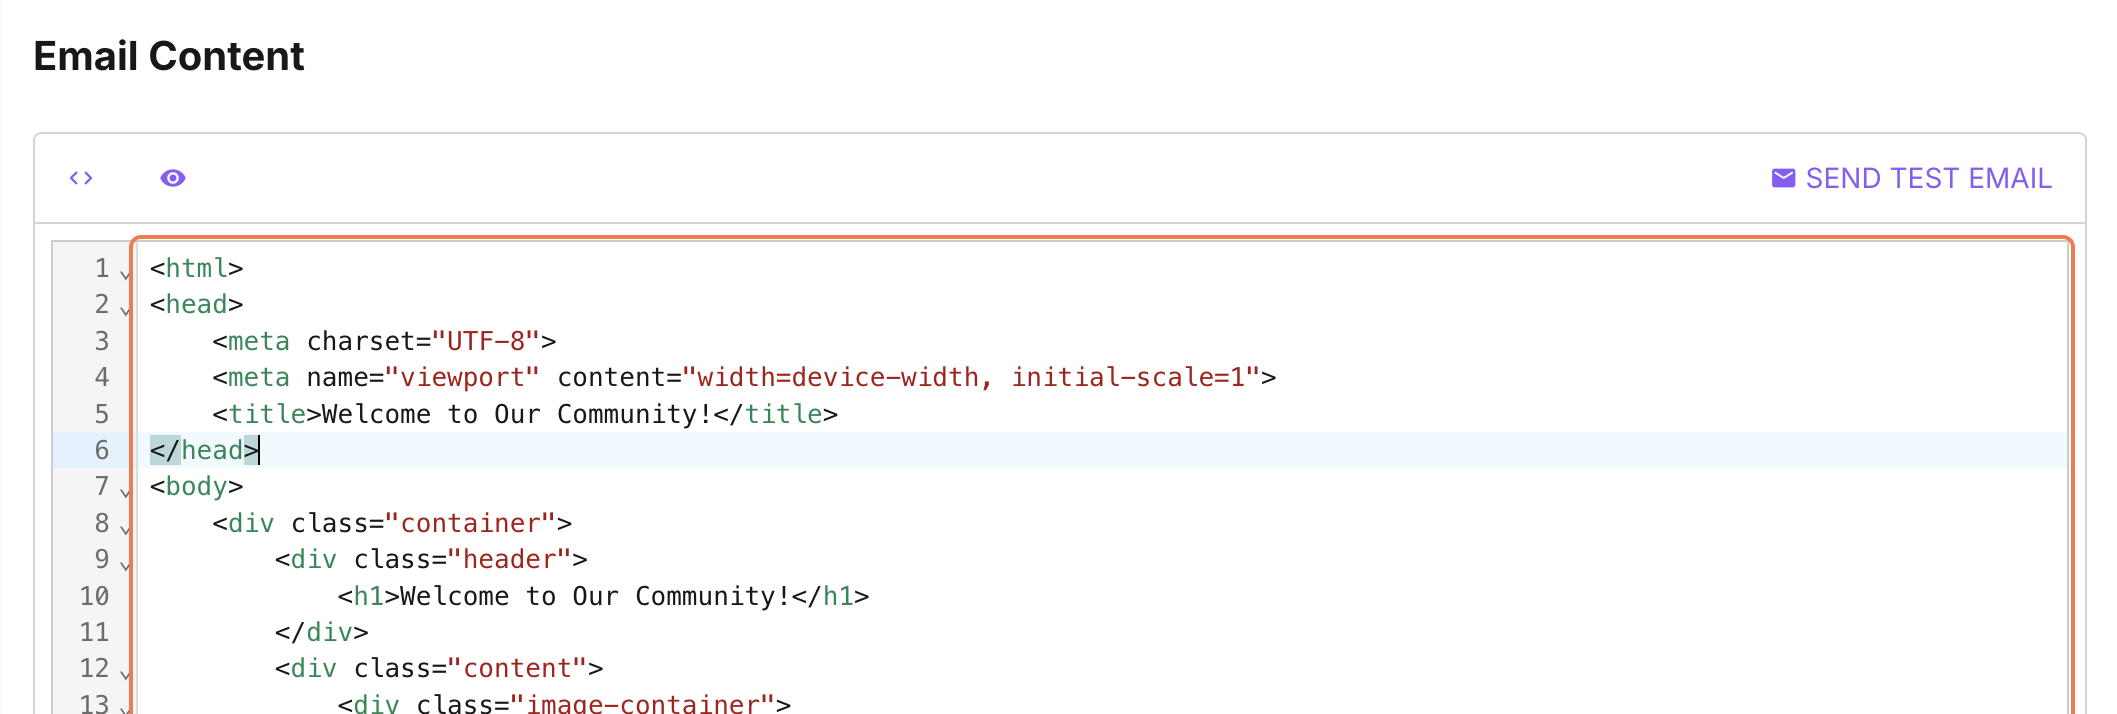
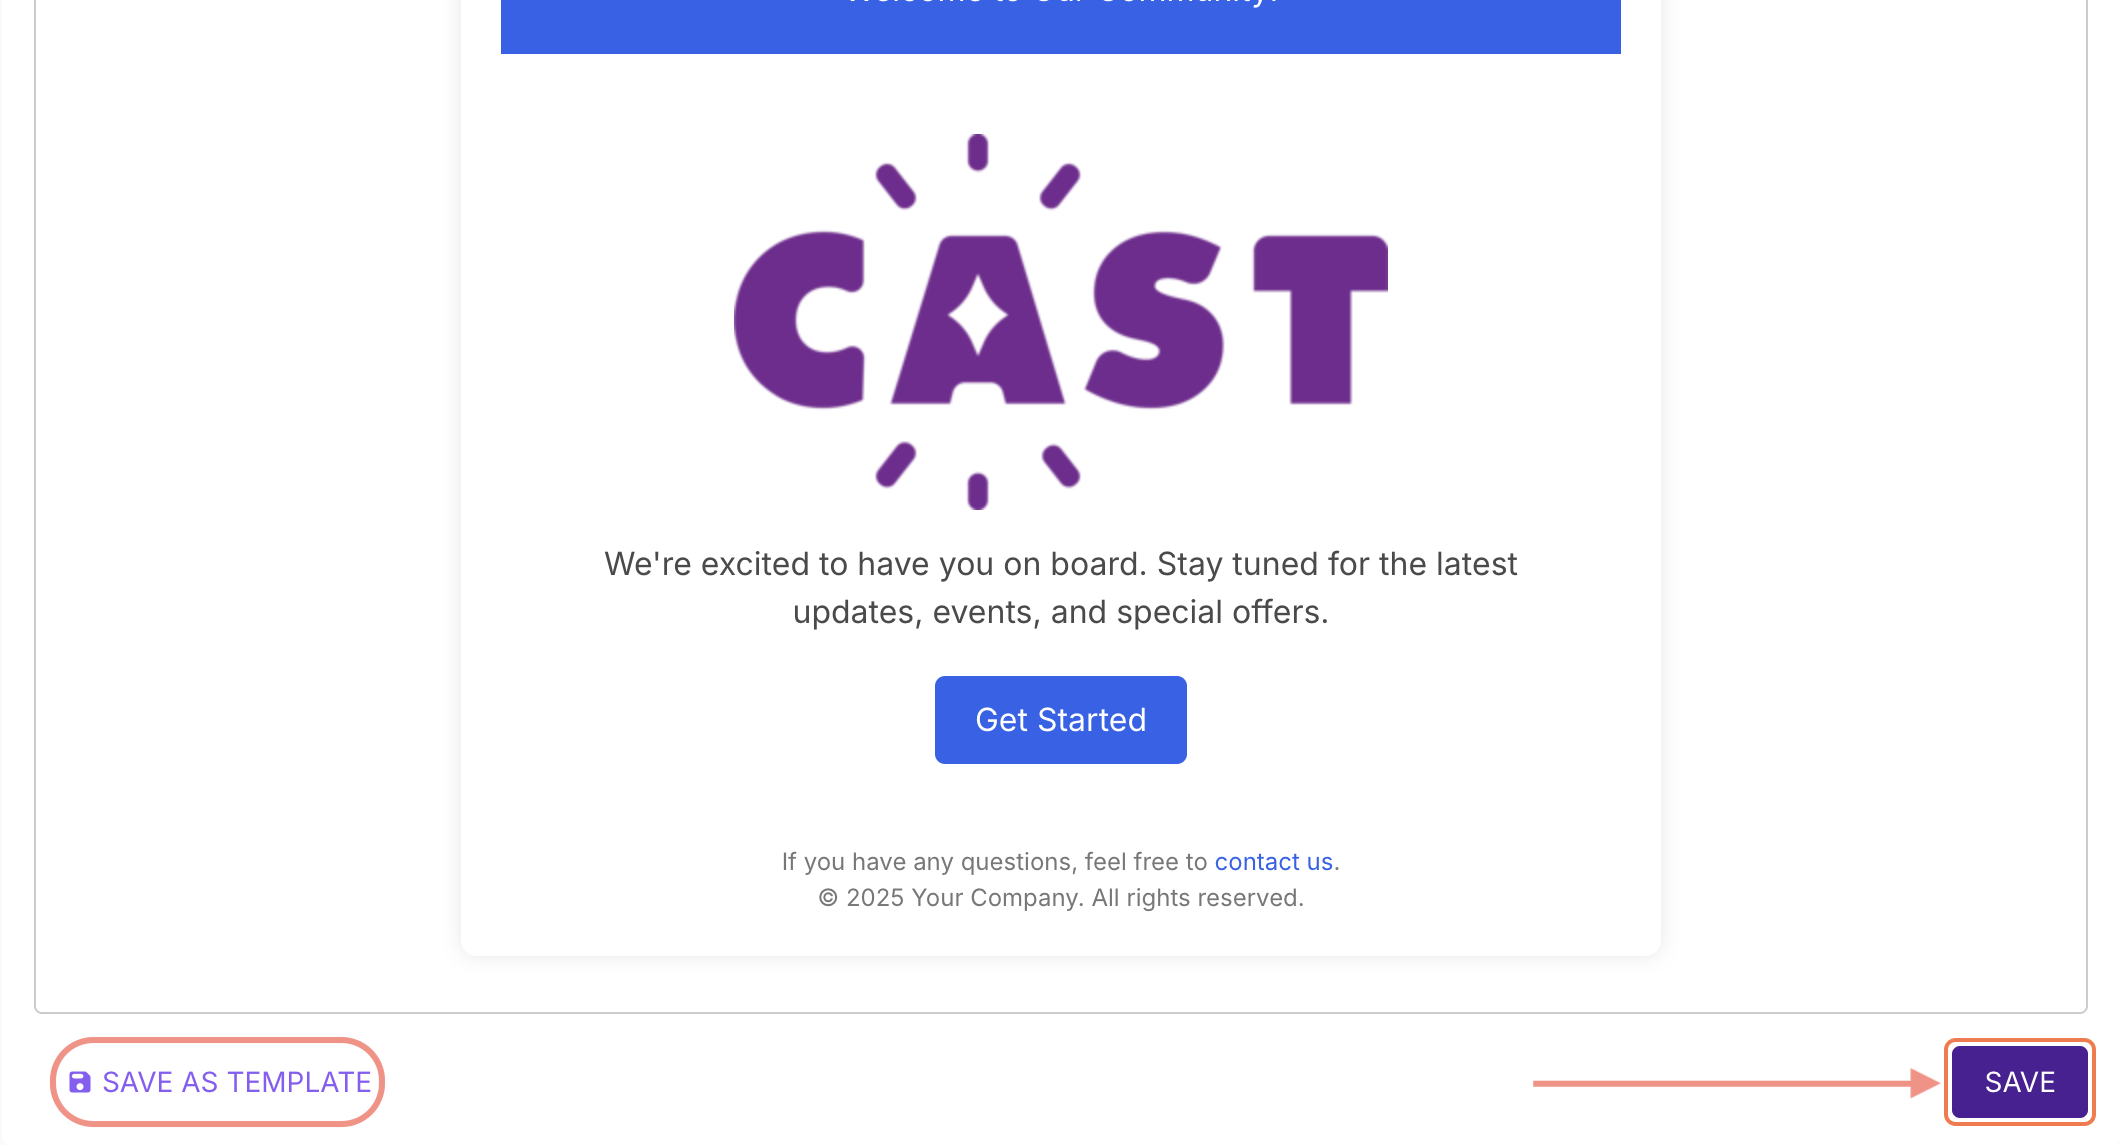
6. In the Email Content box, you can put the entire content of your email message. You can format it using html.
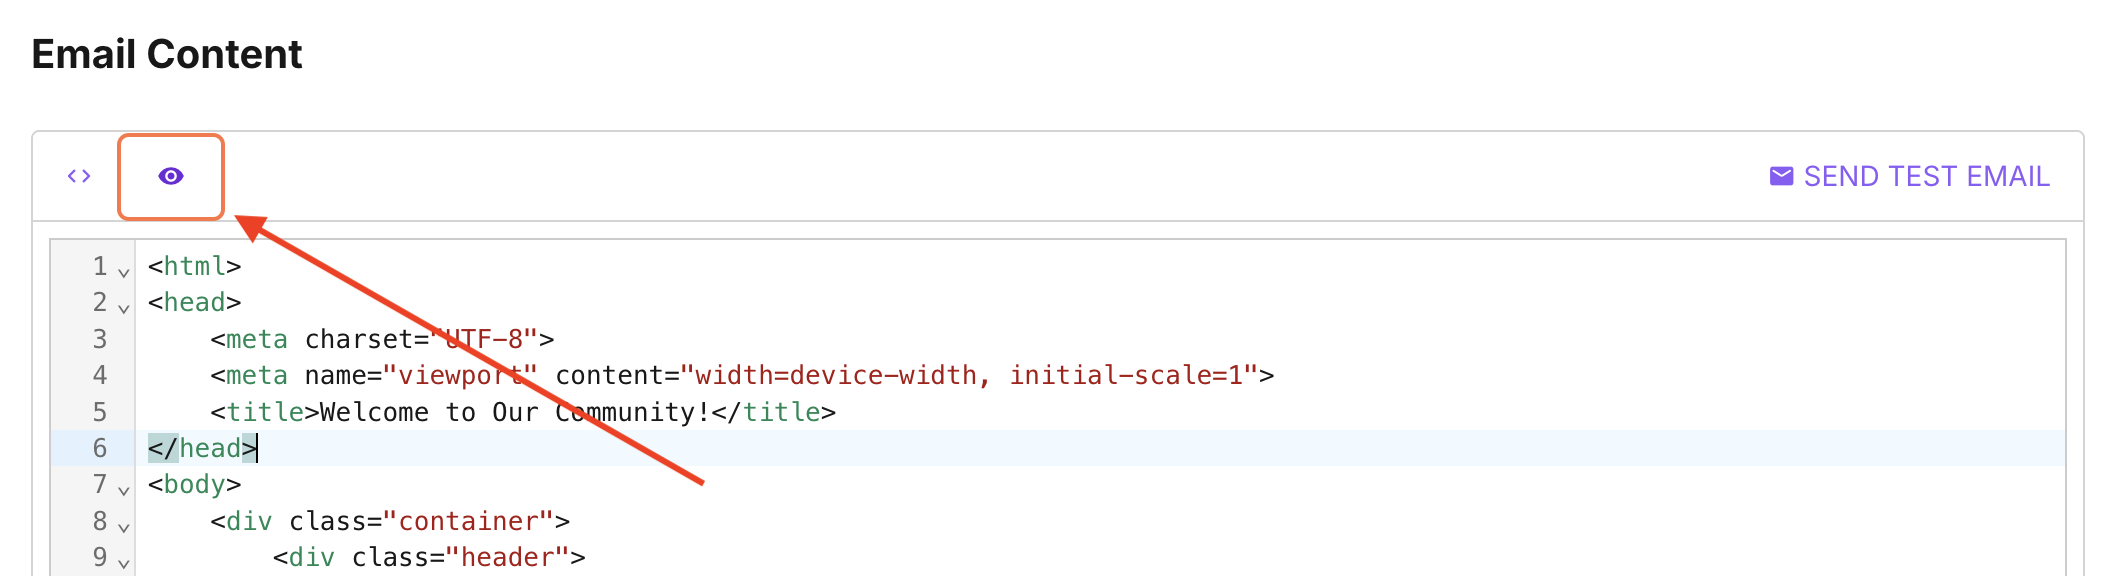
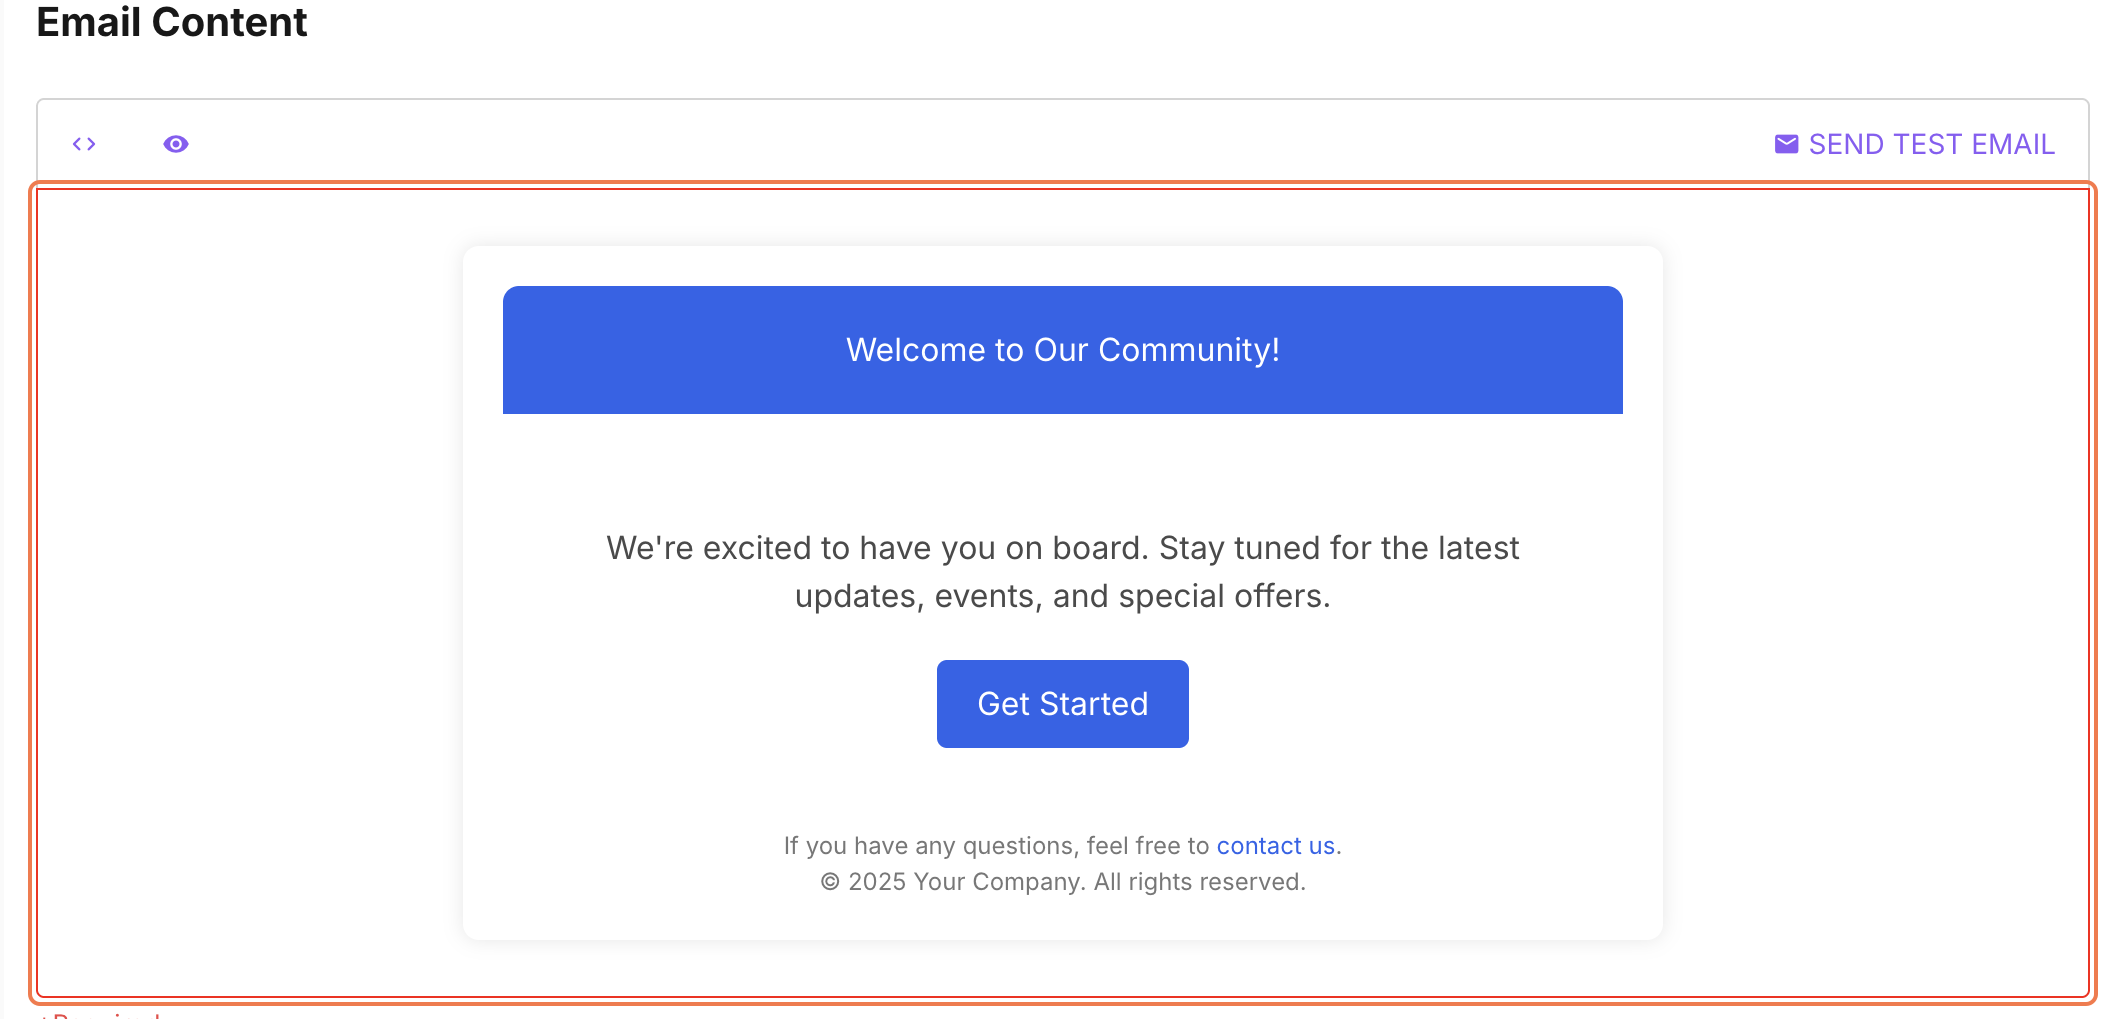
To see what your email content will look like, you can click on the preview icon.
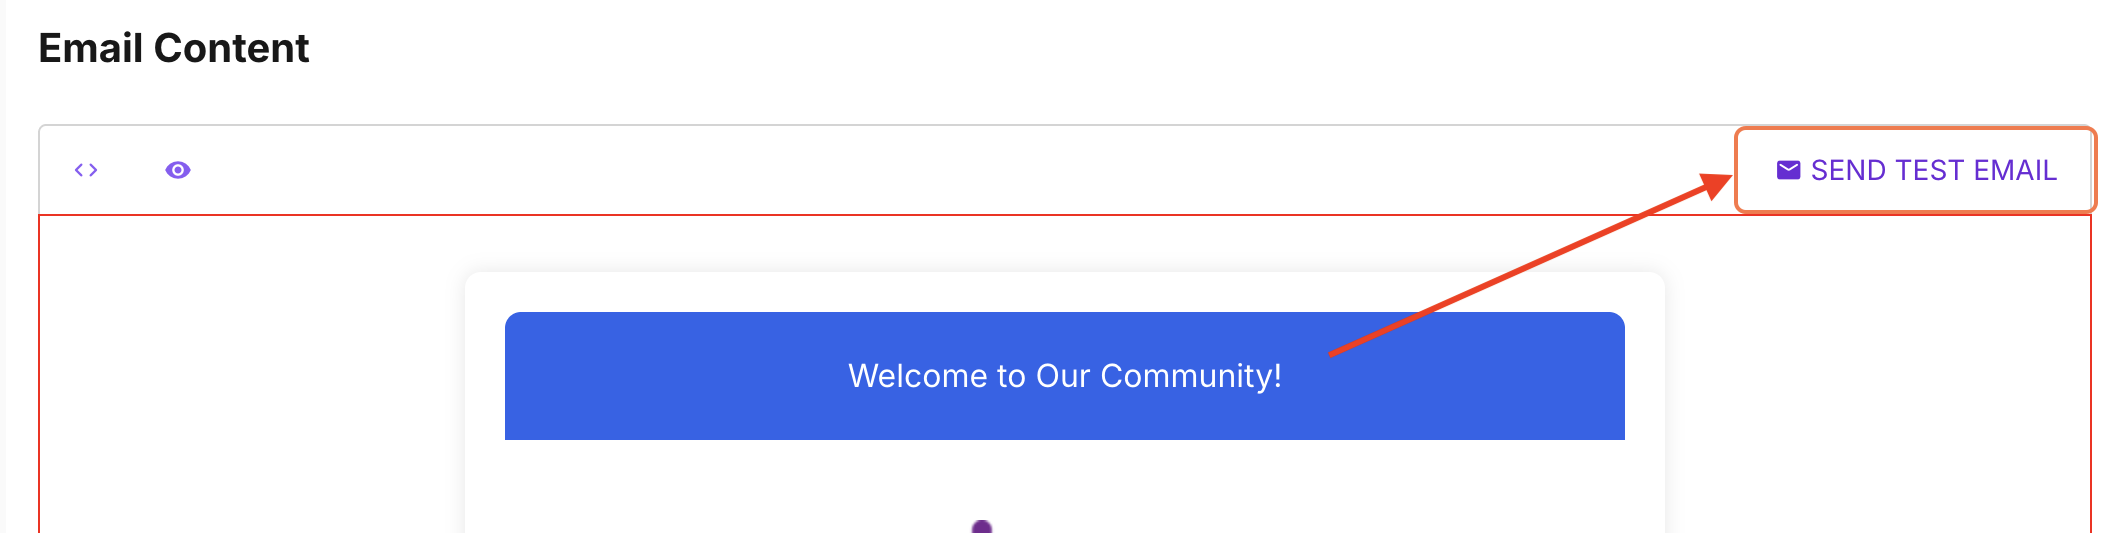
You can also send a test email to your preferred email address. Click on Send Test Email. In the pop-up box, put in your preferred email address. Make sure that the recipient email address is valid and registered in the Cast. Check the inbox of the email address for the test email.
7. Click on Save if you want to proceed with sending the email to the selected recipients. Click SAVE AS TEMPLATE if you want to save the email content as a template and use it again next time.
You will be redirected to the Mailer History and your email will appear on top of the list. If the email is scheduled for sending on a future date and time, the status will be SCHEDULED.
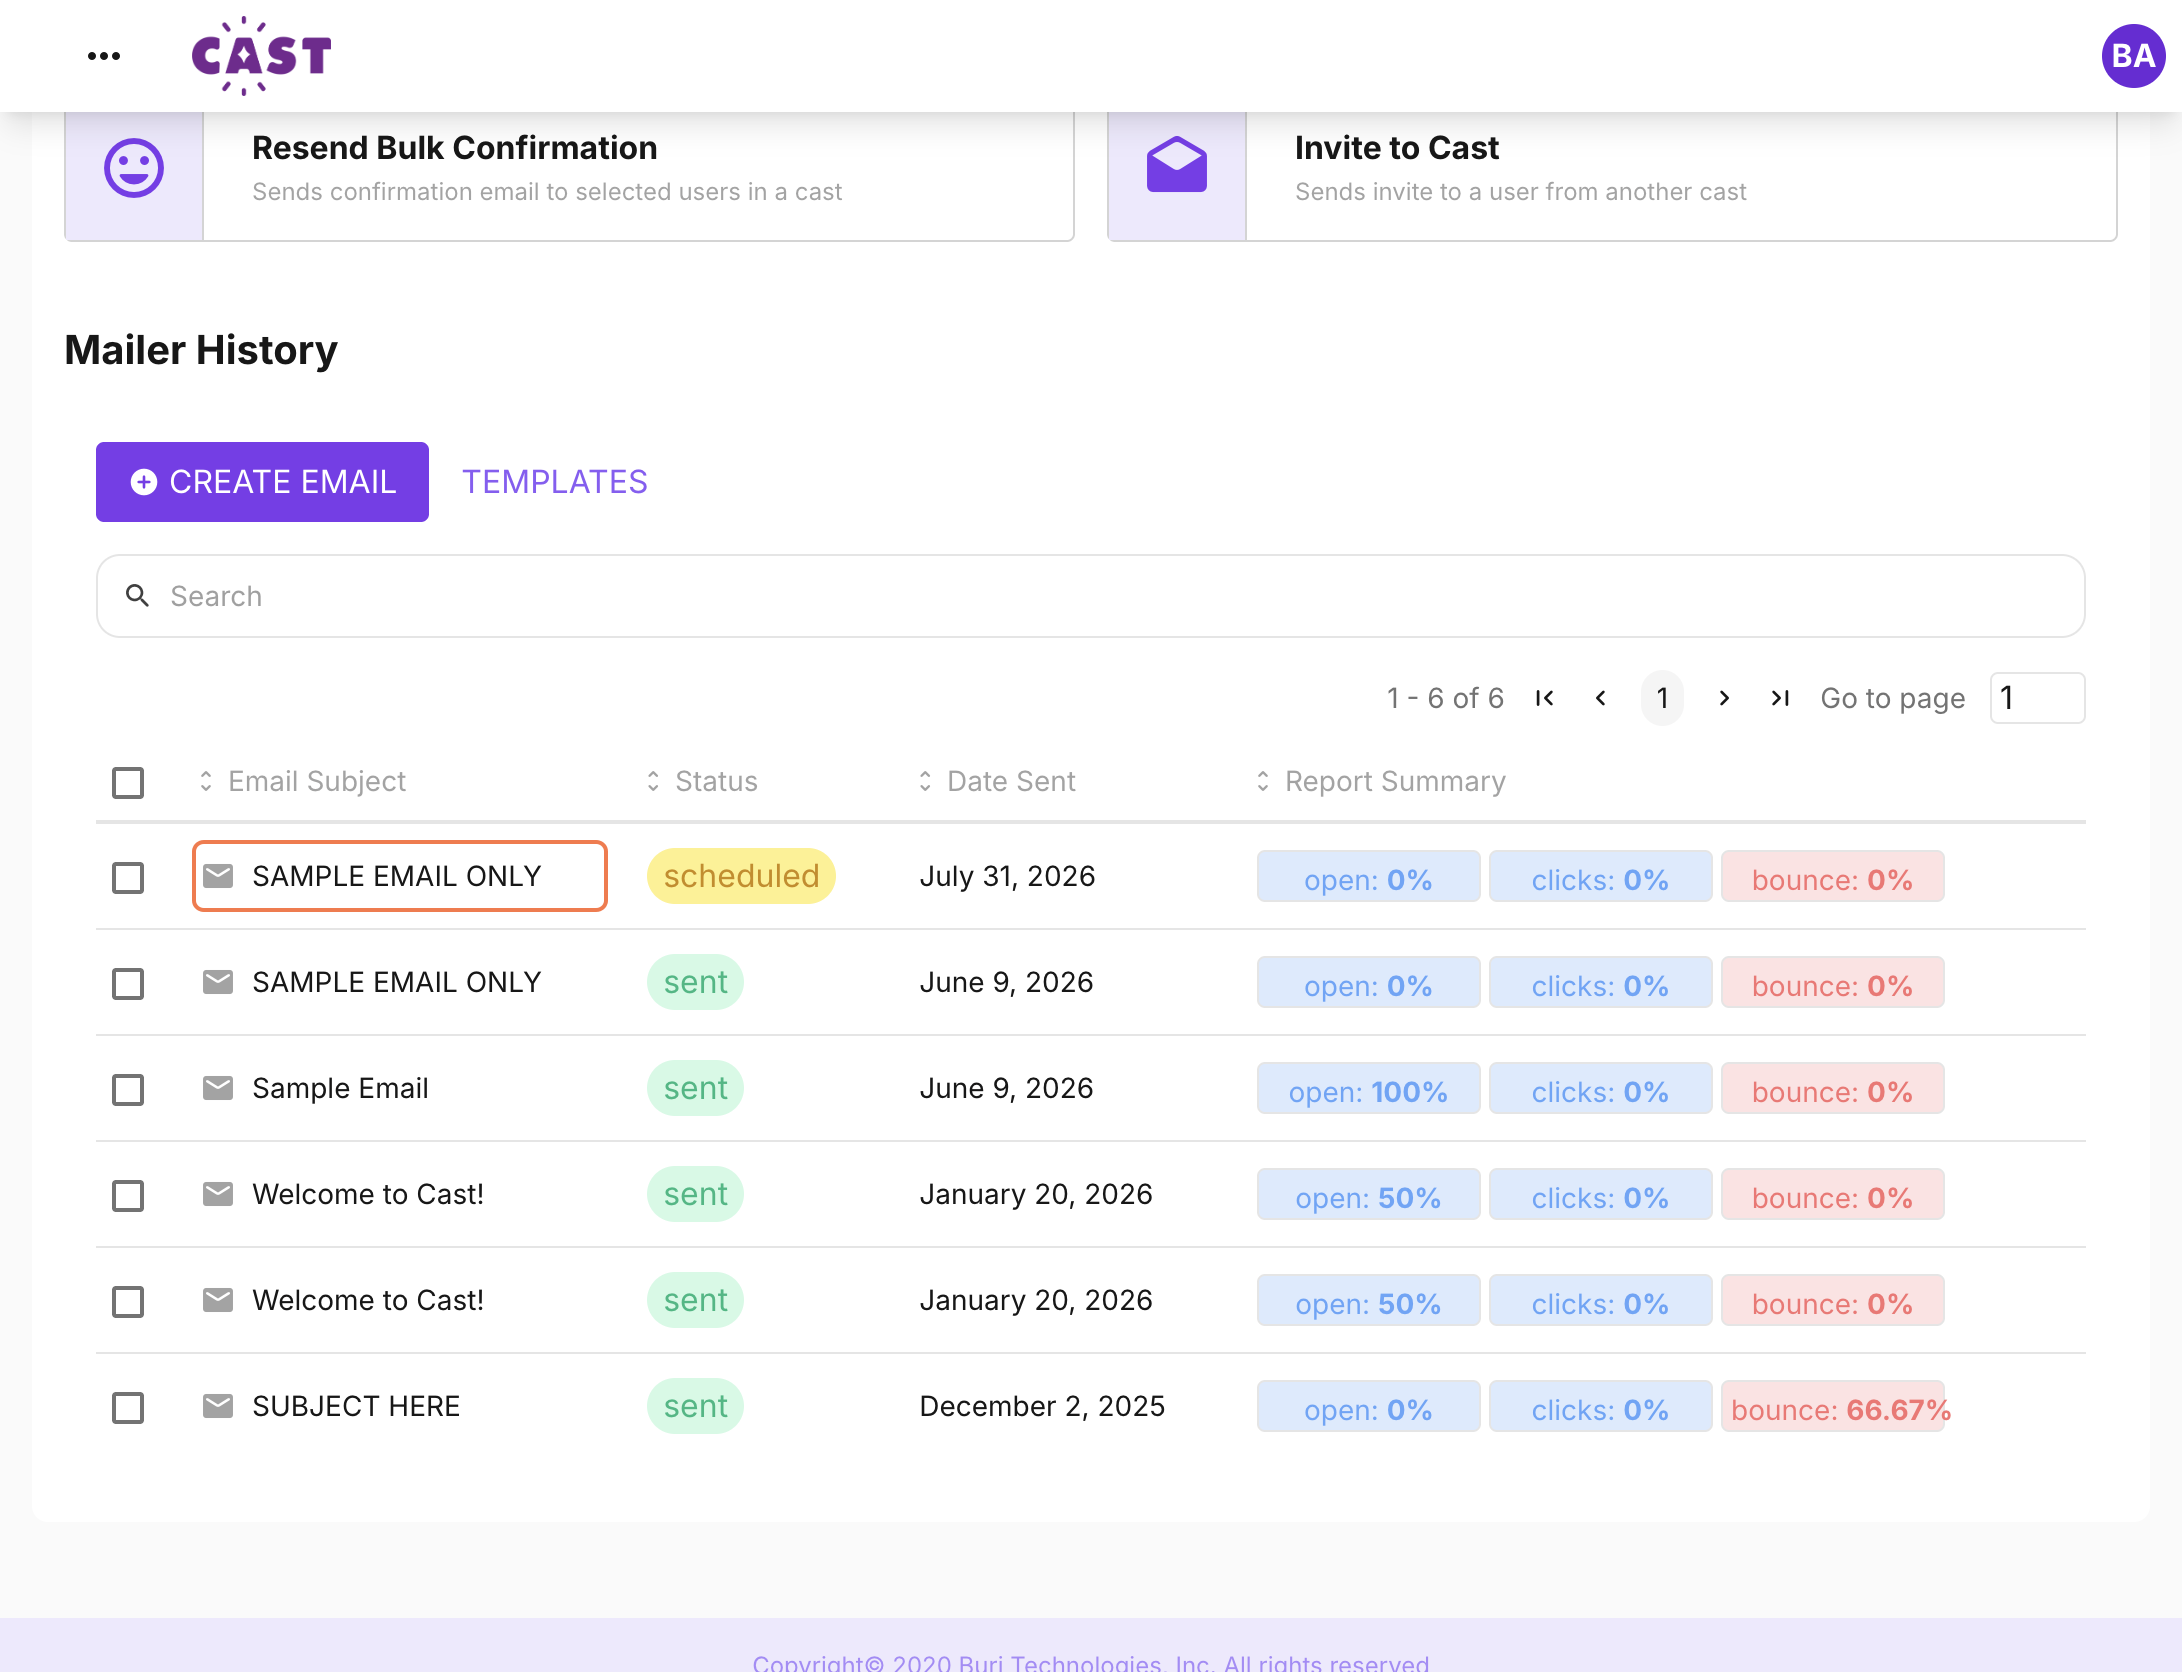
As long as the status is still scheduled, you can still edit or cancel this scheduled email.