1. Go to your dashboard and click the Users and Groups button.
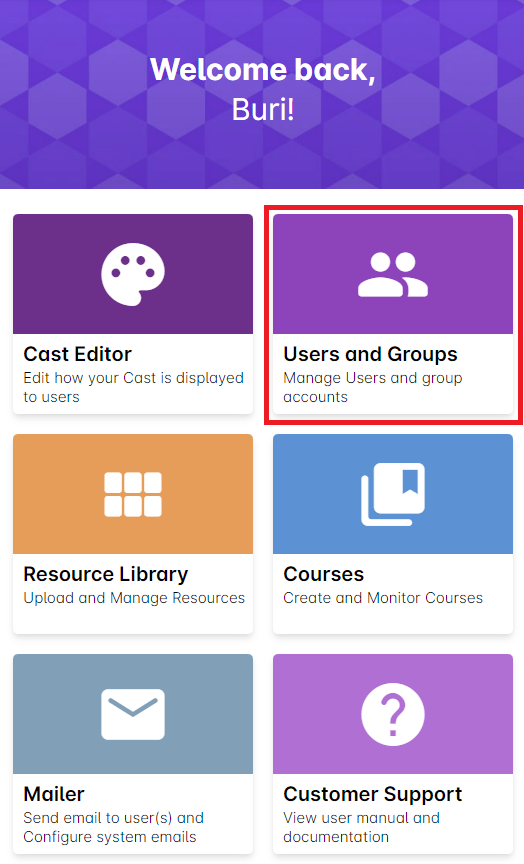
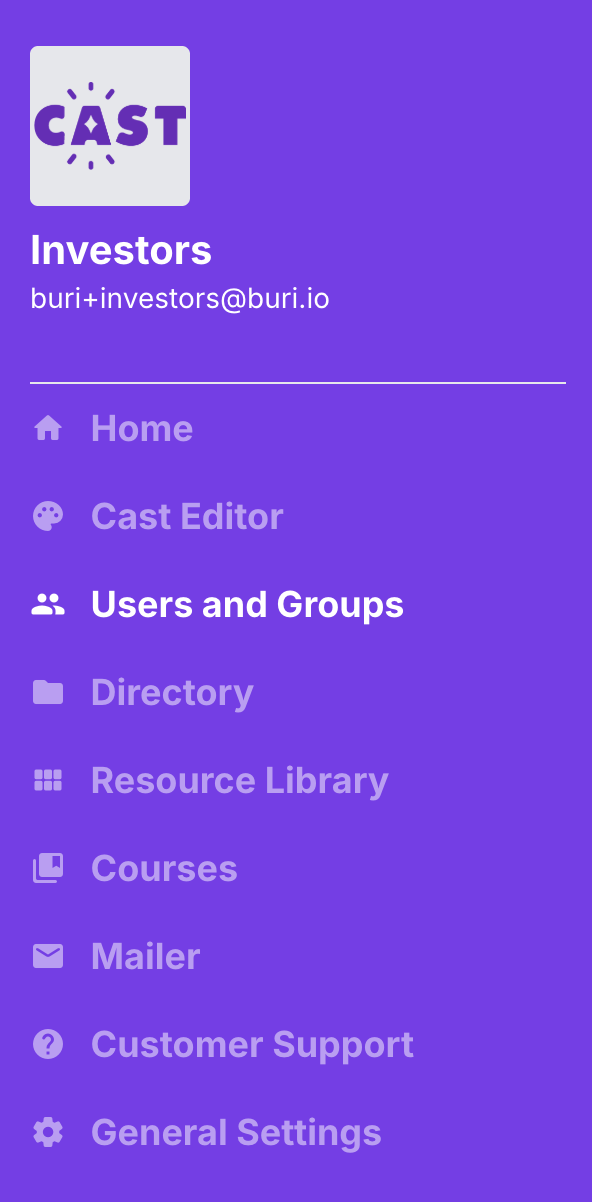
You can easily go to this page while you're navigating any part of the dashboard by clicking on Users and Groups in the sidebar.
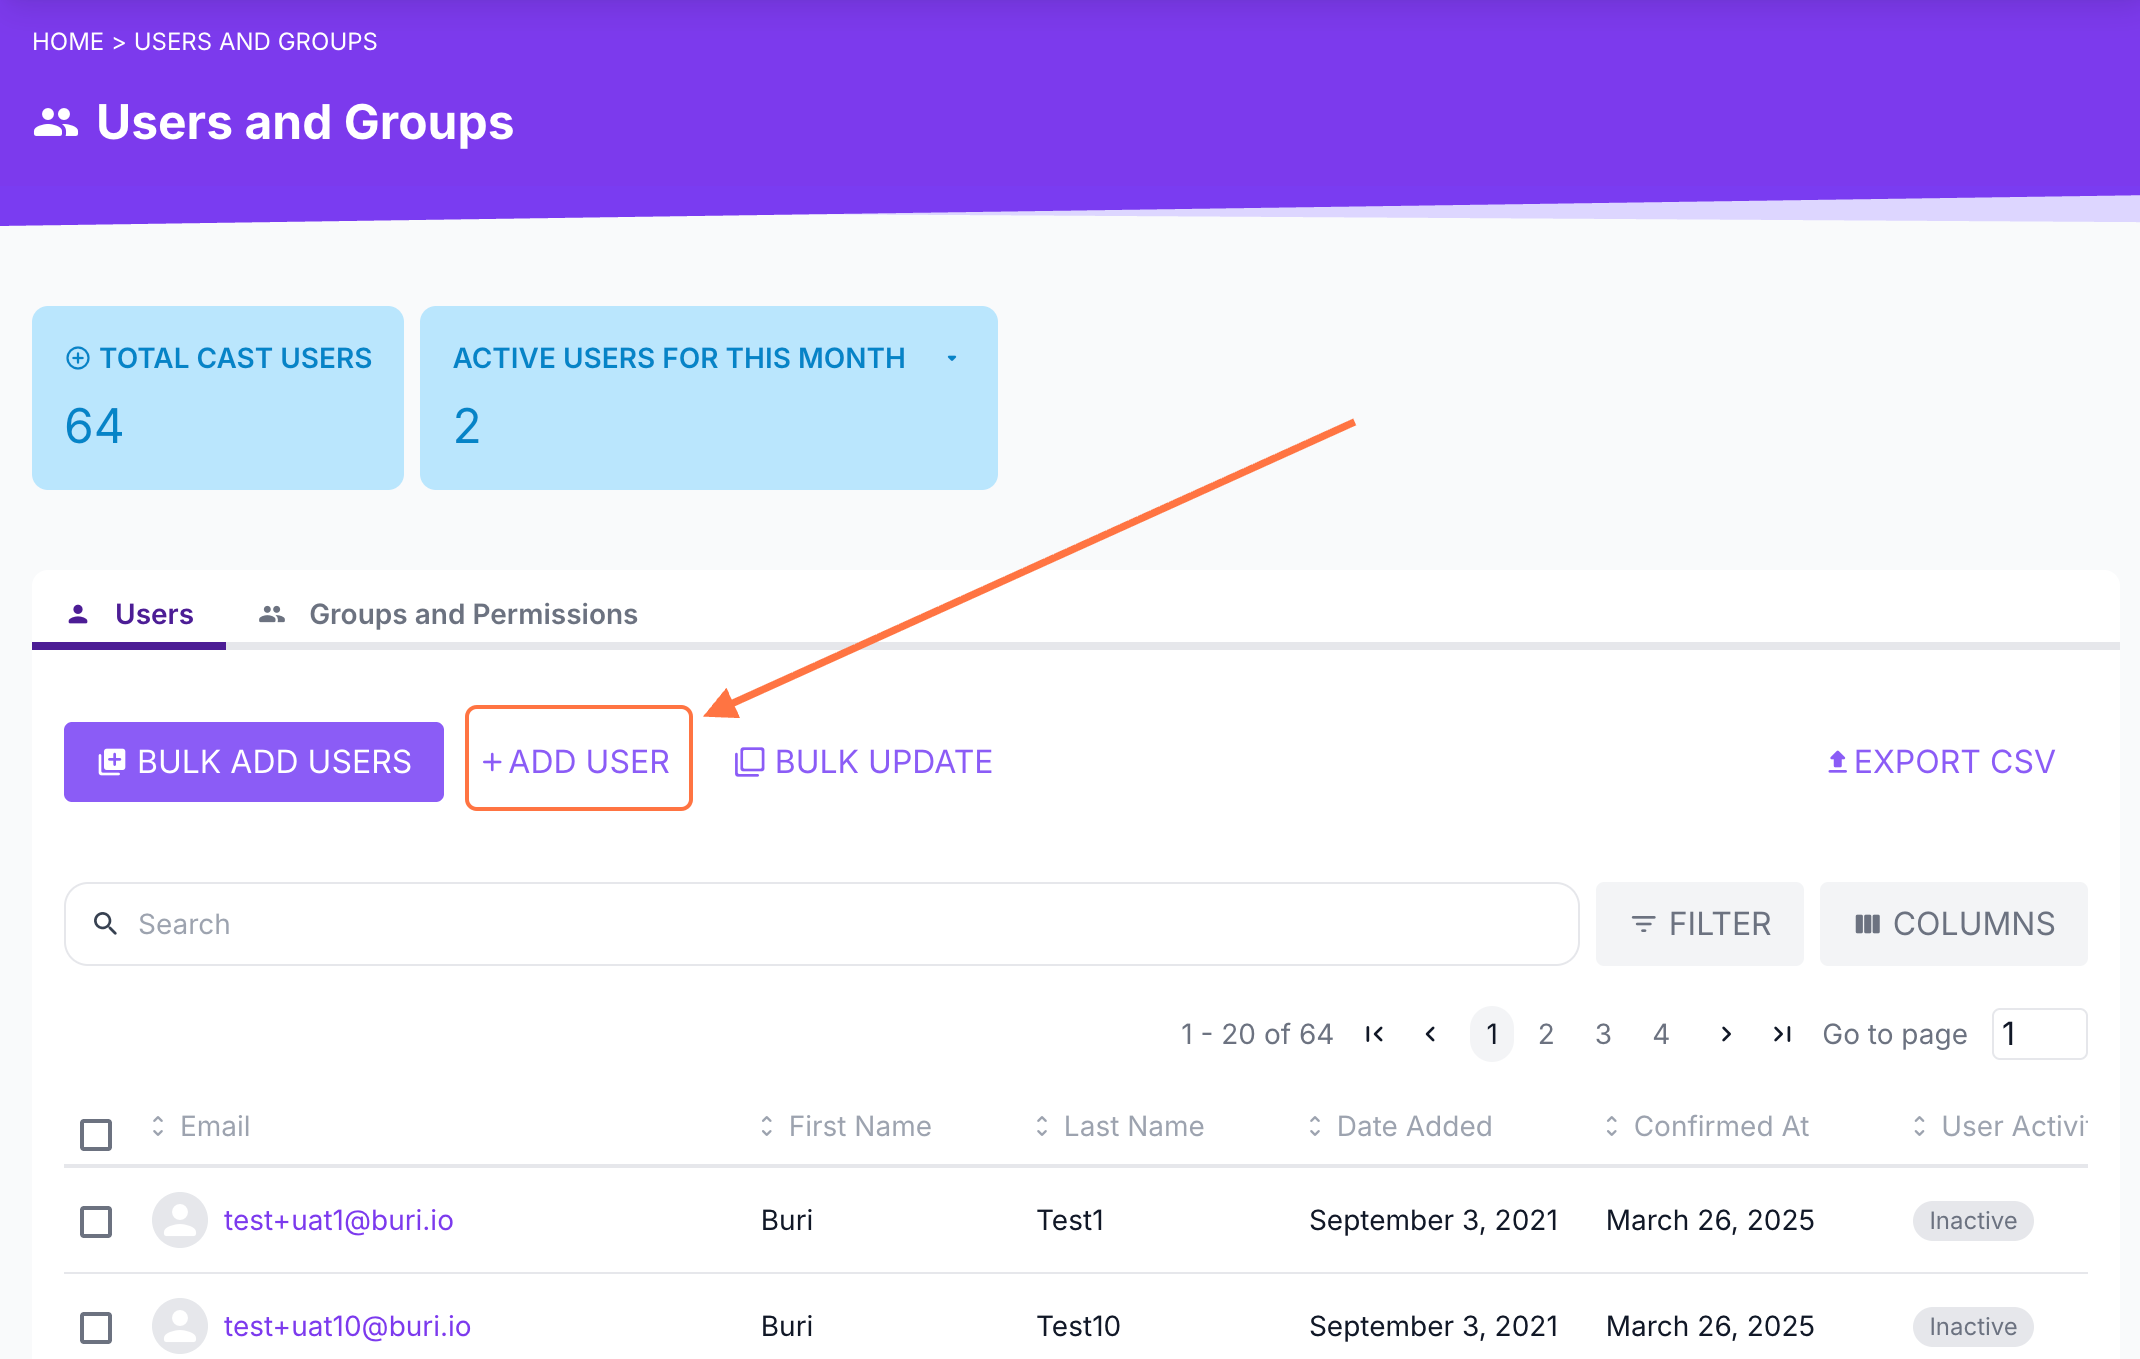
2. Go to the Users tab. You have two options for adding or creating new user accounts in the LMS. If you plan to create only a few accounts, click the + ADD USER button above the search bar.
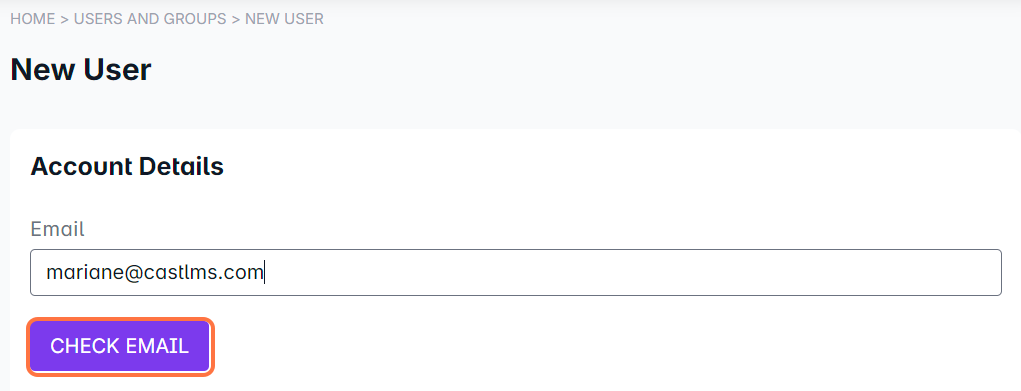
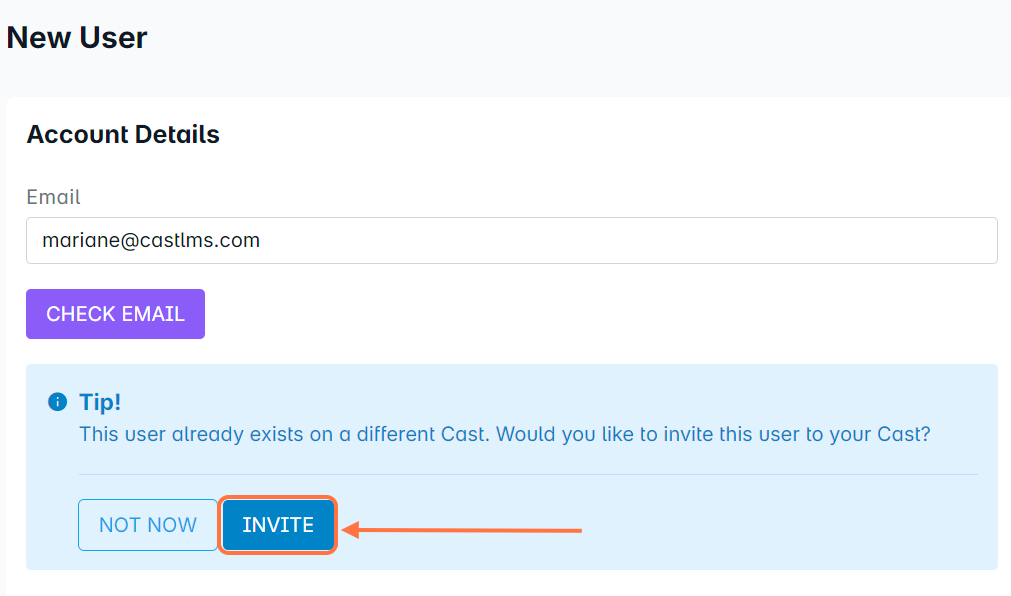
3. Enter the user’s email address and then click on the CHECK EMAIL button.
If the email already has an existing account in another Cast LMS, this message will appear under the email bar. Click on INVITE to add the email address in your Cast LMS.
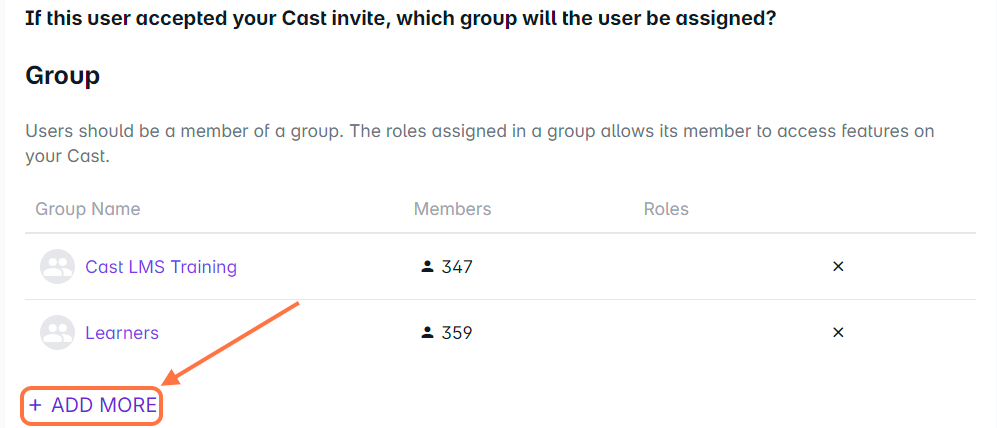
Before the user is added to your Cast, you are required to confirm the user's role.

Click on + ADD MORE if you want to add the user in another group than the default ones selected above.
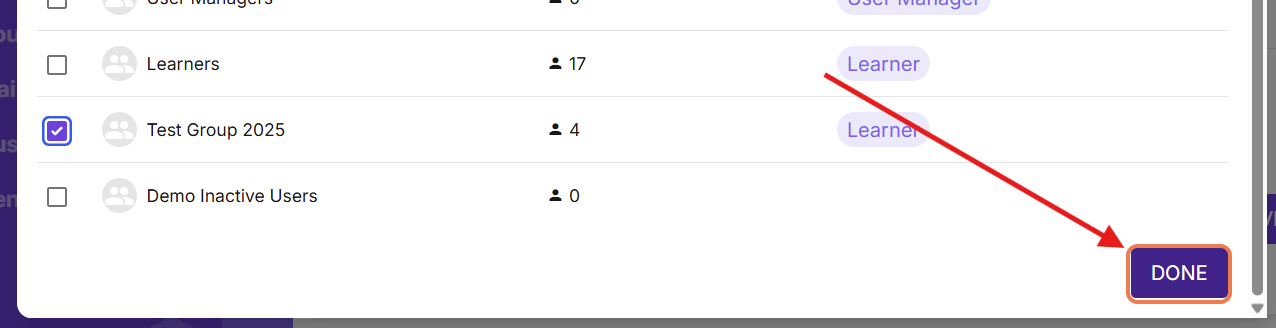
In the popup, check the box for the group/s you want to add the user in.

Click DONE to finalize adding these users.
Once done, click SAVE.

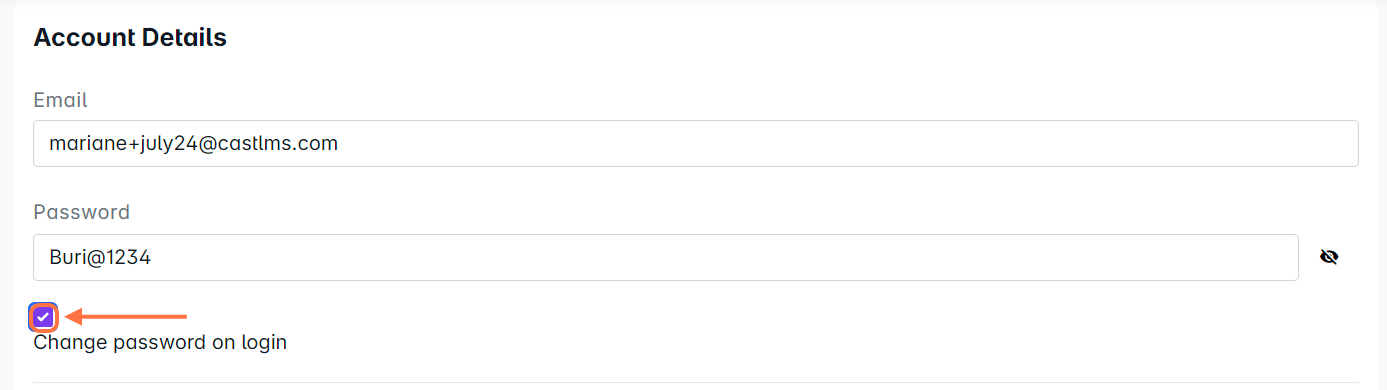
5. If the email address has no existing account in any Cast LMS, a form will appear below. Provide a password with a minimum of 8 characters (with at least 1 special character, 1 number, and 1 capital letter).
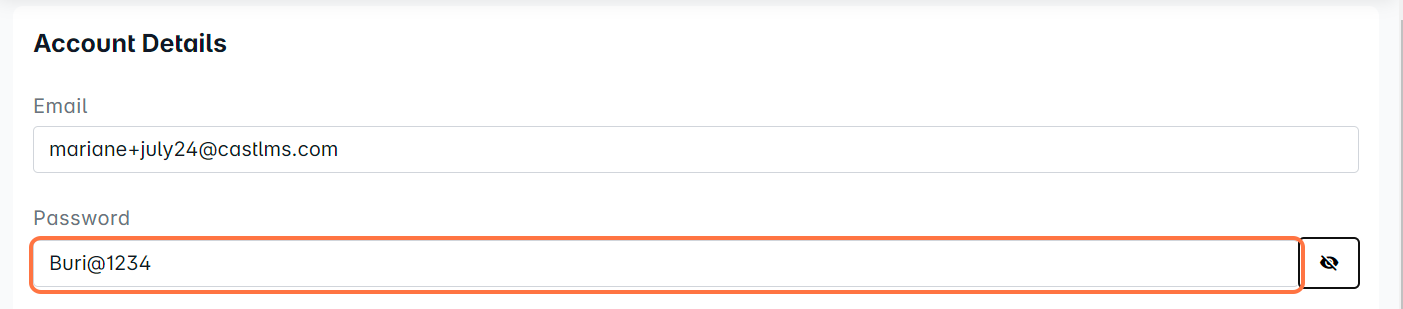
Tick the box across Change password on login if you want the user to change their password into their preferred one after initial log in.
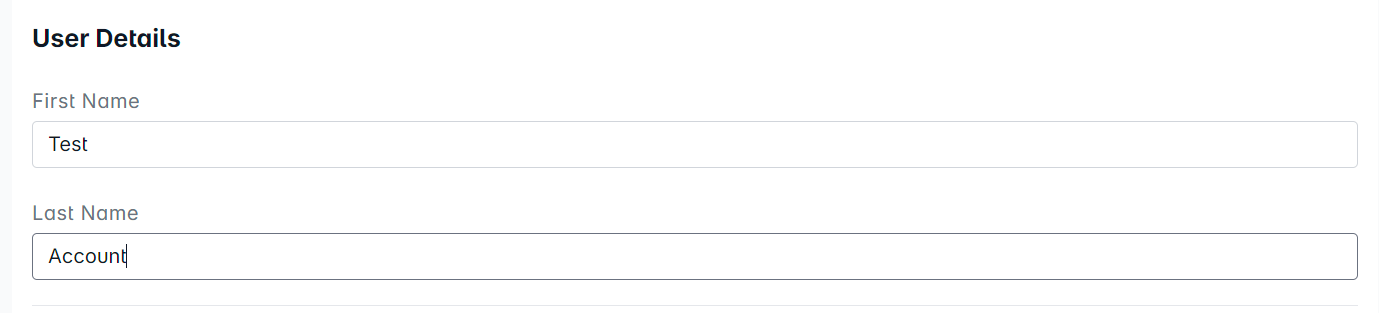
6. Under User Details, provide the first name and last name of the user.
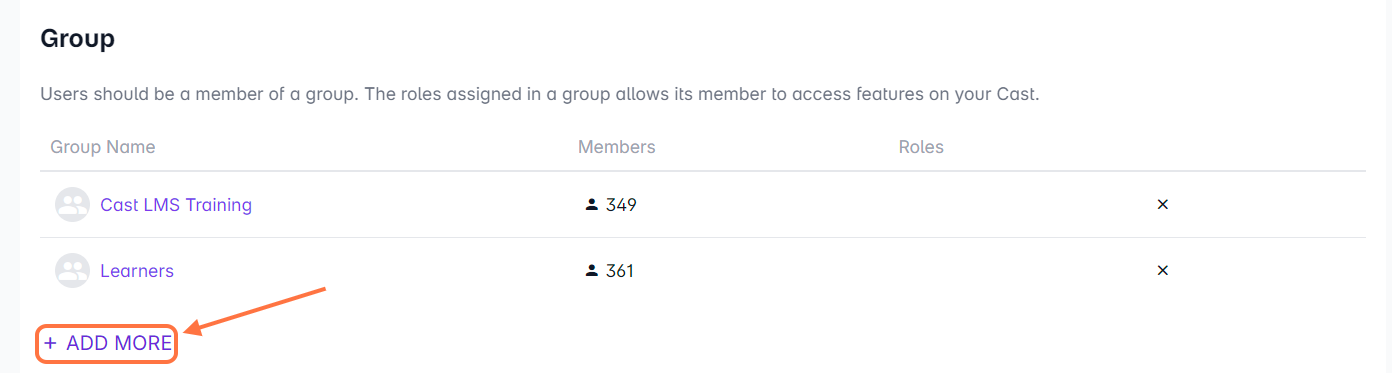
7. Under Group is a list of groups that the user belongs to. The default groups for all users are the main group in the Cast (in the screenshot: Cast LMS Training, where all the Cast users are in) and Learners. Click on + Add More if you want to put the user in another group.
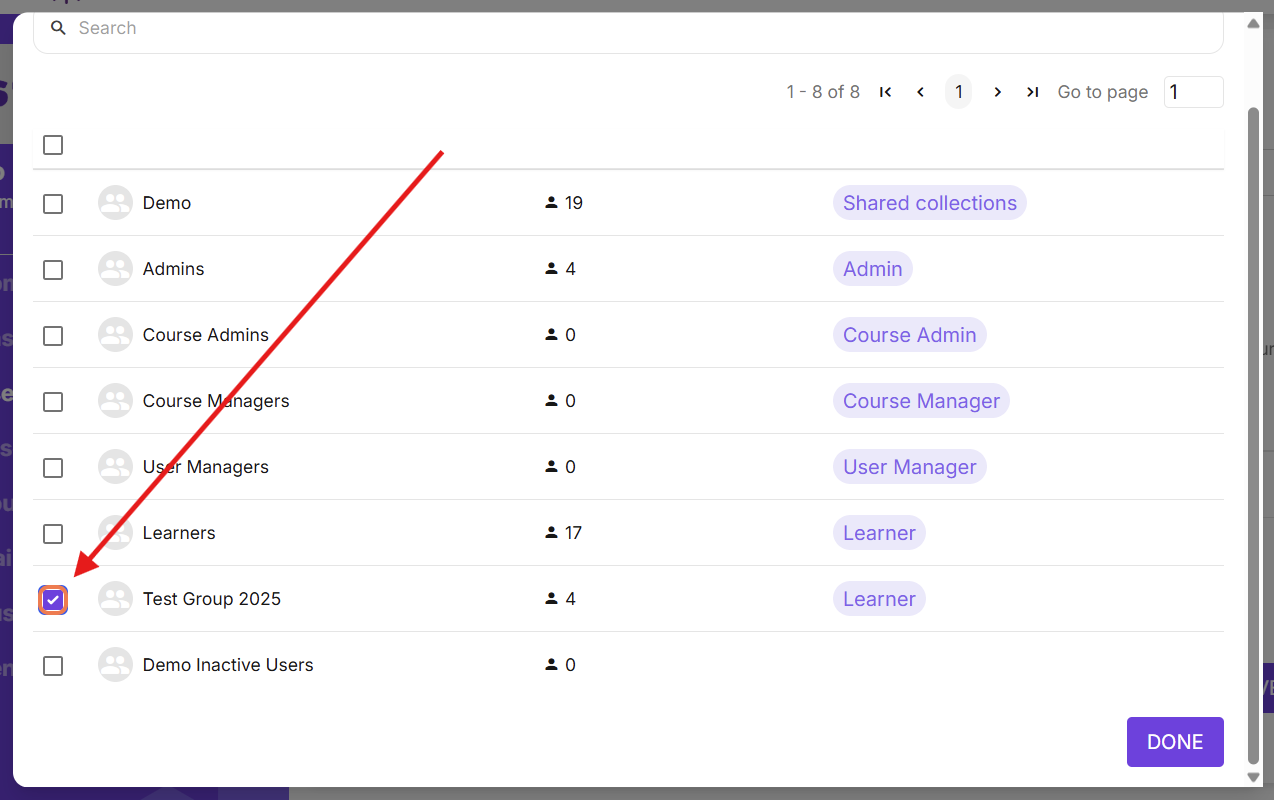
A pop up box will appear. Select one among the existing groups by checking the box beside the name and click DONE.

Enroll them in existing batches and courses through the Course section. Click + ENROLL TO COURSE.

In the popup, select as many existing batches, as needed.

Then, click ENROLL.

You can still remove the batches you selected by clicking on the X next to the batch name/s.

After completing the information for the new user, you can click on Save to proceed.

You can also click on Save and Add Another button to add a new account immediately after saving this.

8. The system will inform you once the user has been created. If the user is new, remind them to confirm their account before logging in to their portal.
To create a bulk of user accounts, please go to this article.