To create accounts for multiple users at once, follow these steps:
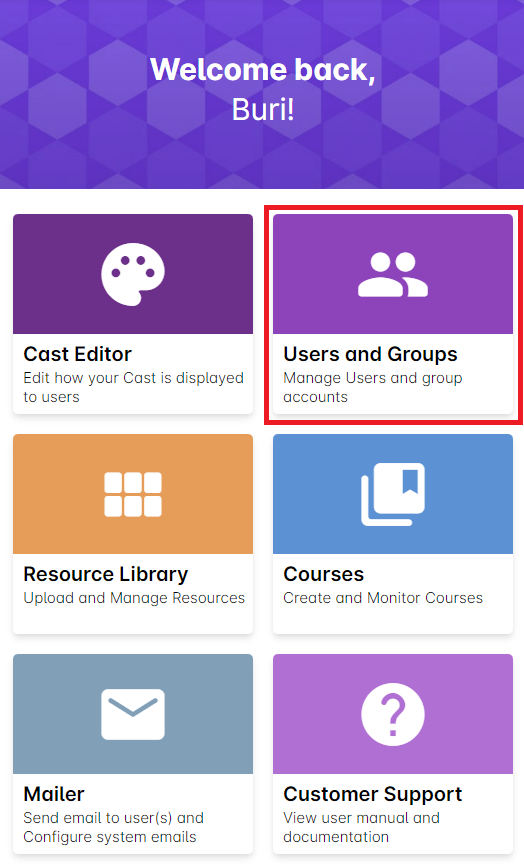
1. Go to the Cast Dashboard and select Users and Groups.
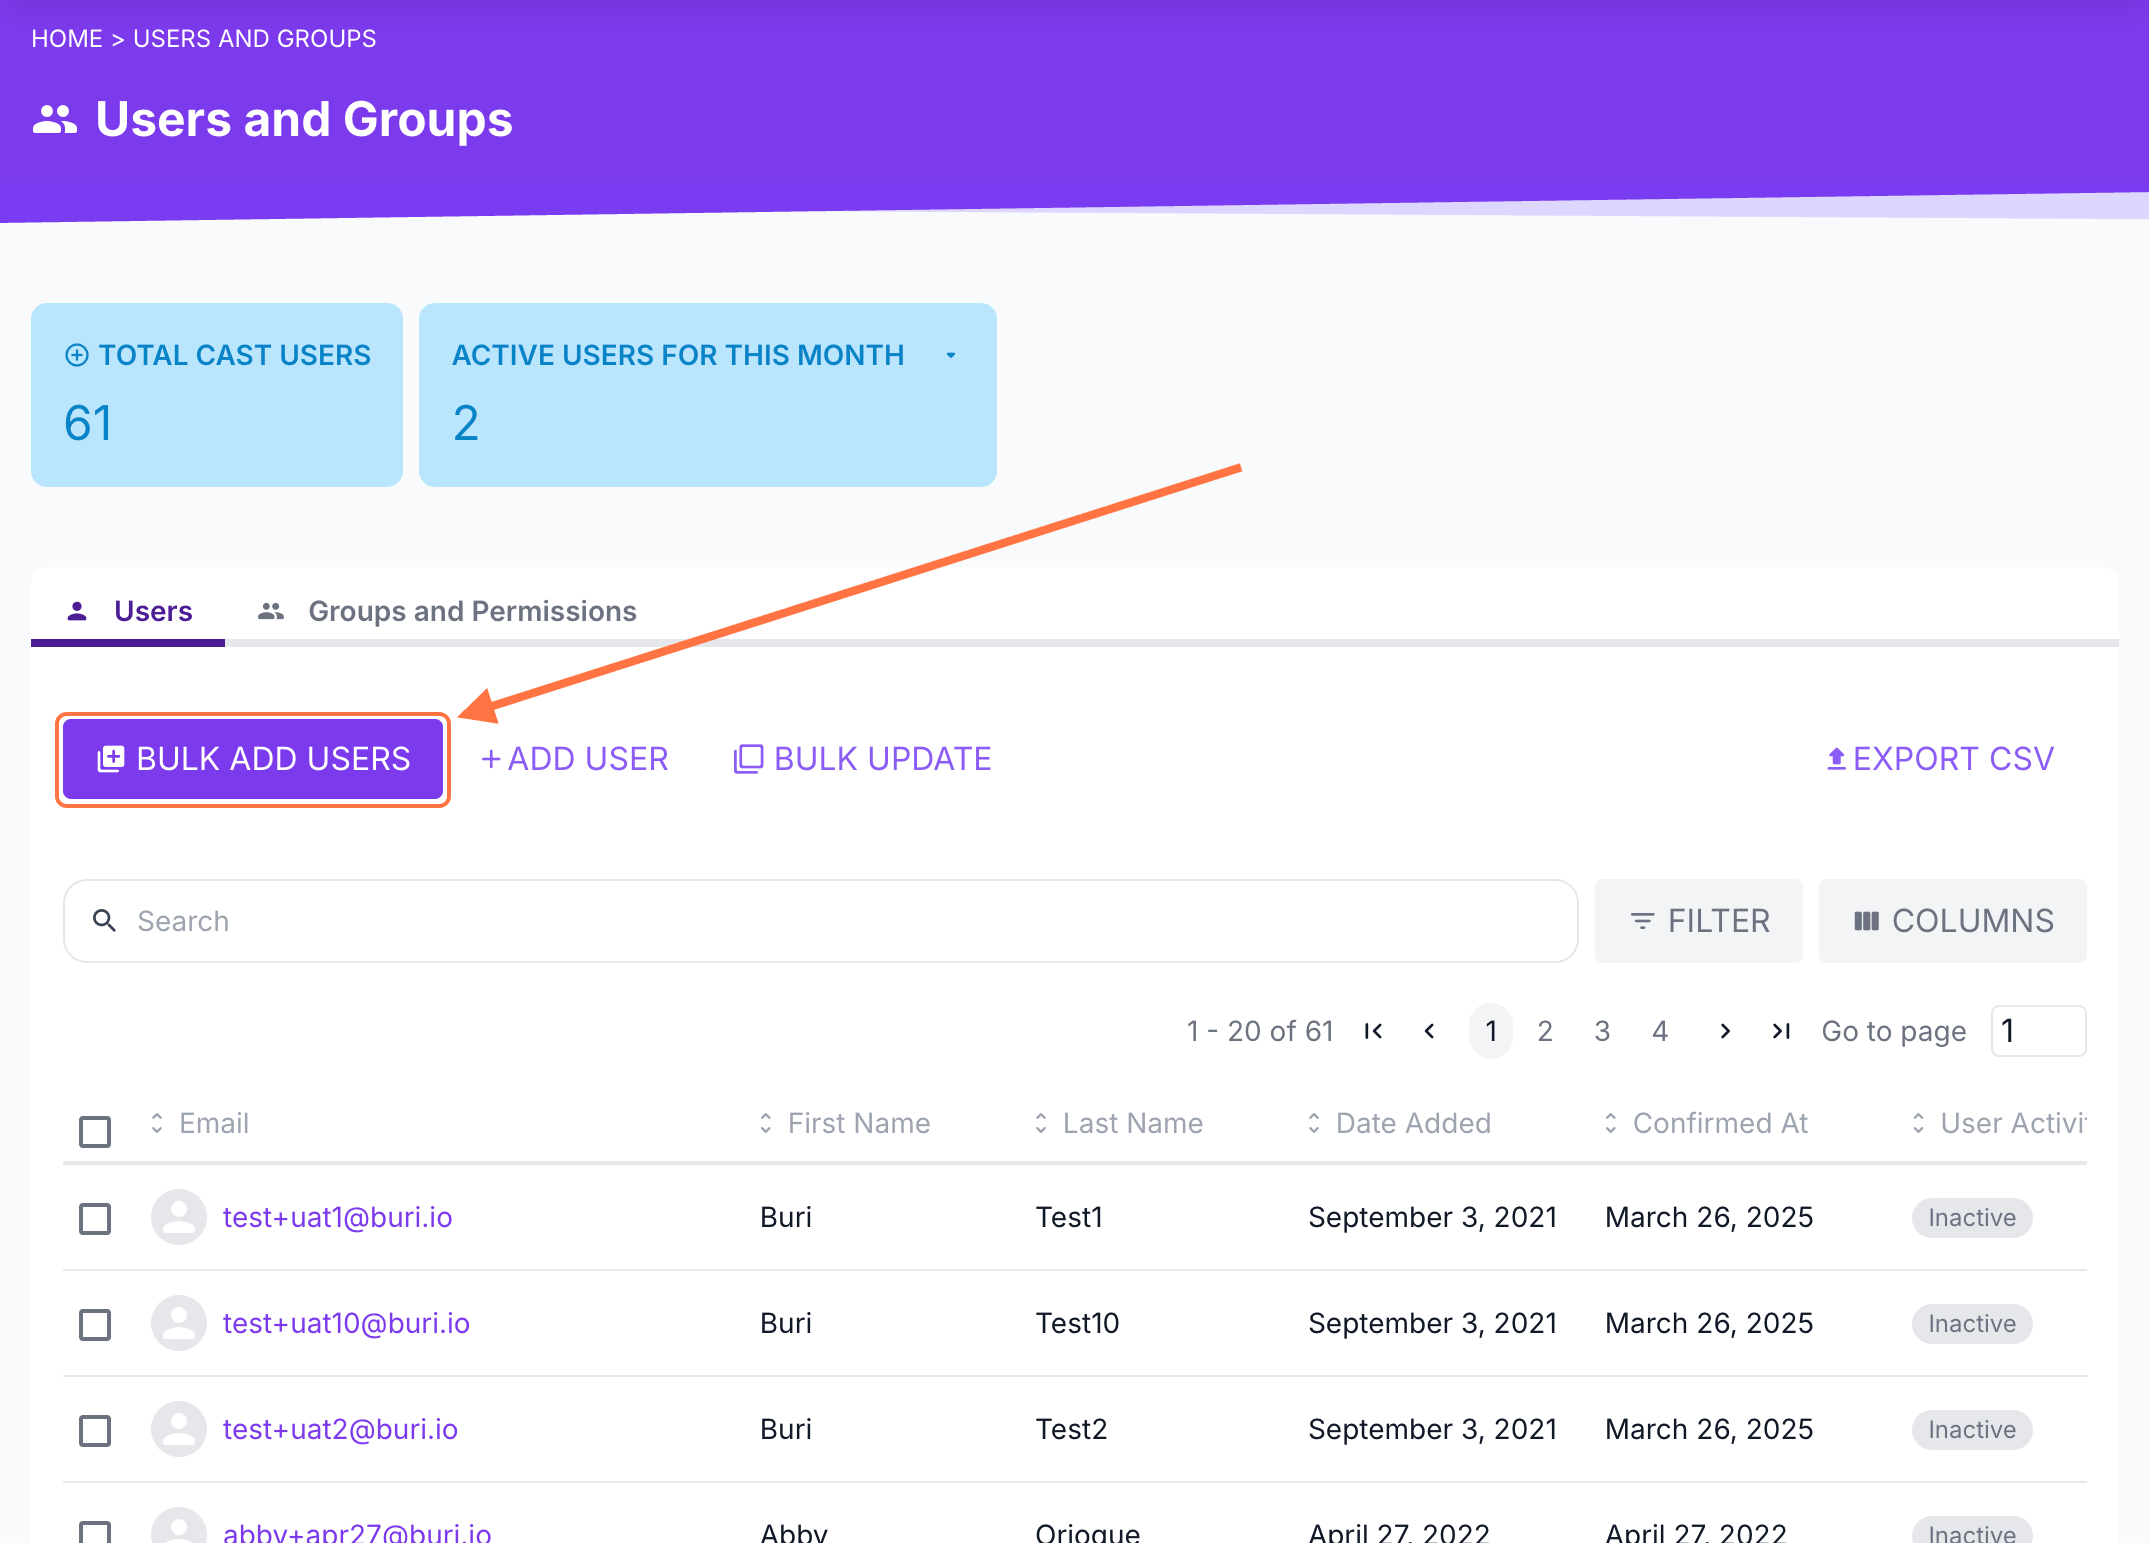
3. Under the Users tab, click BULK ADD USERS.
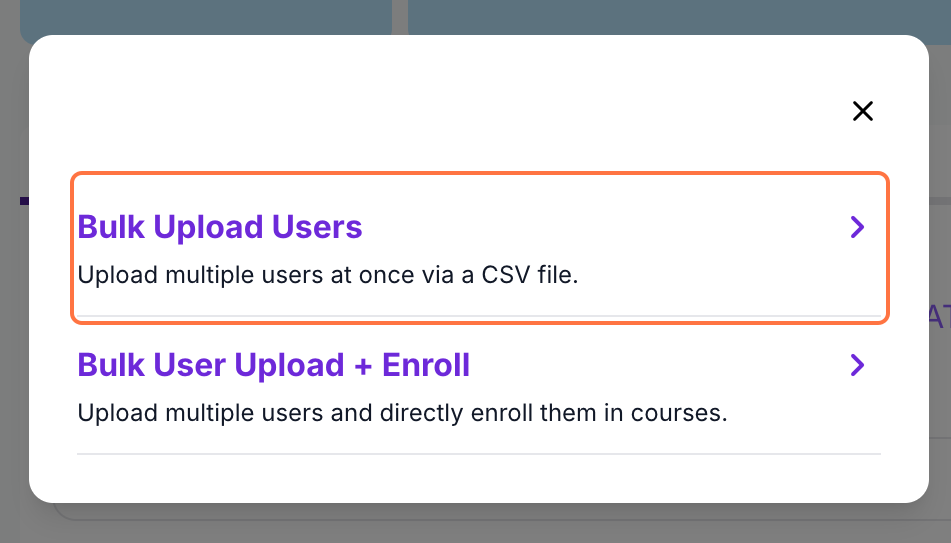
4. Select your preferred bulk user upload method. If you simply want to create multiple user accounts, select Bulk User Upload. Go to this article to learn how to upload users and enroll them directly to courses.
5. Click the CSV Template link to download a ready-to-use template.
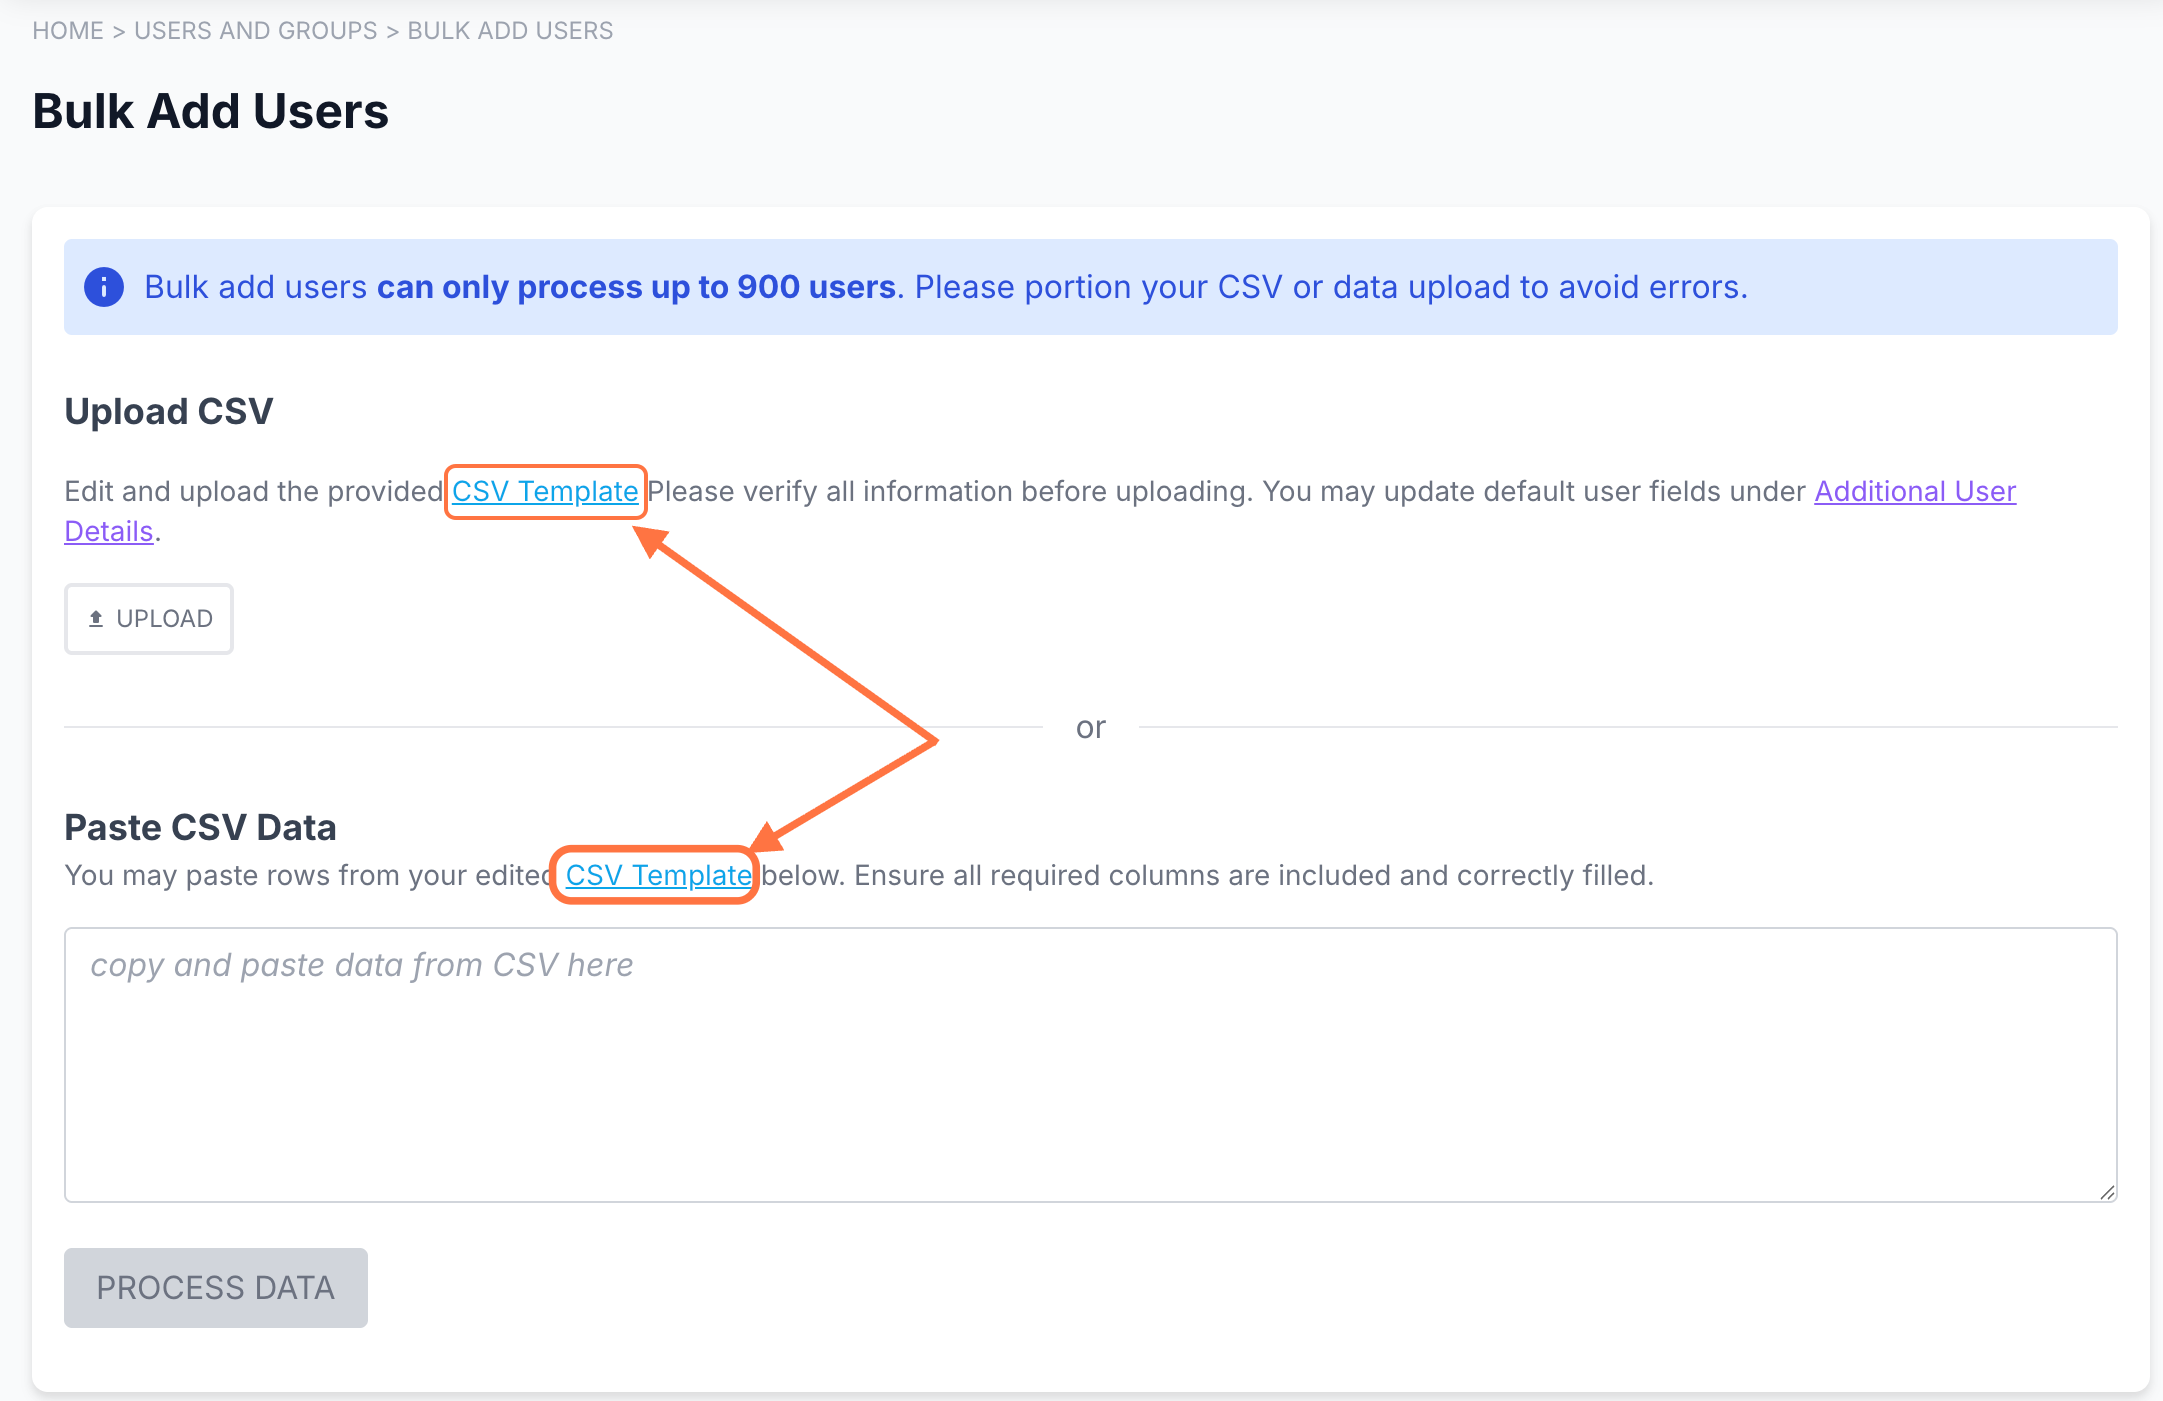
You can also copy this template into Google Sheets for easier editing.
Reminders for filling out the template:
Email Address: Ensure all email addresses are valid.
Password: You may assign a default password for all users. Passwords must be at least 8 characters long, including 1 special character, 1 number, and 1 letter.
Groups: Enter the exact group name(s) as they appear in Cast LMS. (The group field is case-sensitive.) For multiple groups, separate each name with a comma.
Change password upon login: Enter
TRUEto require users to change their password on first login. EnterFALSEto skip this prompt.Confirm account upon upload: Enter
TRUEif you want accounts confirmed automatically (so users don’t need to confirm them manually). EnterFALSEto retain the confirmation step.Override current password?: Add this column and set it to
TRUEif you’d like to overwrite existing passwords with the one specified in the Password column.
Note: For correct group assignments, make sure group names match exactly as listed in the LMS.

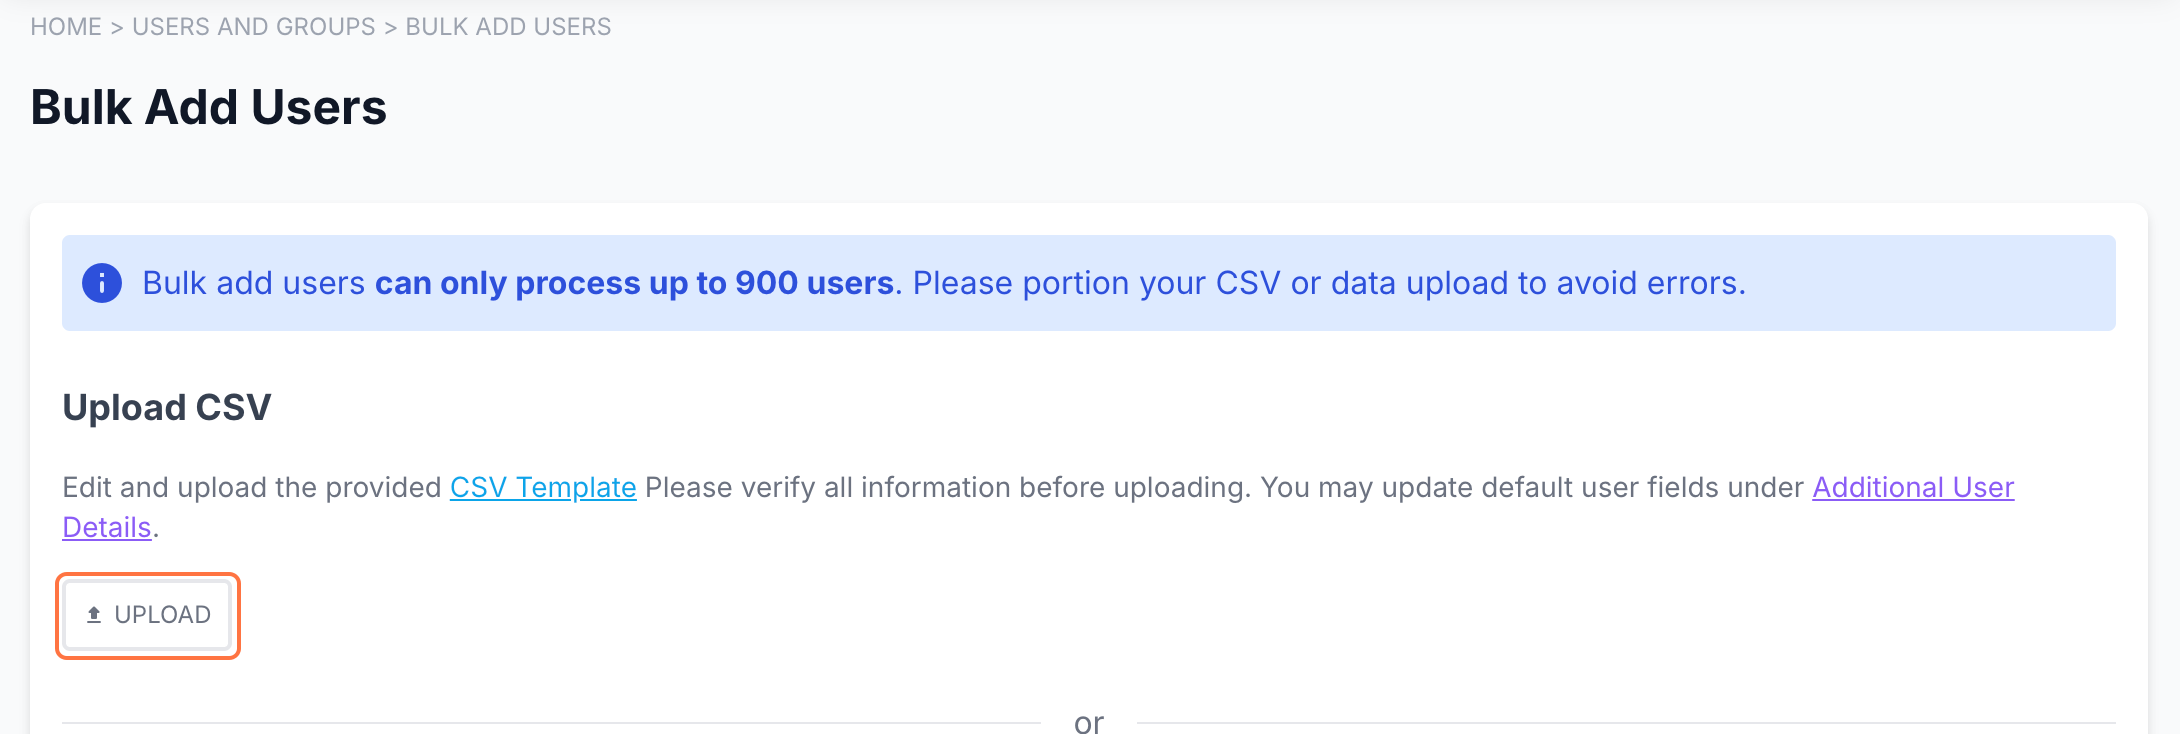
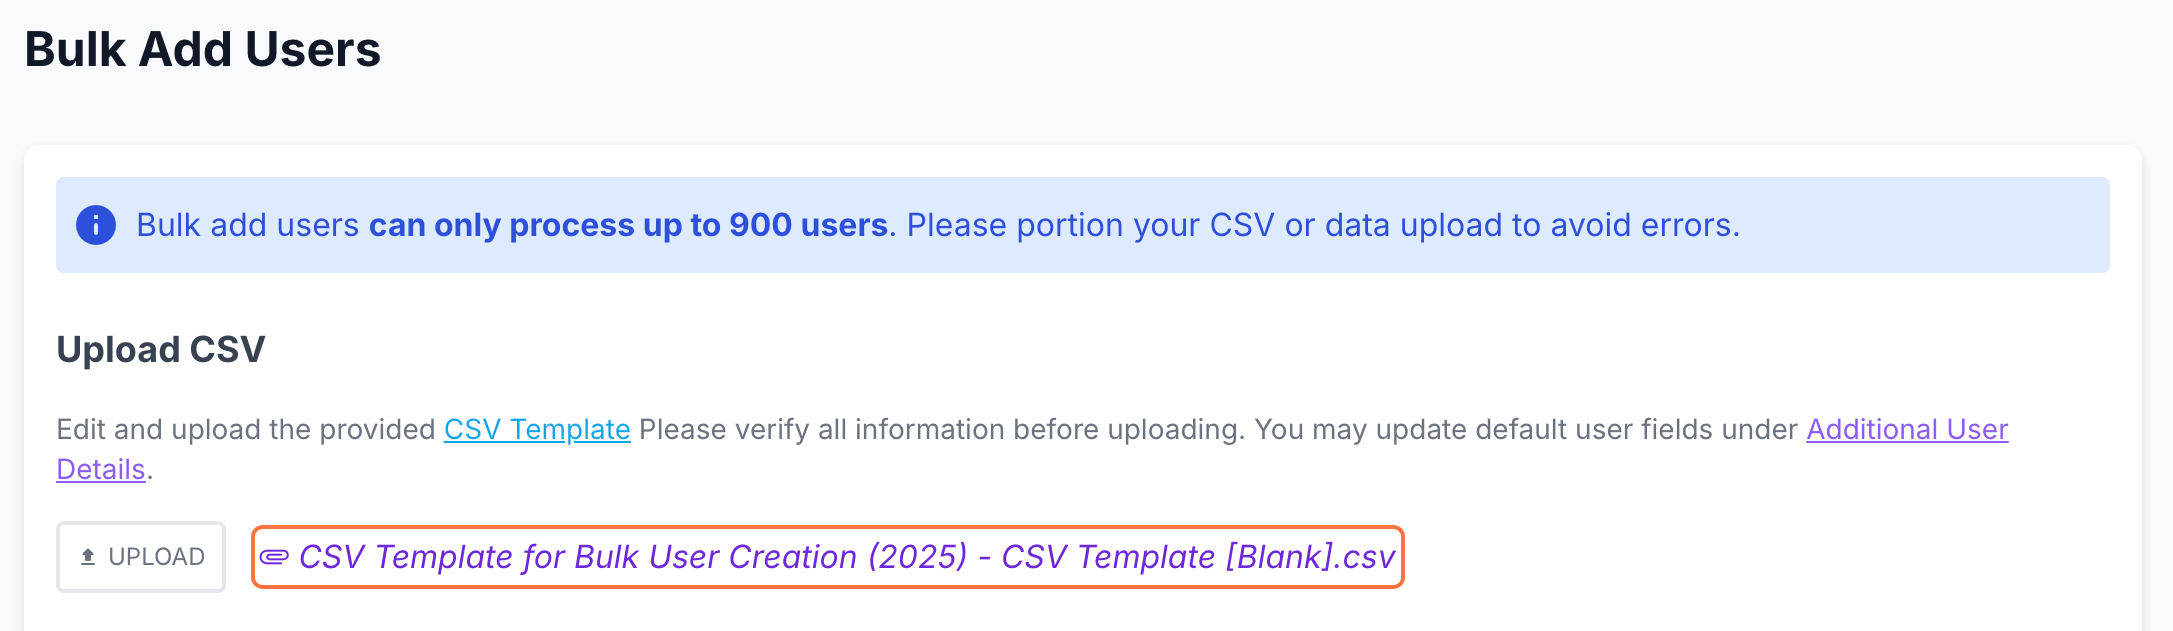
6. Once your file is ready, download or save your sheet as CSV. Click UPLOAD and select your file. The processed data will be displayed below after uploading.
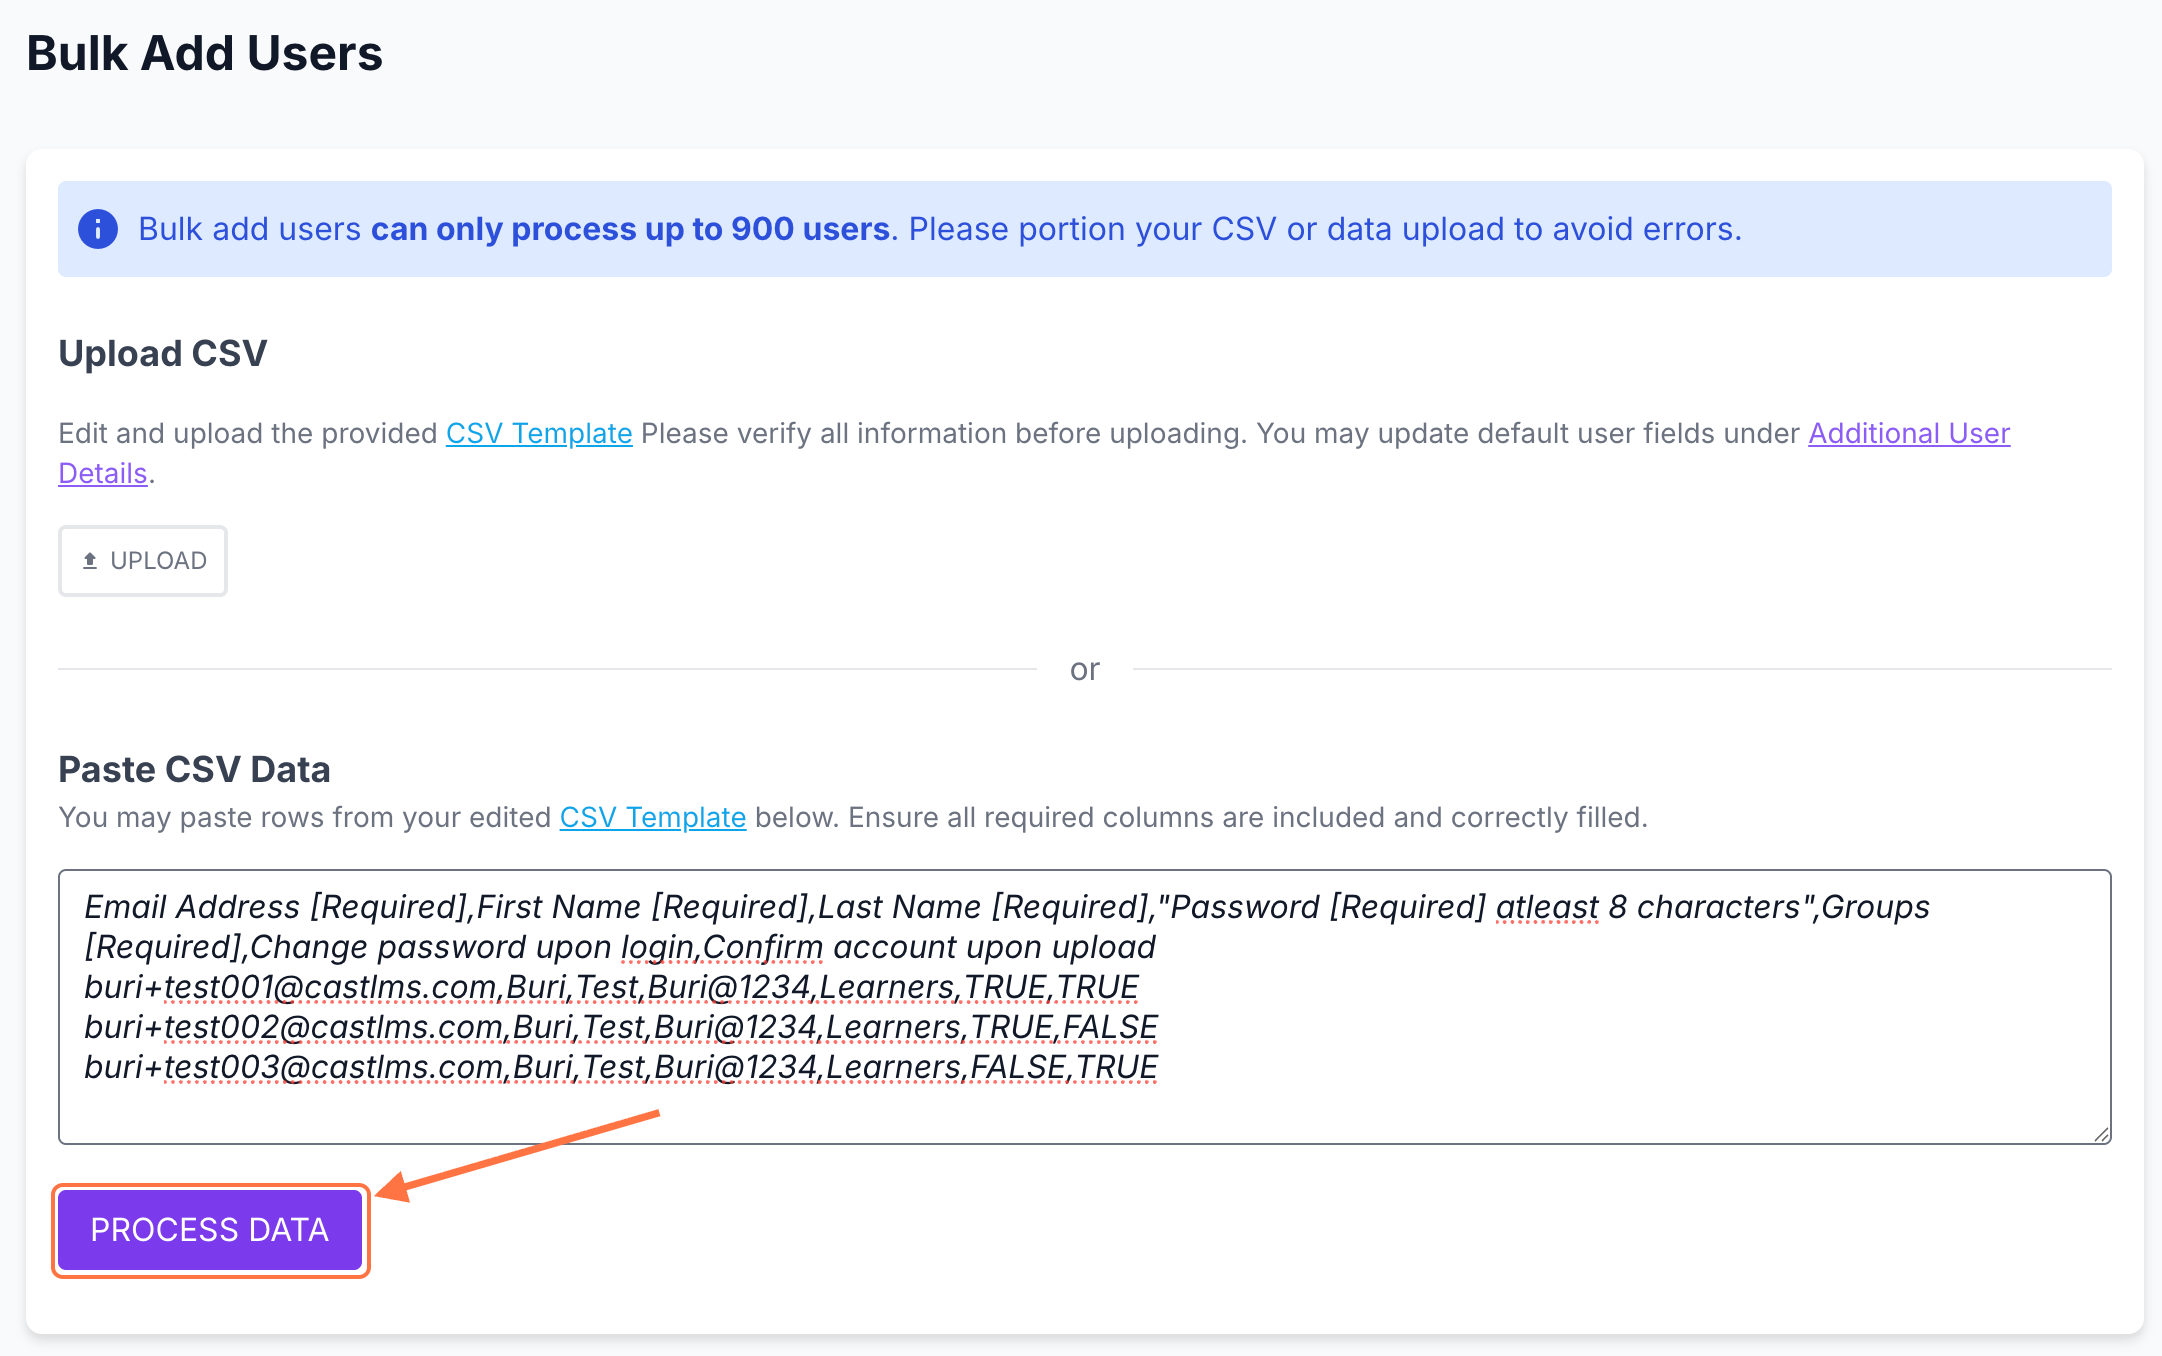
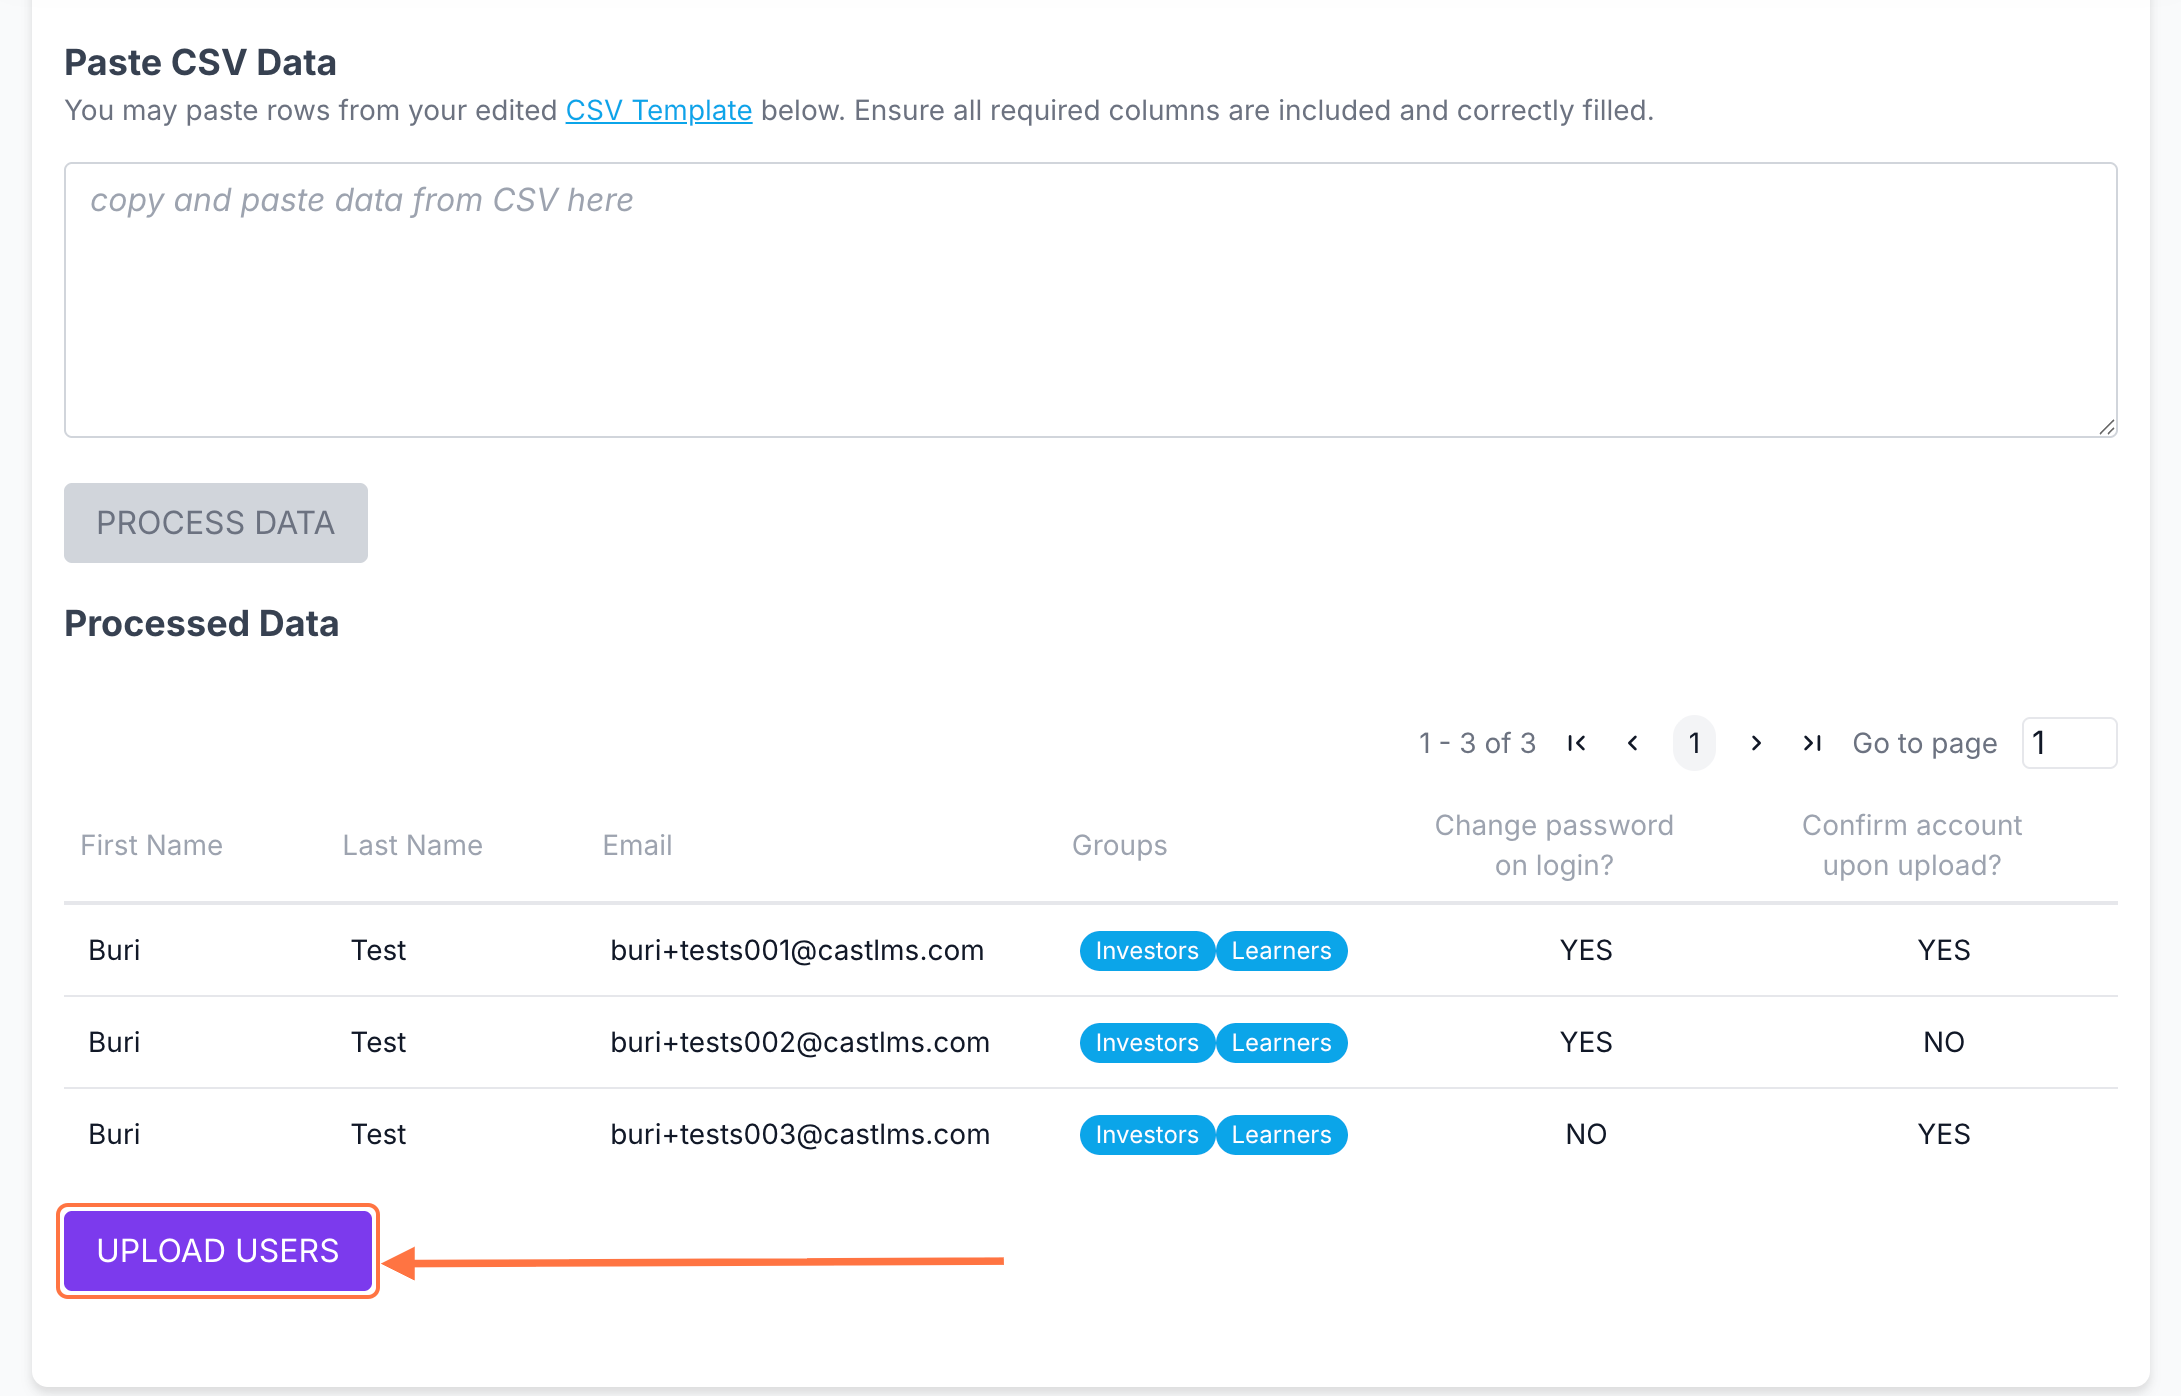
Alternatively, you can copy all data from your CSV (Ctrl + A for Windows or Command + A for Mac) and paste it directly into the provided space. Click on PROCESS DATA.
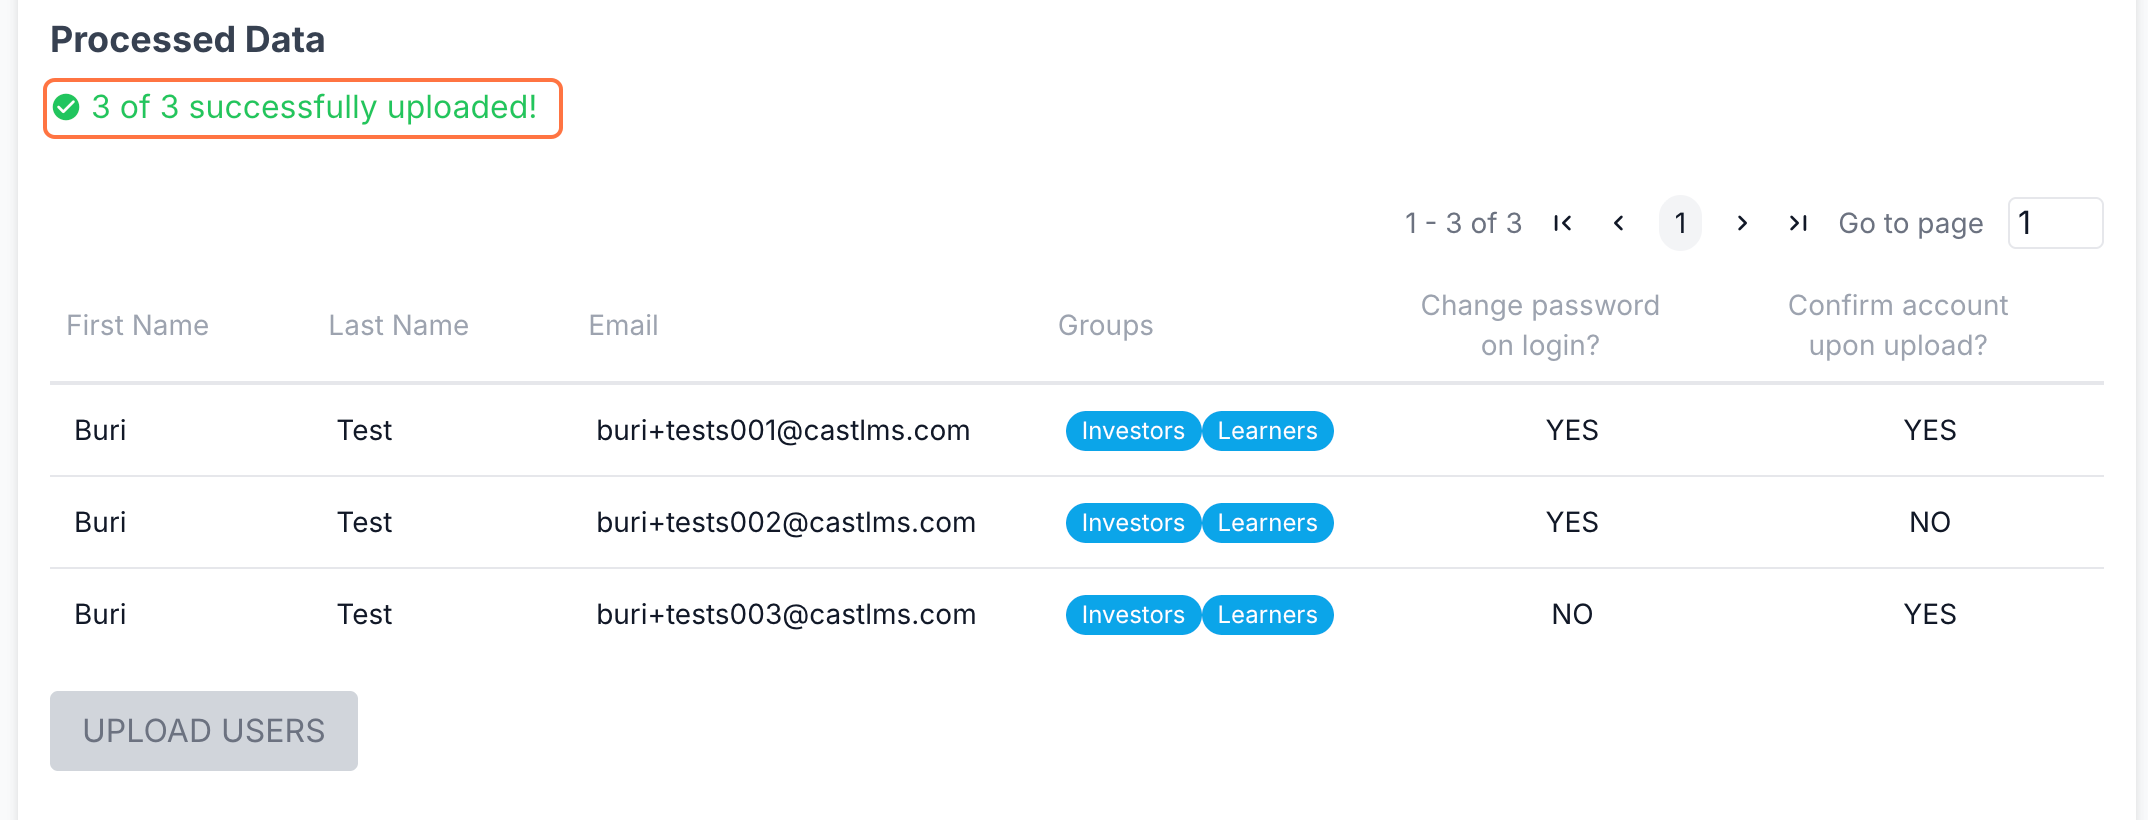
7. Review the uploaded or pasted data to ensure everything is correct, then click UPLOAD USERS.
8. After processing, you’ll see a summary of the upload results, including the number of successful uploads and any failed accounts.