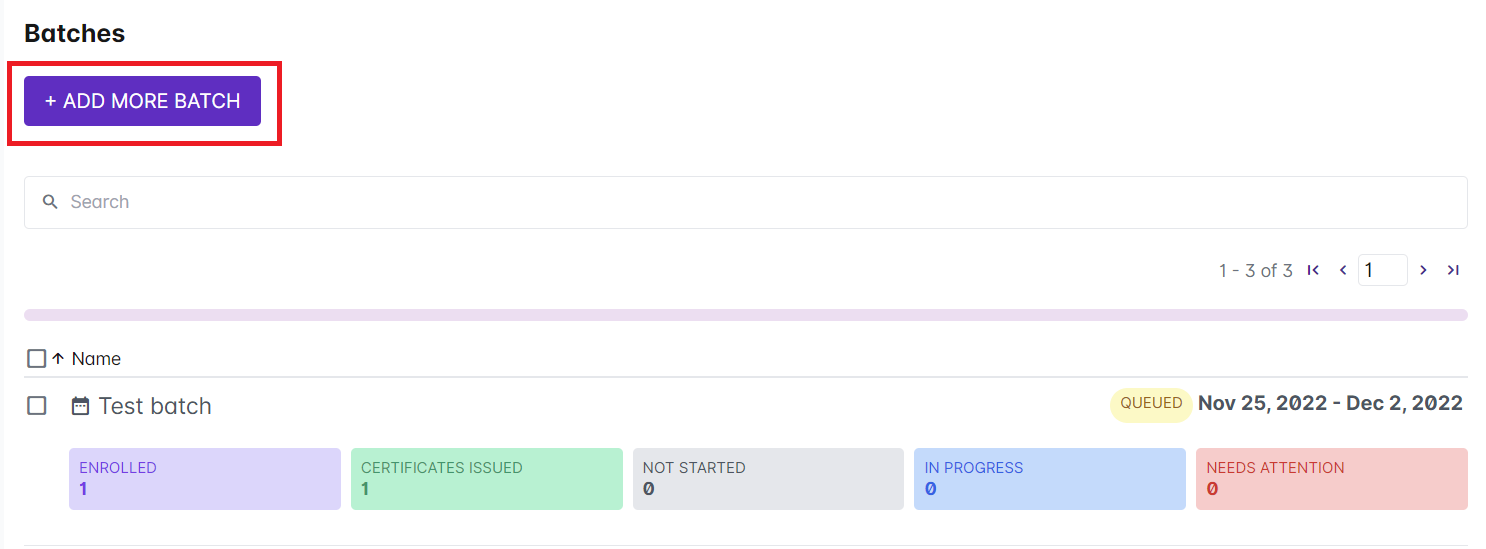
1. From the course profile page, click the Add More Batch button.
2. Type the name of your batch.
3. Select Forever if you want the users enrolled in this batch to have unlimited access to the course.

Otherwise, select Set start and end date to set a specific date and time for the access period of the enrolled learners in this batch.
4. To set the date, click on the dd/mm/yyyy under Start Date and Time. You can also click on the calendar icon and select the correct date.
To set the time, type it on the space provided. You can also click on the clock icon and select a specific time.
Check if it is set to “AM” or “PM.”
5. Click Done to save your changes.
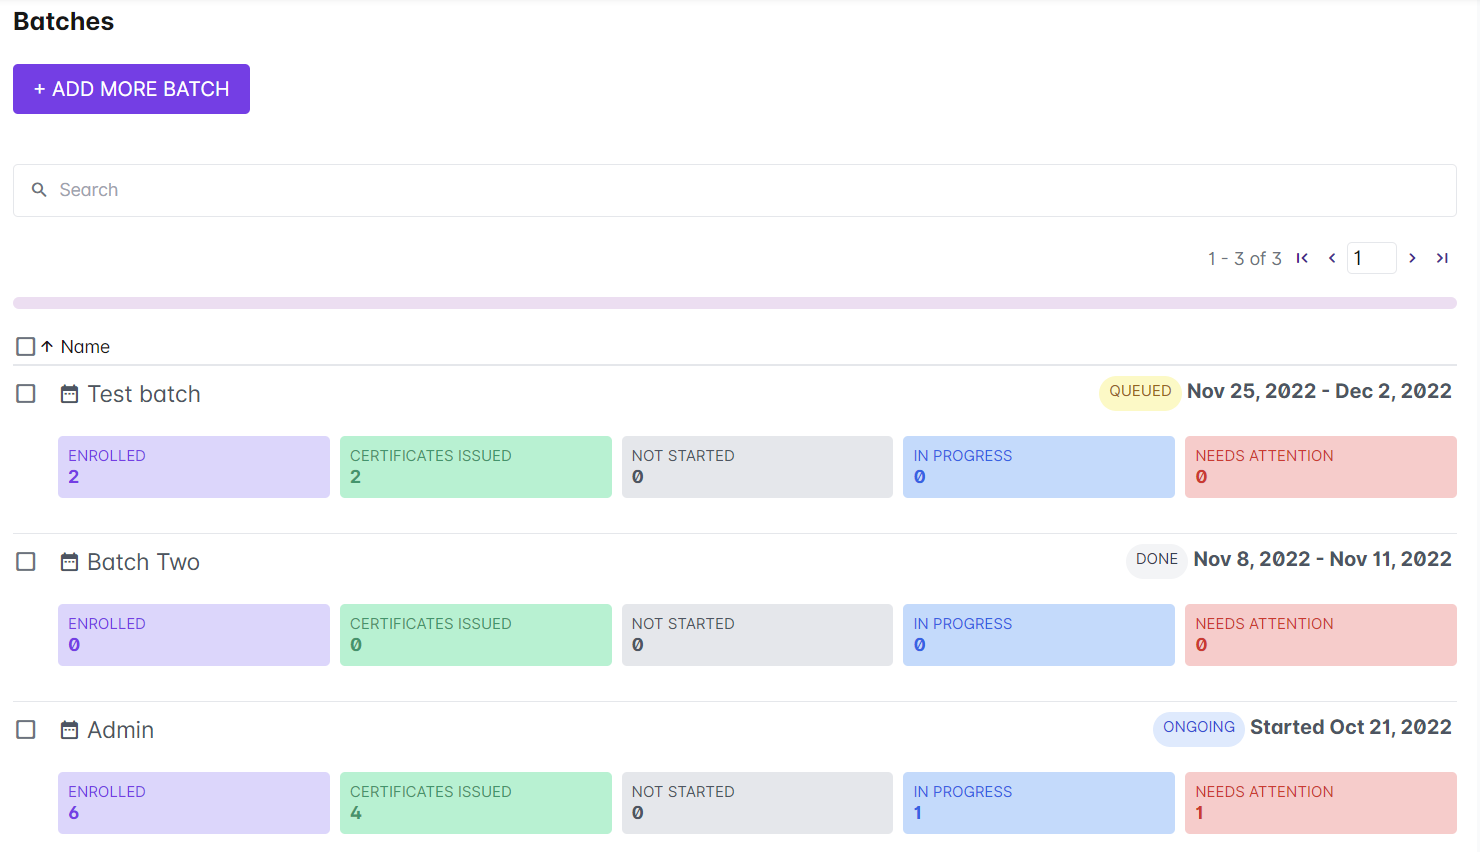
Once saved, the new batch should appear under Batches in the Course Profile. The batches may have the following course progress tags:
Ongoing – are batches currently taking the course
Queued – batches waiting for their access period to start
Done – batches that have finished taking the course because their access period have already elapsed
Related Articles:
Choosing the best way to enroll users in a course - https://support.castlms.com/help/enrolling-users-in-my-courses
Viewing Enrollment Options - https://support.castlms.com/help/viewing-enrollment-options


