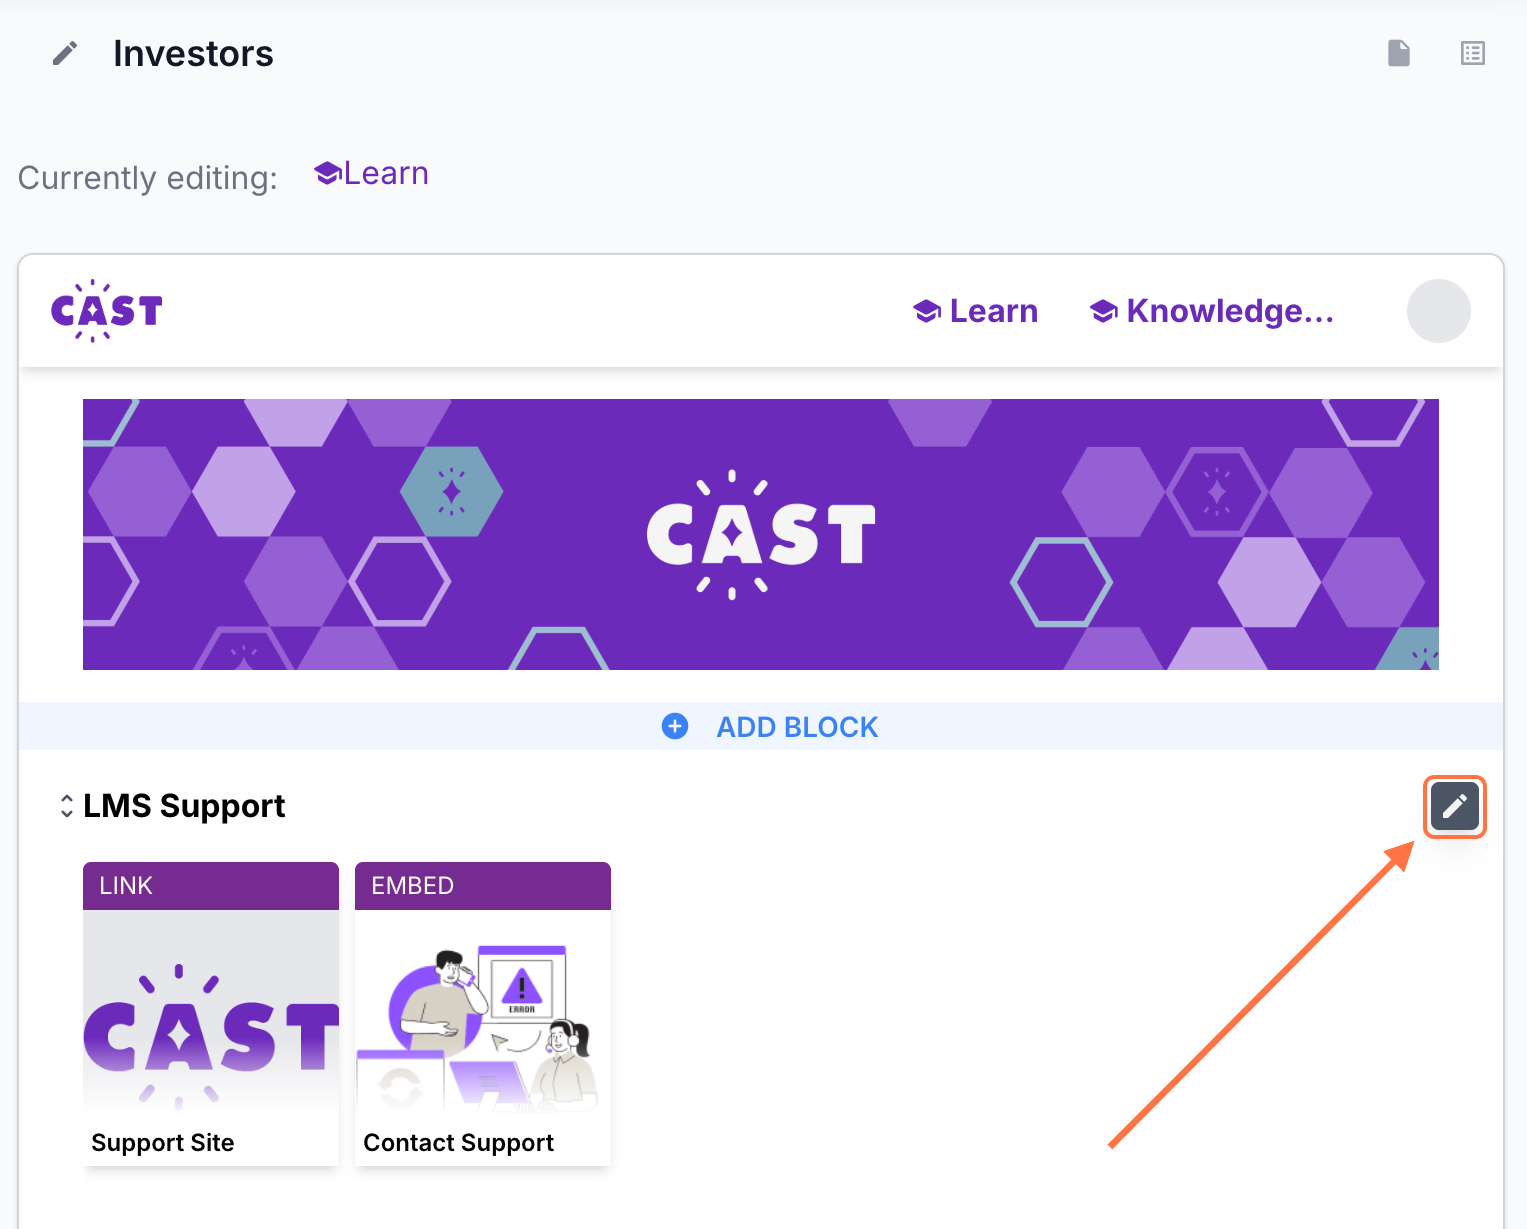
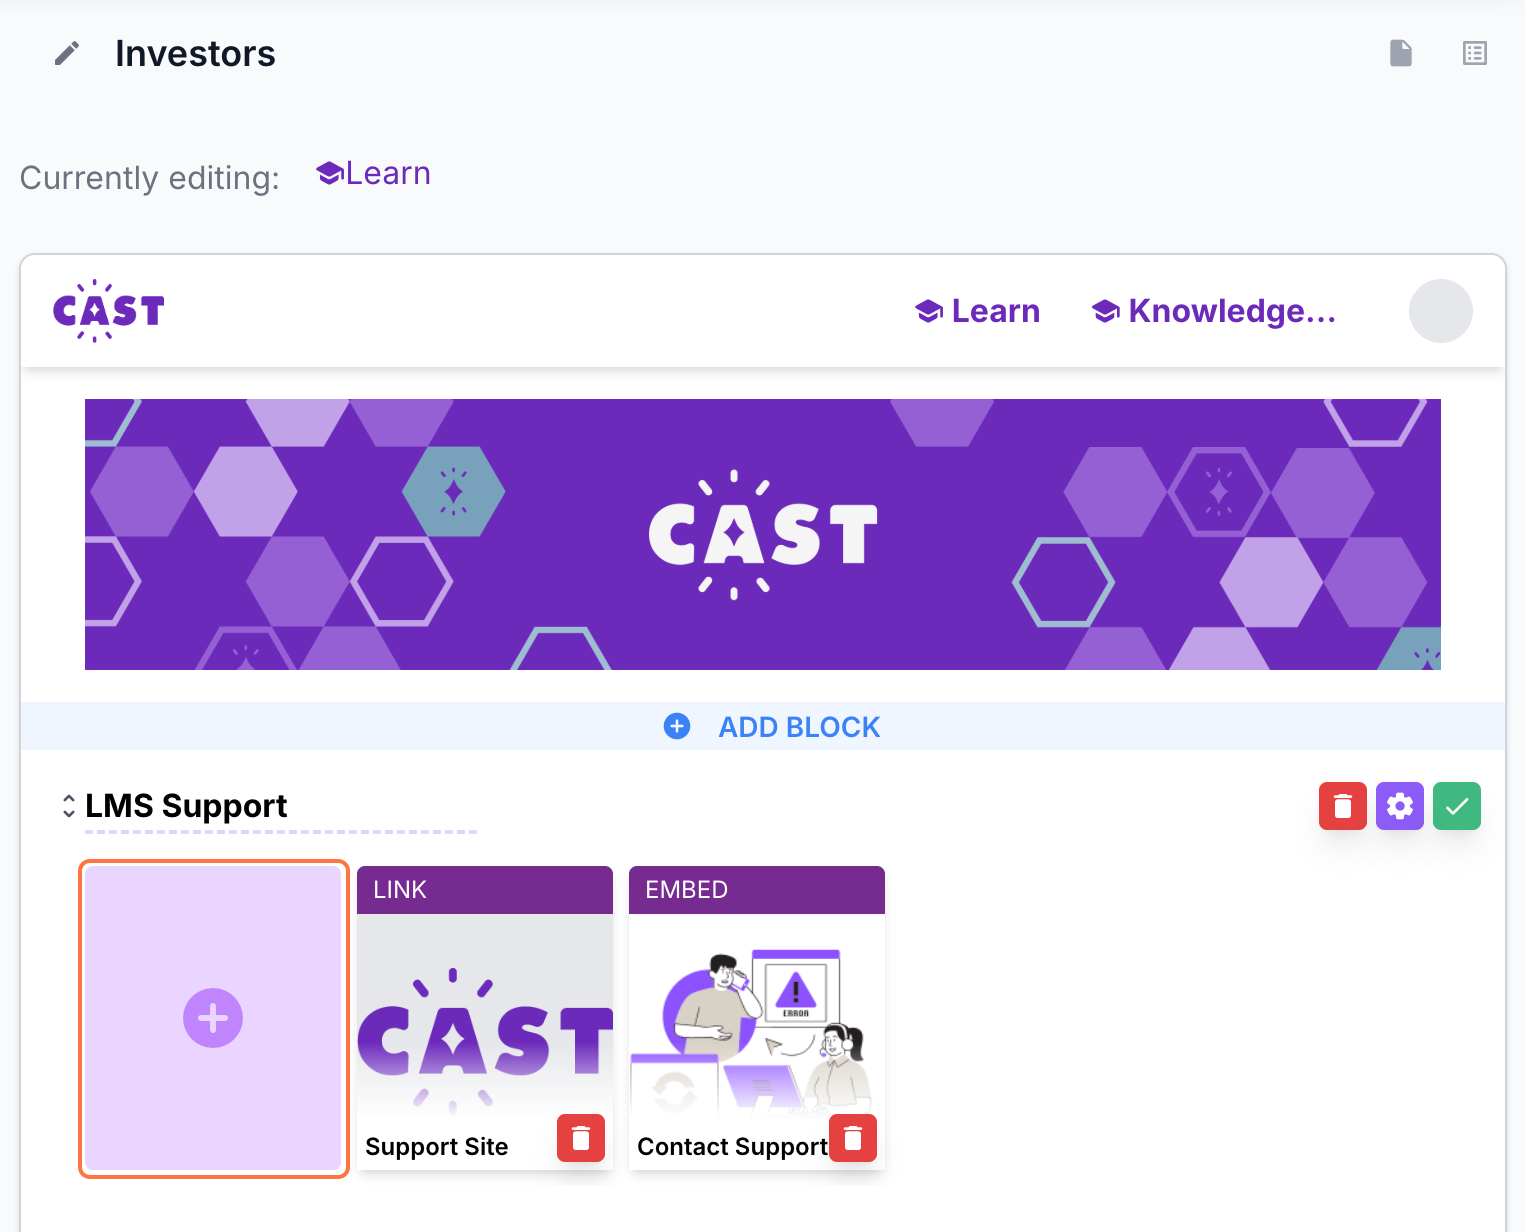
1. Go to Cast Editor from the Admin dashboard. Click on the edit button on your chosen block. Click the ‘+’ sign to add a new resource.
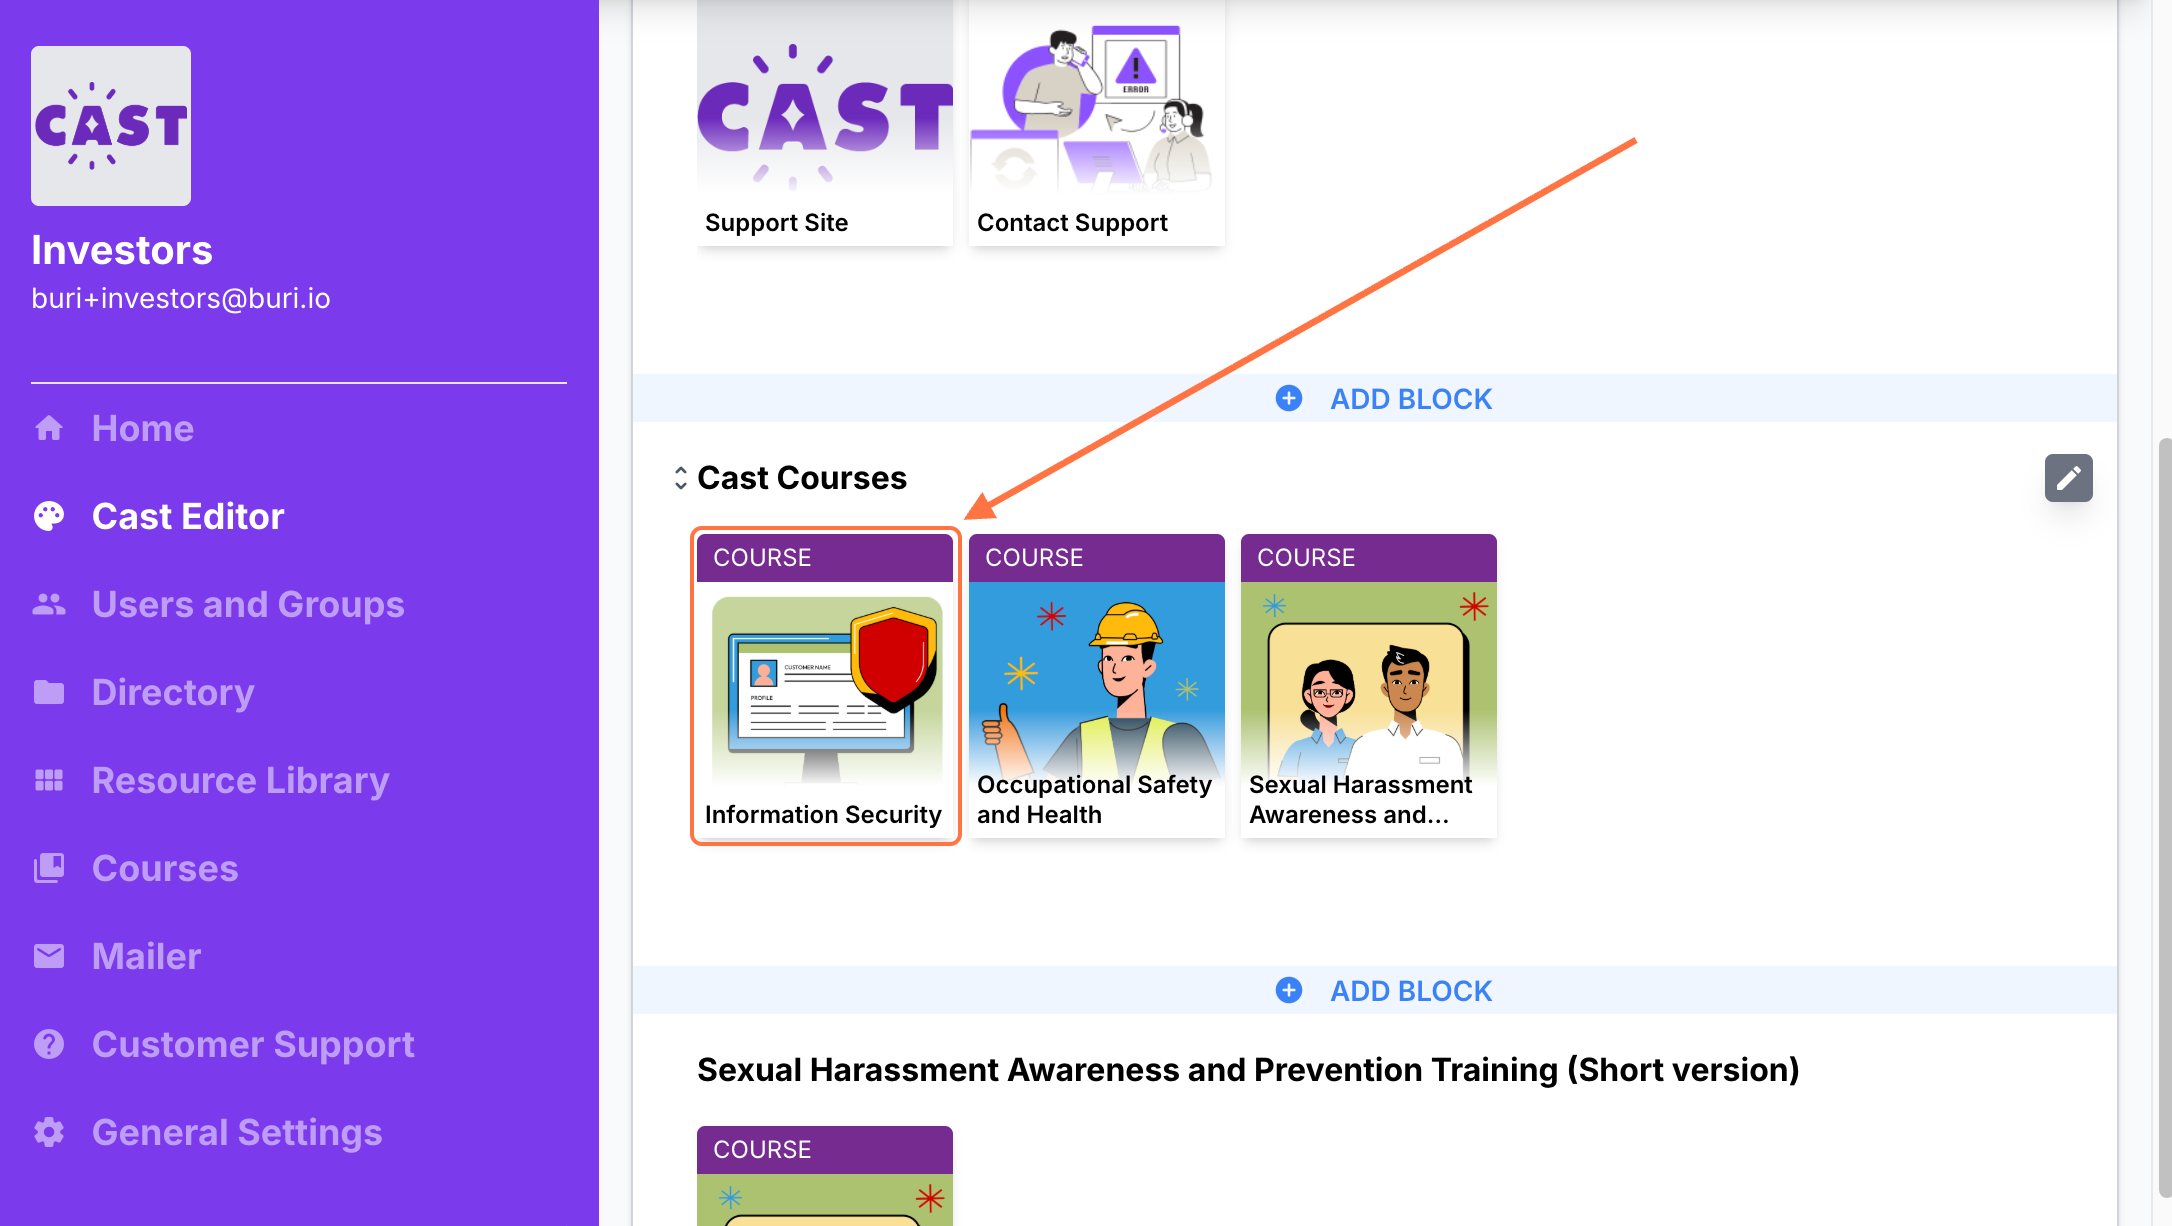
If you intend to upload the resource inside a course, click on any course in the Cast Editor.
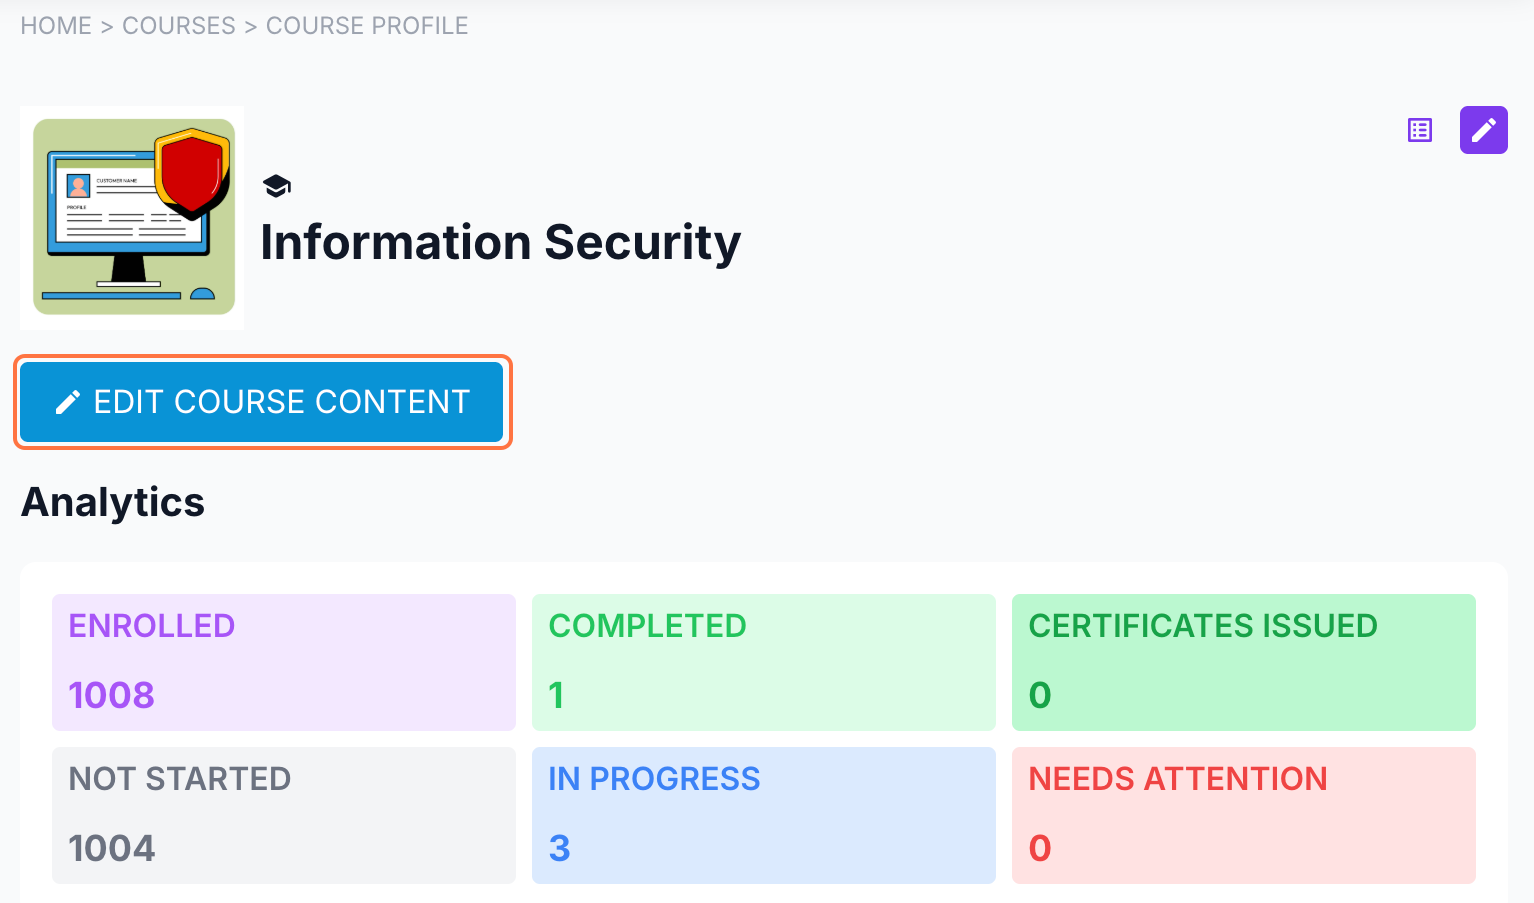
2. Click on the Edit Course Content button in the Course Profile.
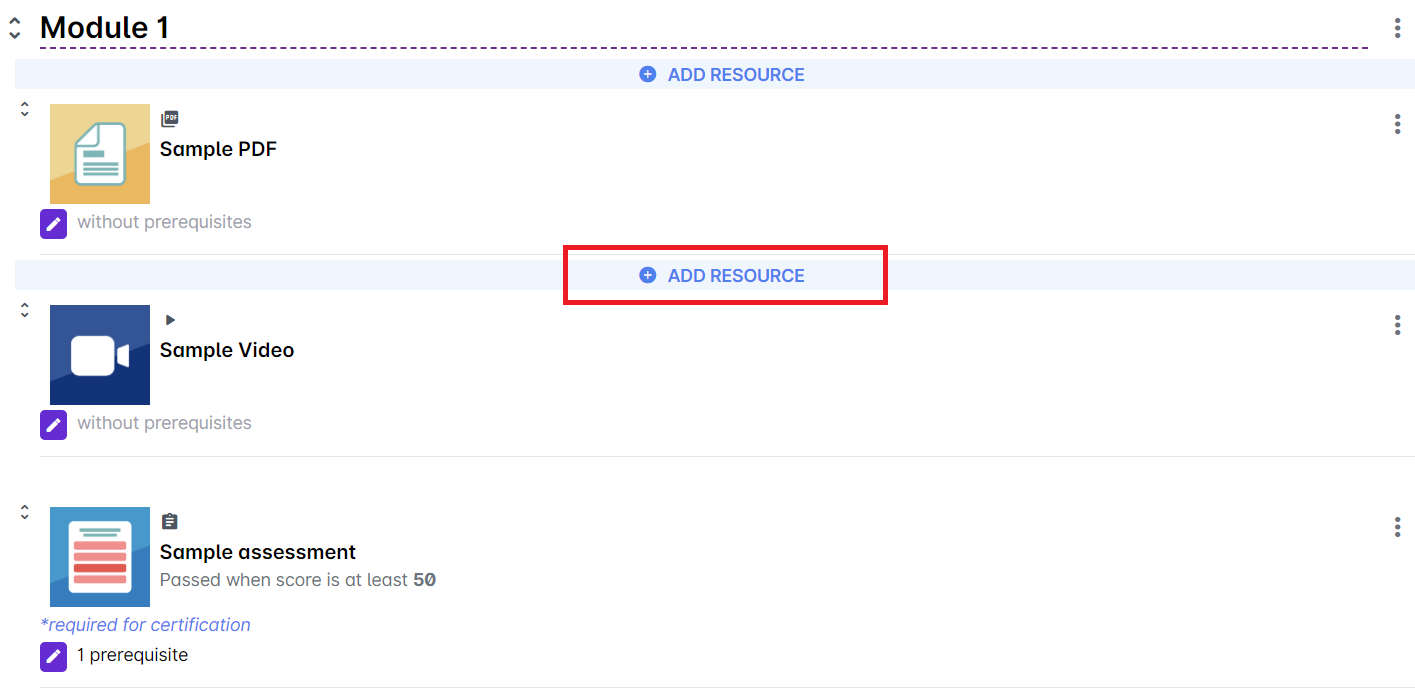
3. Click on the + Add Resource button in the section where you want to put the resource in.
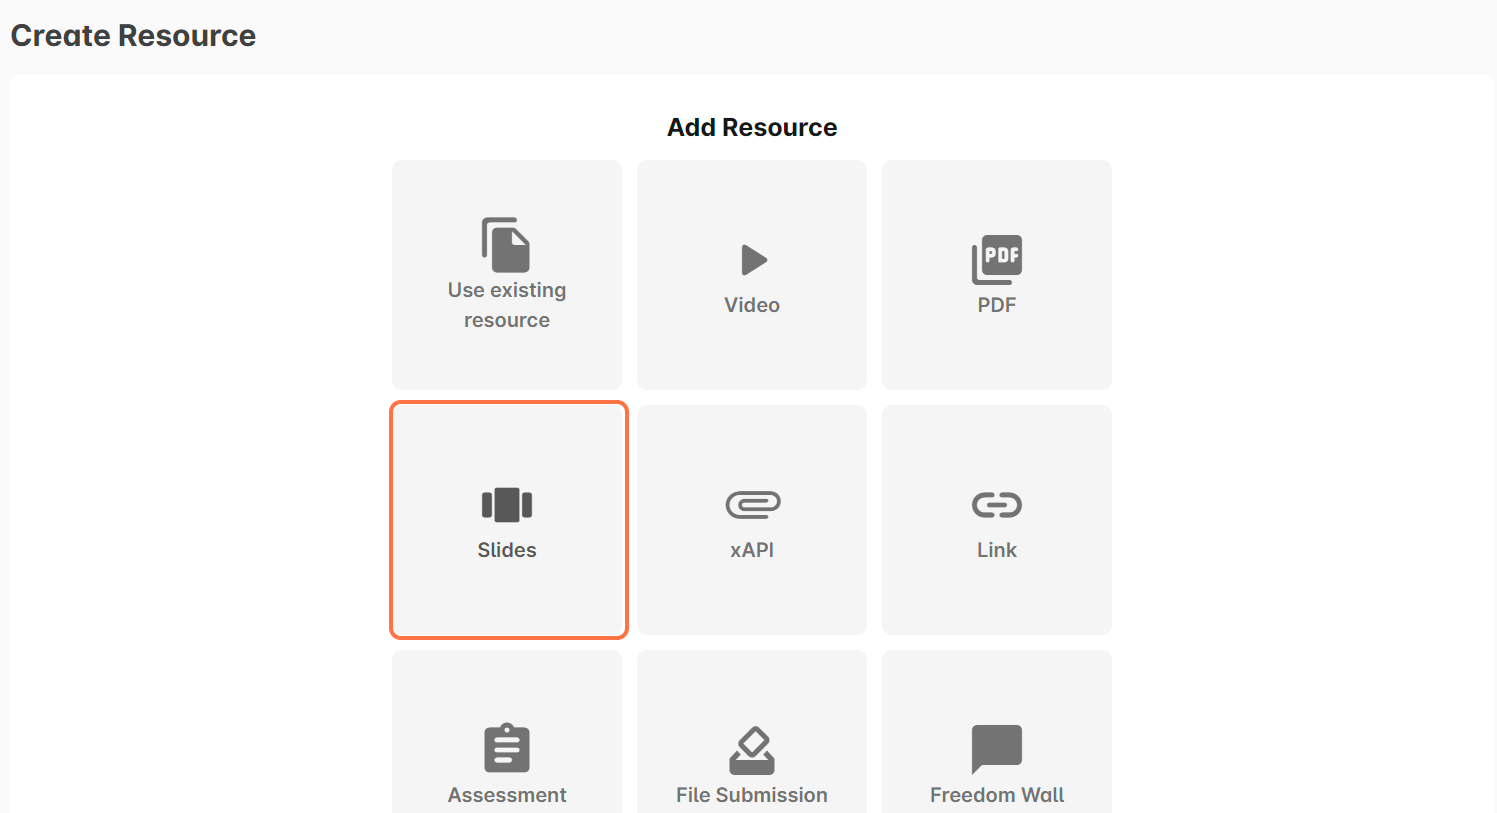
4. Select Slides from the list of resources.
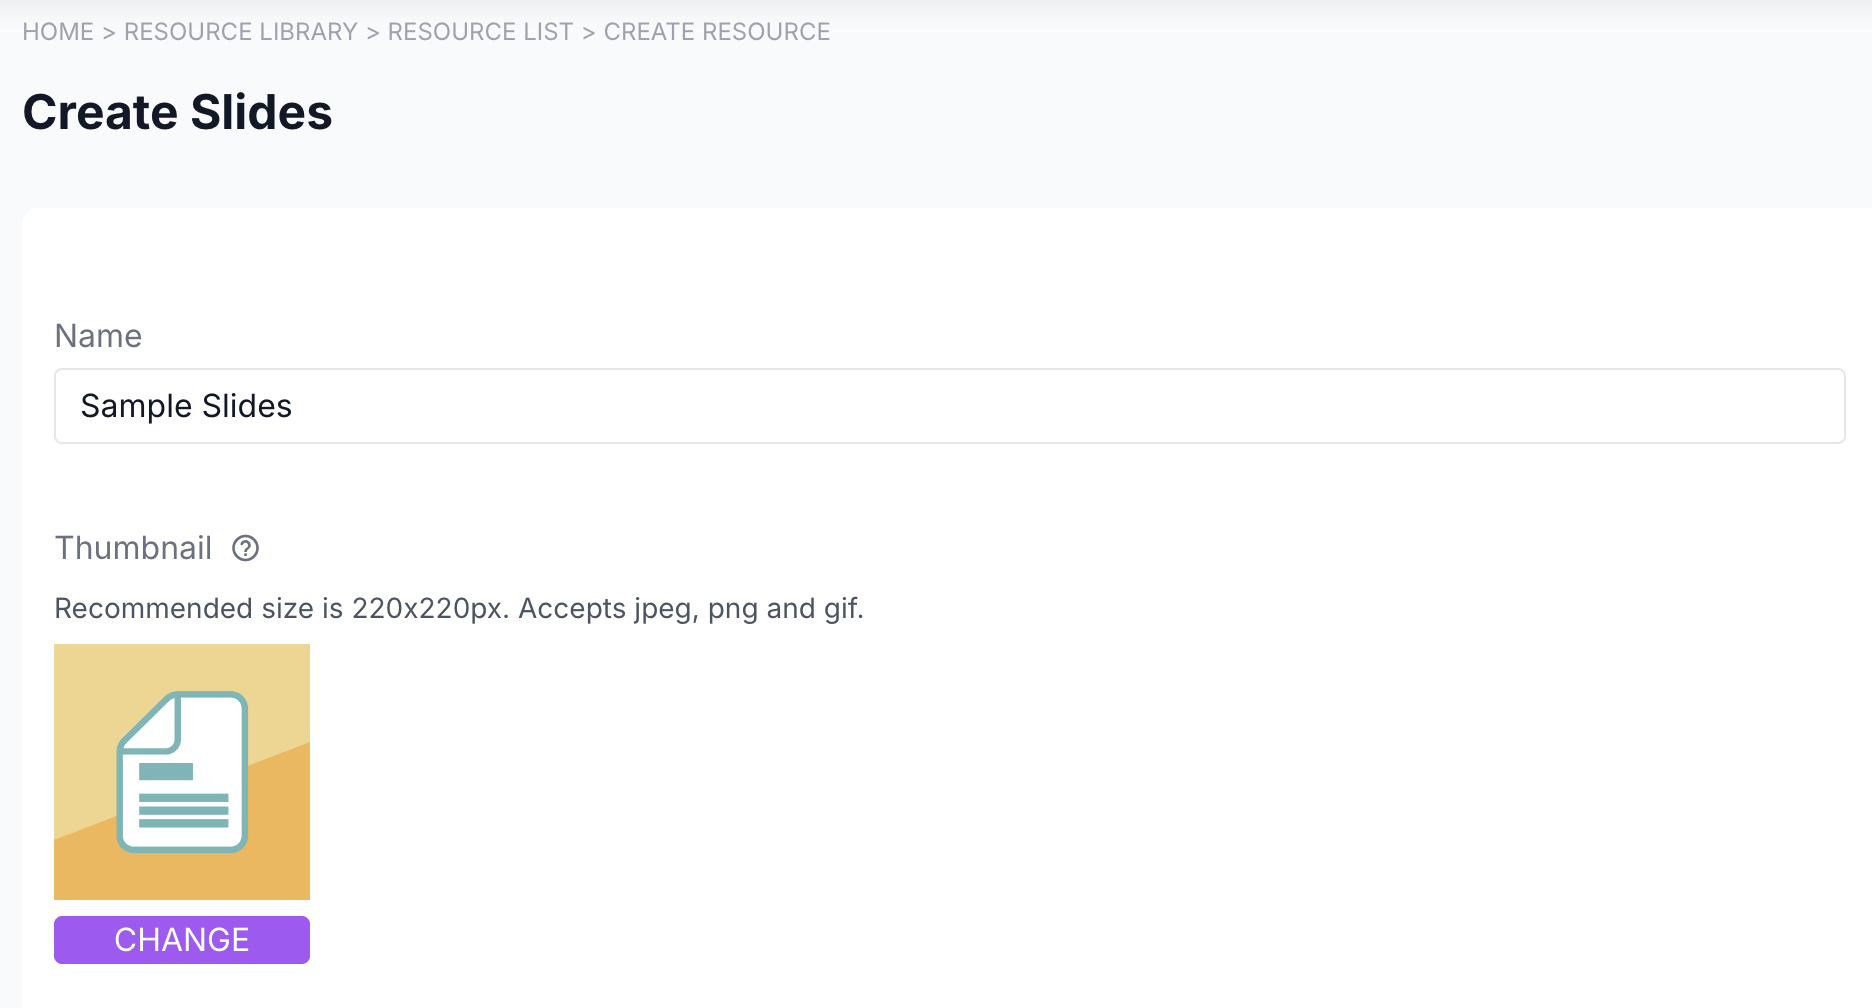
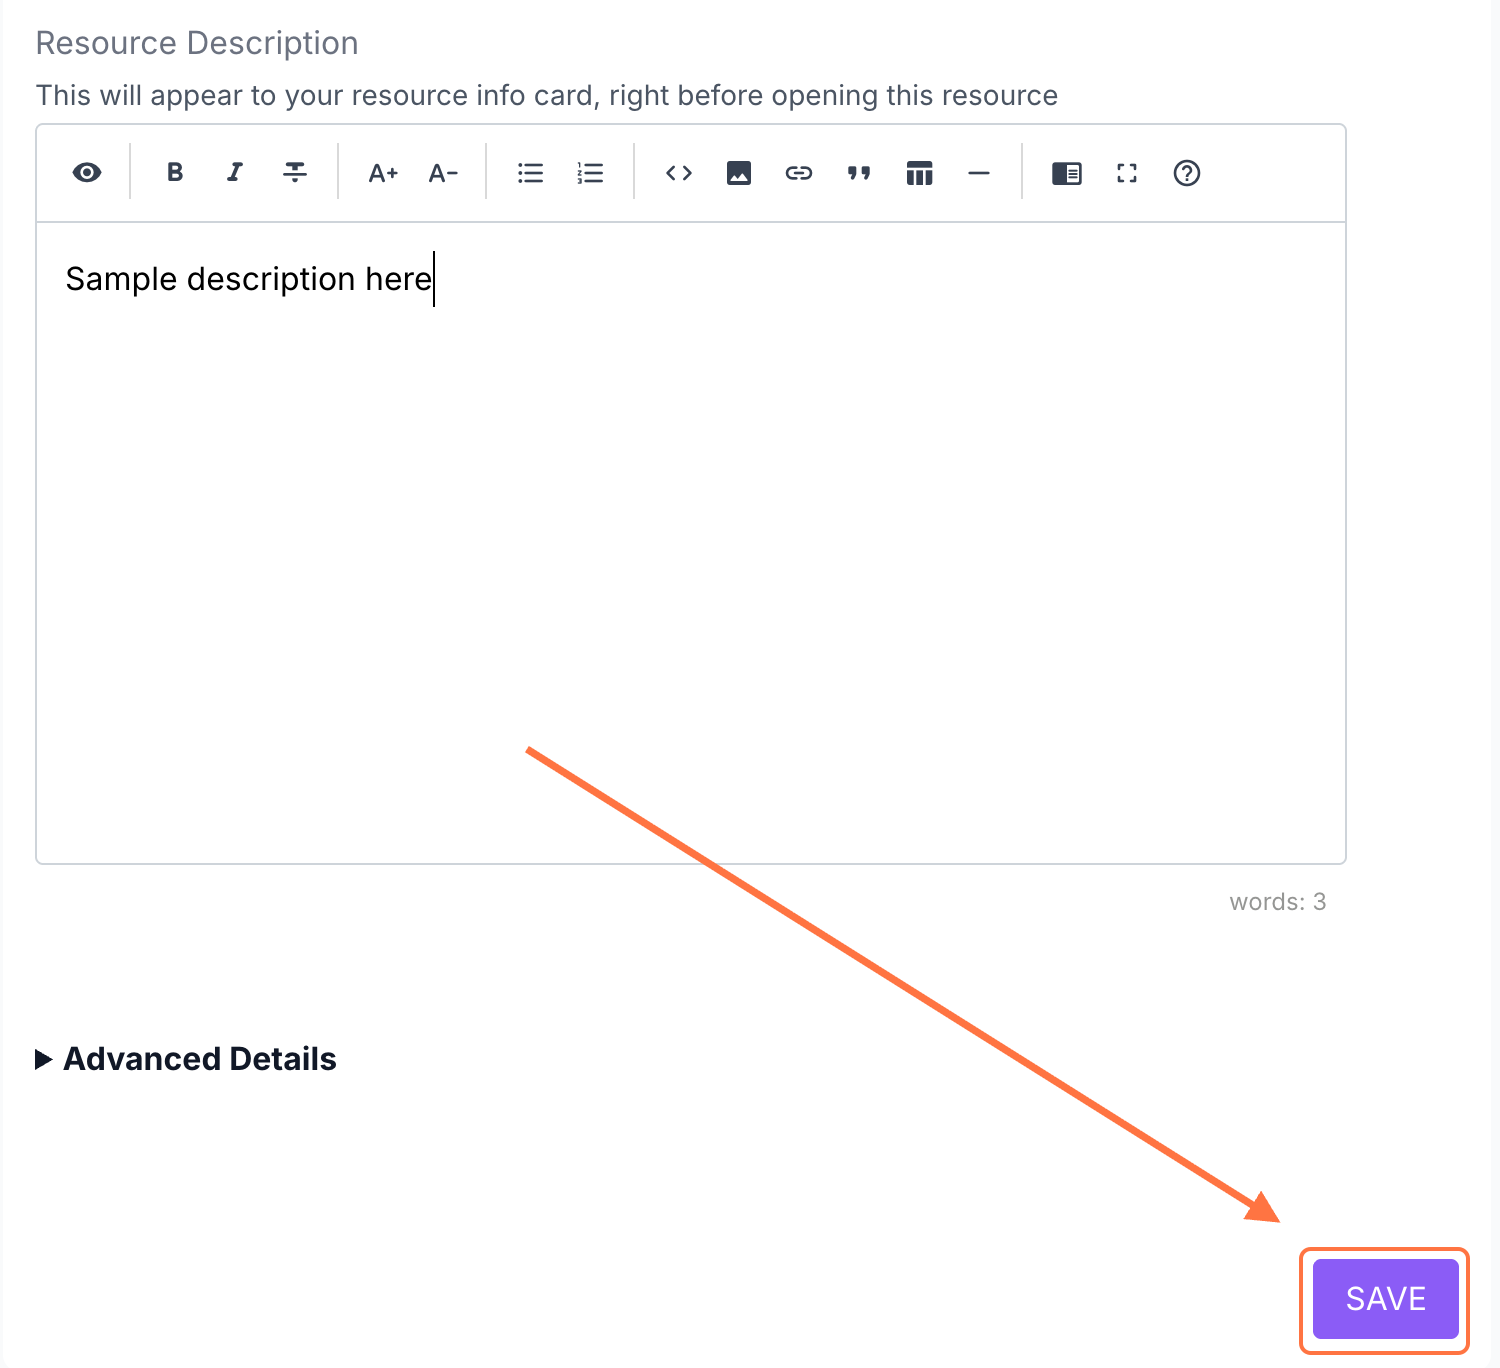
5. Give your Slides a name. Click the “ADD” button or the image icon to change the thumbnail of the Slides resource.
6. You may put a description for this resource and once the resource details have been set, click SAVE.
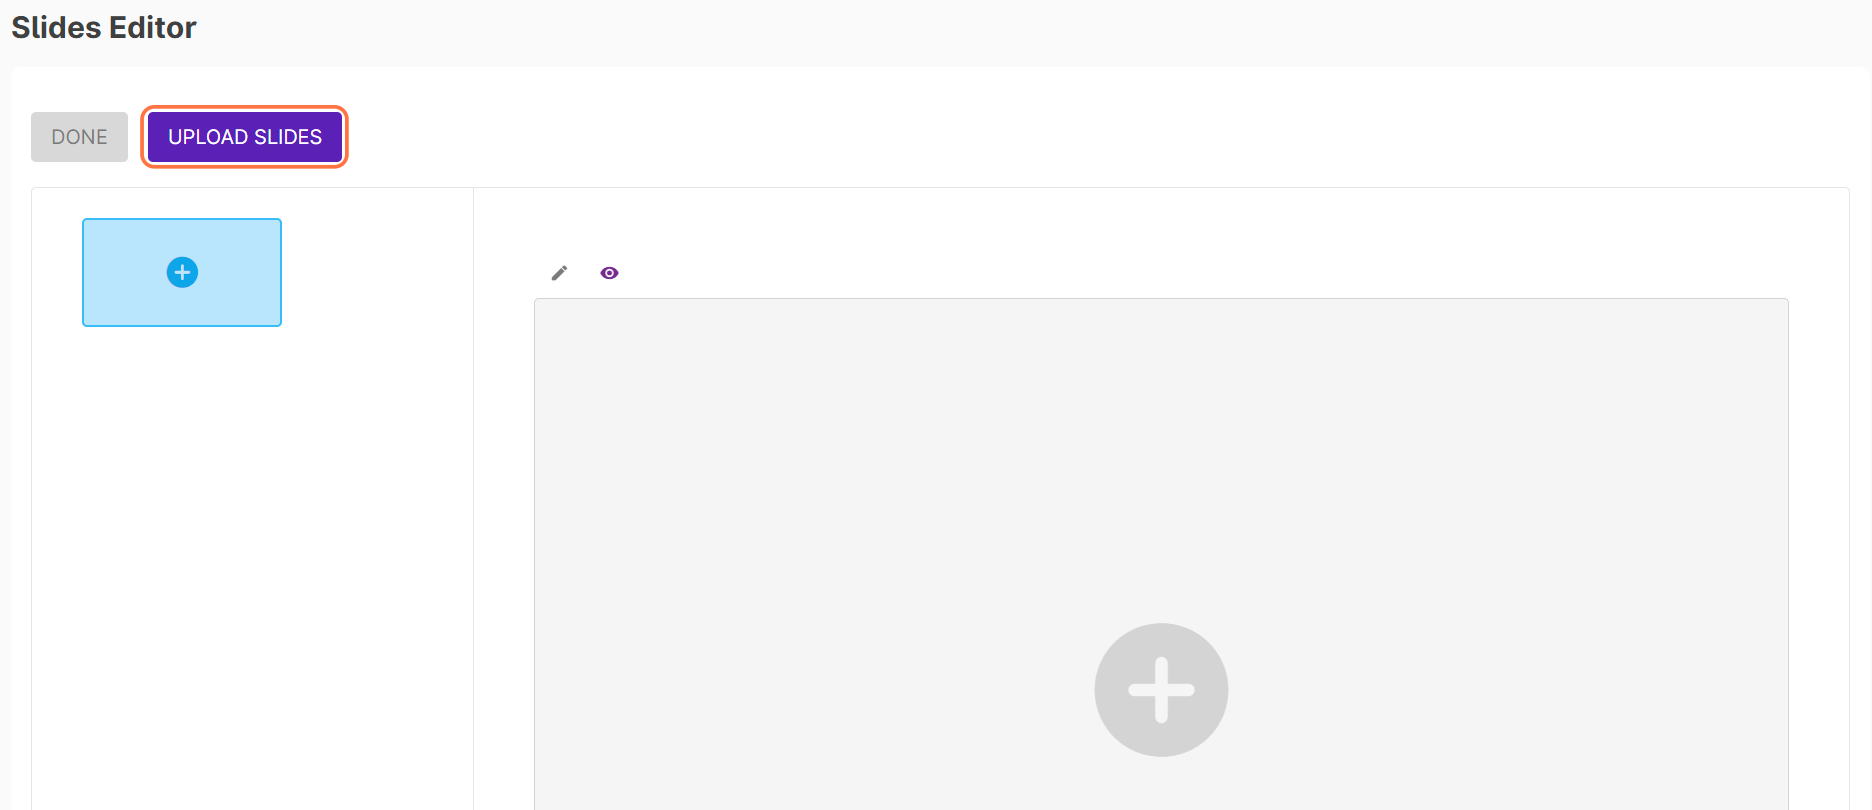
7. To start creating your slides, click on the Upload Slides button. A window will appear on your screen, prompting you to browse your computer for the slide images.
Make sure to download each page of your slide as an image file (acceptable formats are: .jpg, .png) before doing this step.
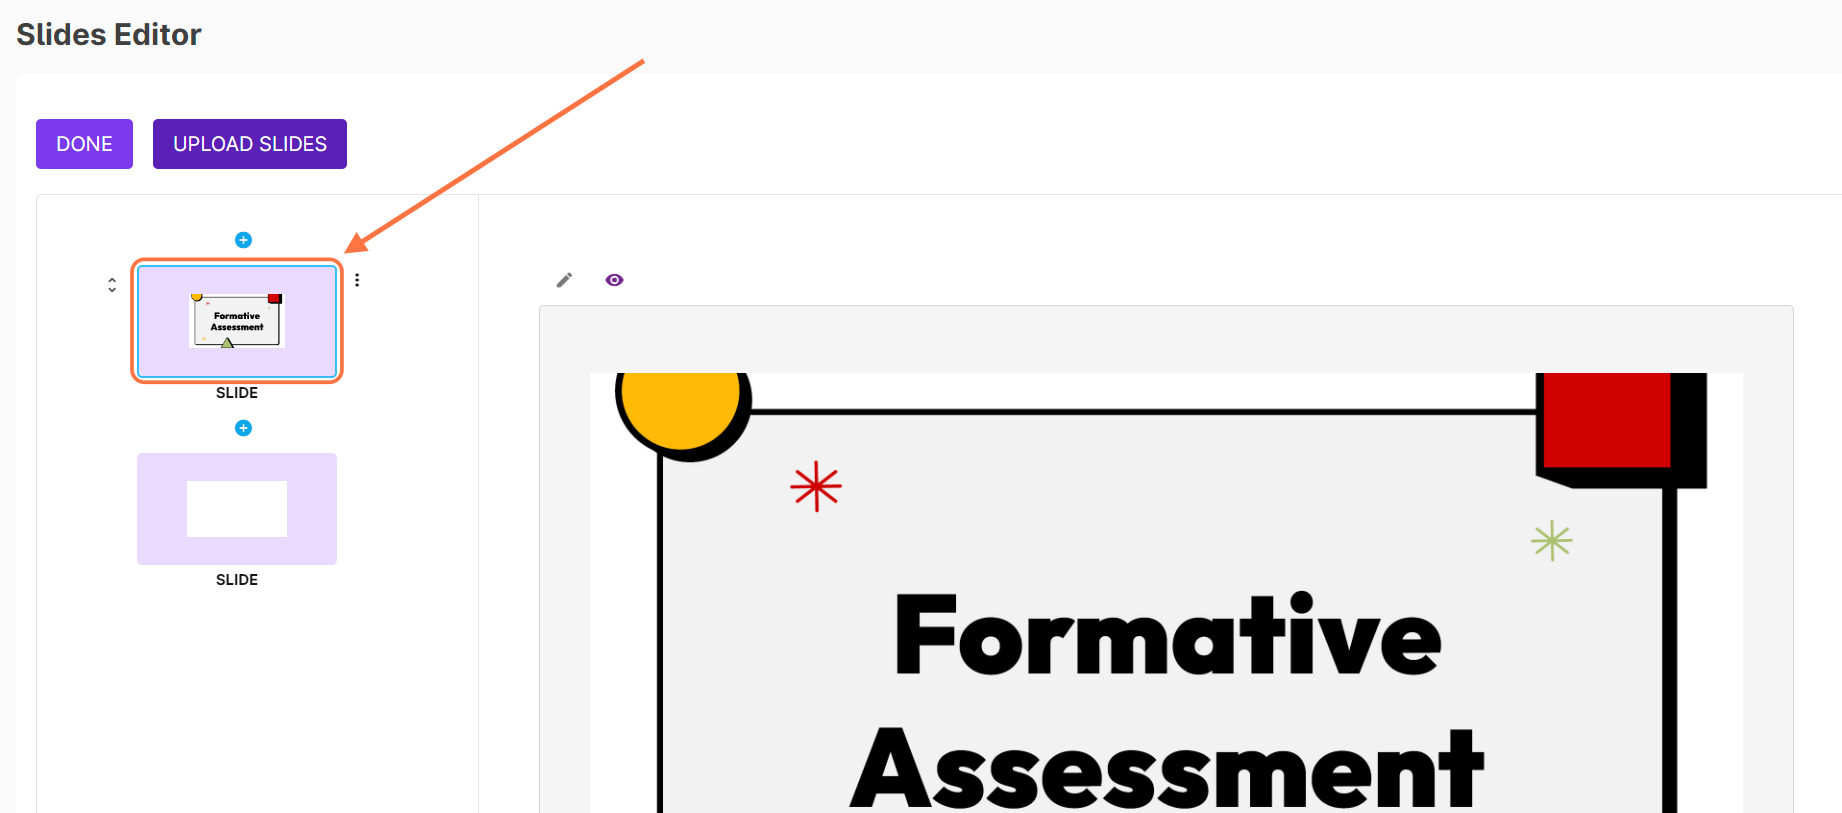
8. After successfully uploading your slide images, you can now proceed to inserting question items and other interactive elements into your slides. Click on any slide on the left side of the Slides Editor page. Your selected slide is highlighted with a blue line and will also show on the right side of the Editor.
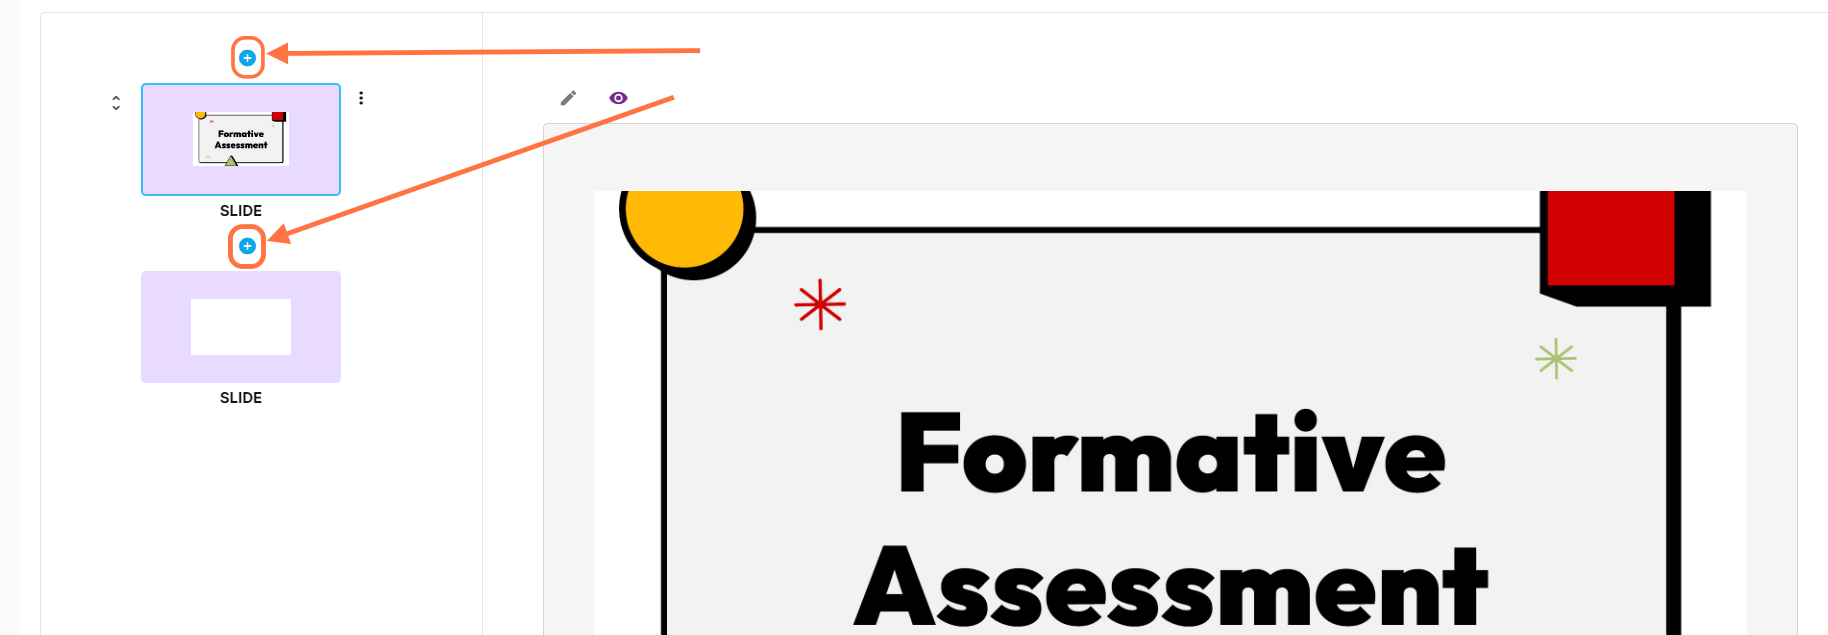
9. Click on the plus button above or below the selected slide. This will allow you to select what question item or resource to insert in between the slides.
10. For question items, you may select any of the following:
Multiple Choice
Checkbox
Text
Fill in the Blanks
Freedom Wall
Poll
Survey
For more information about adding question items to your slides, please go to this article.
You may also insert any of the following resources:
Image
PDF
Video
Link
Markdown
Carousel
Download Link
For more information about adding resources to your slides, please go to this article.
11. After completing the slides, click on Done to save the changes you made to the resource.