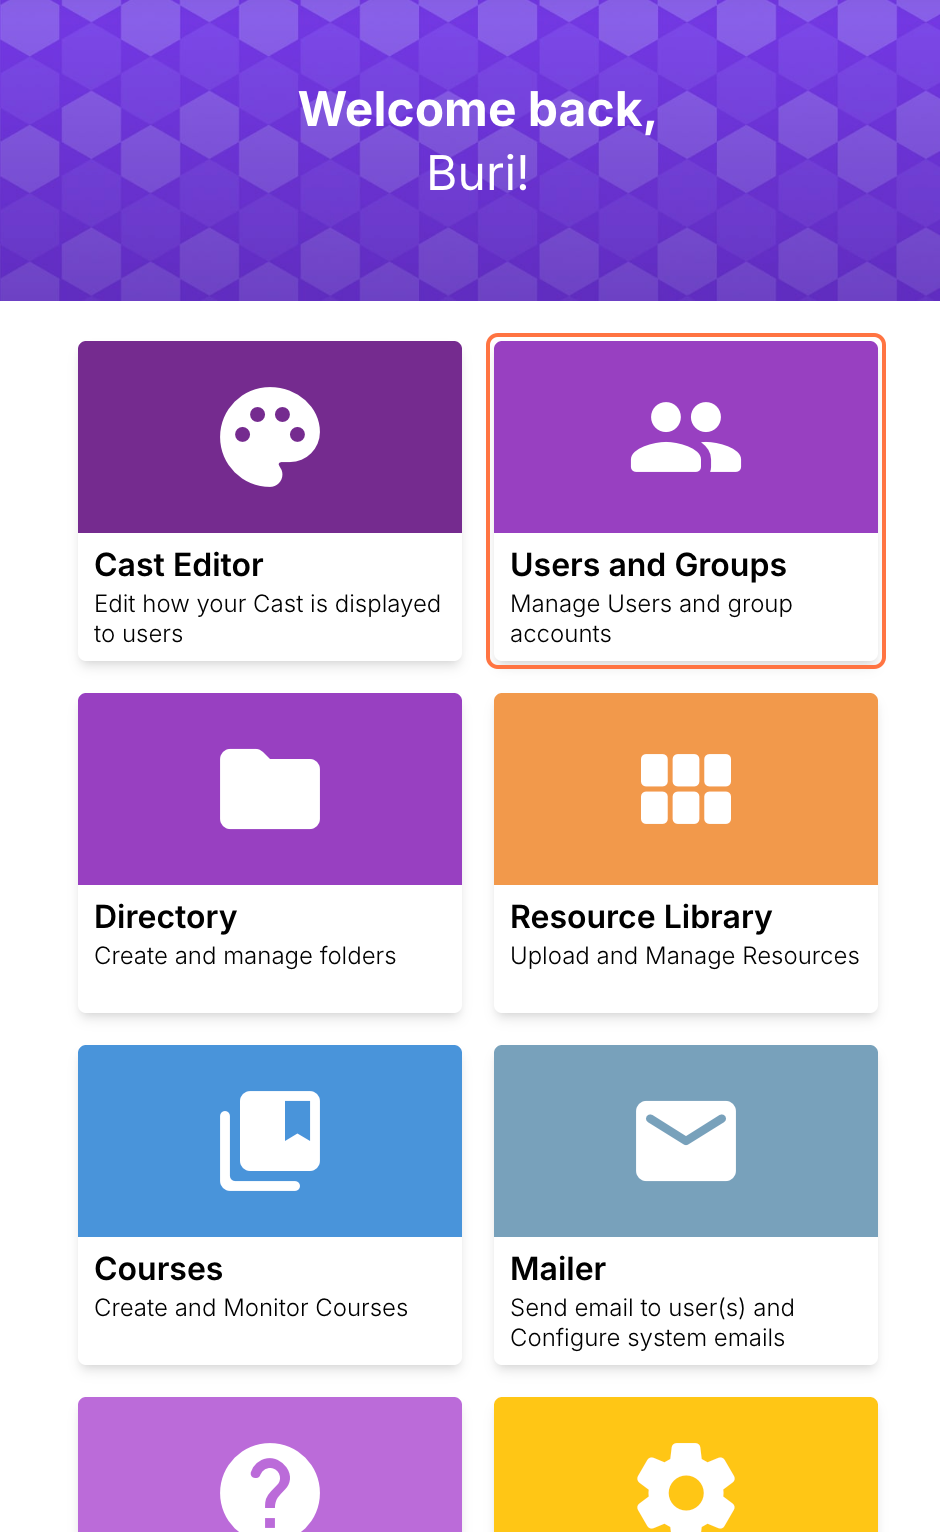
1. Go to your dashboard and click the Users and Groups button.
This will take you to the Users and Groups page.
You can also access this page from anywhere in the dashboard by clicking Users and Groups in the sidebar.
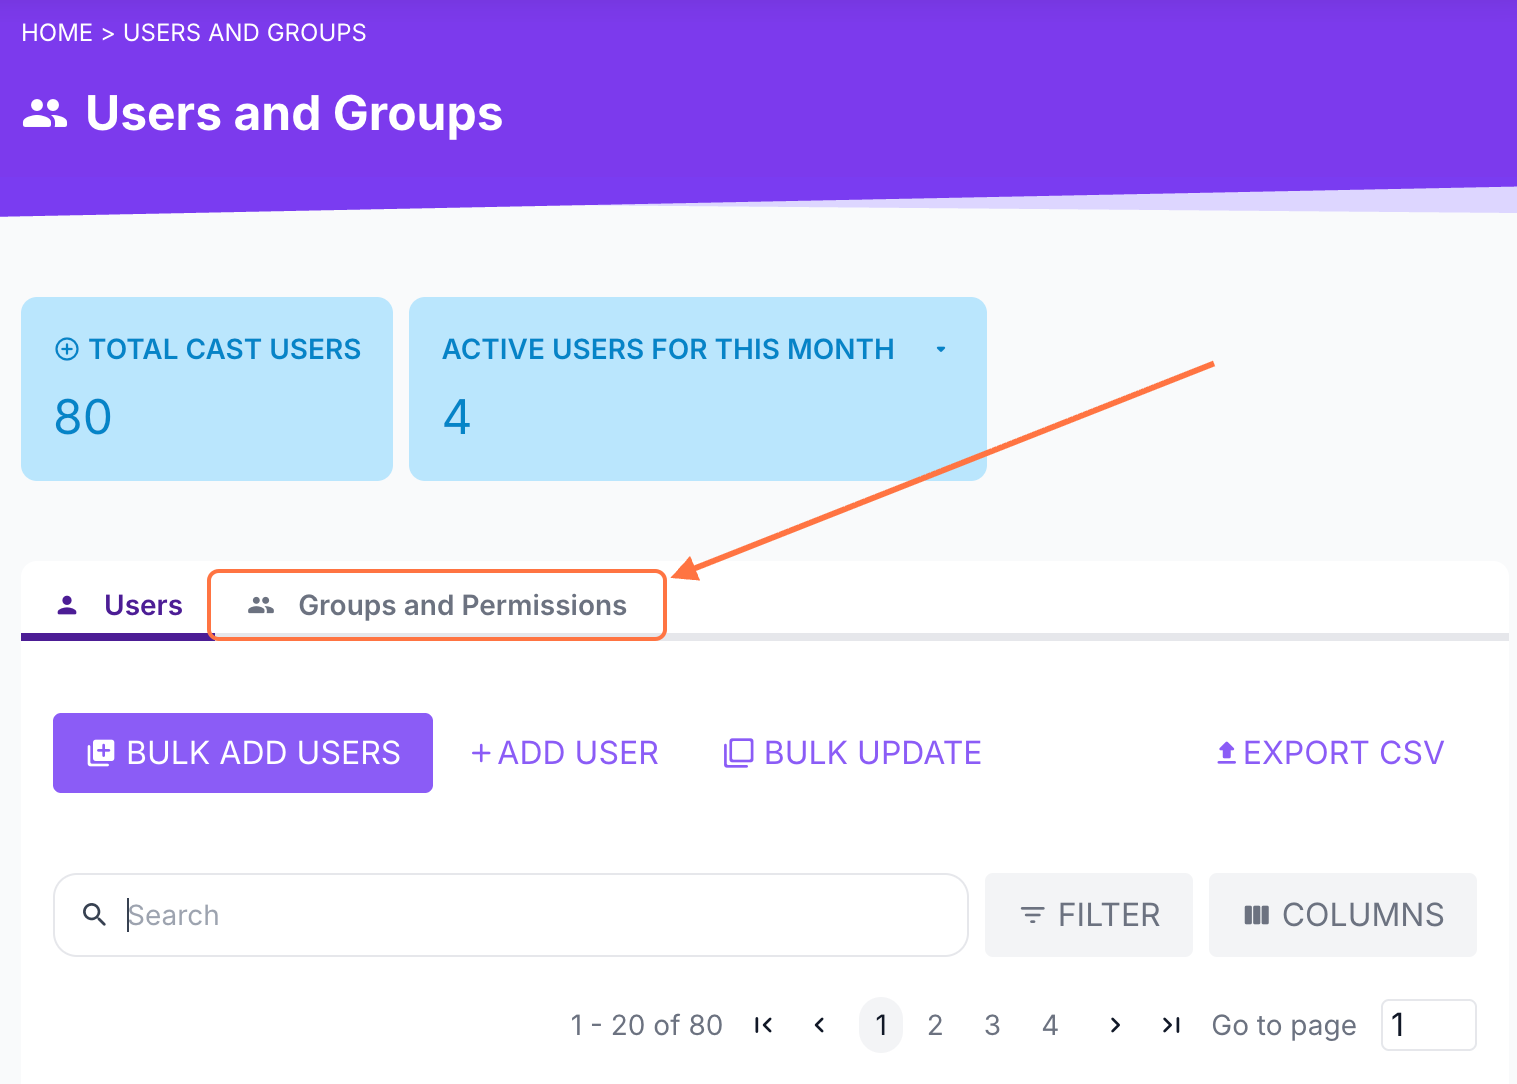
2. Go to the Groups and Permissions tab to view the list of all existing groups.
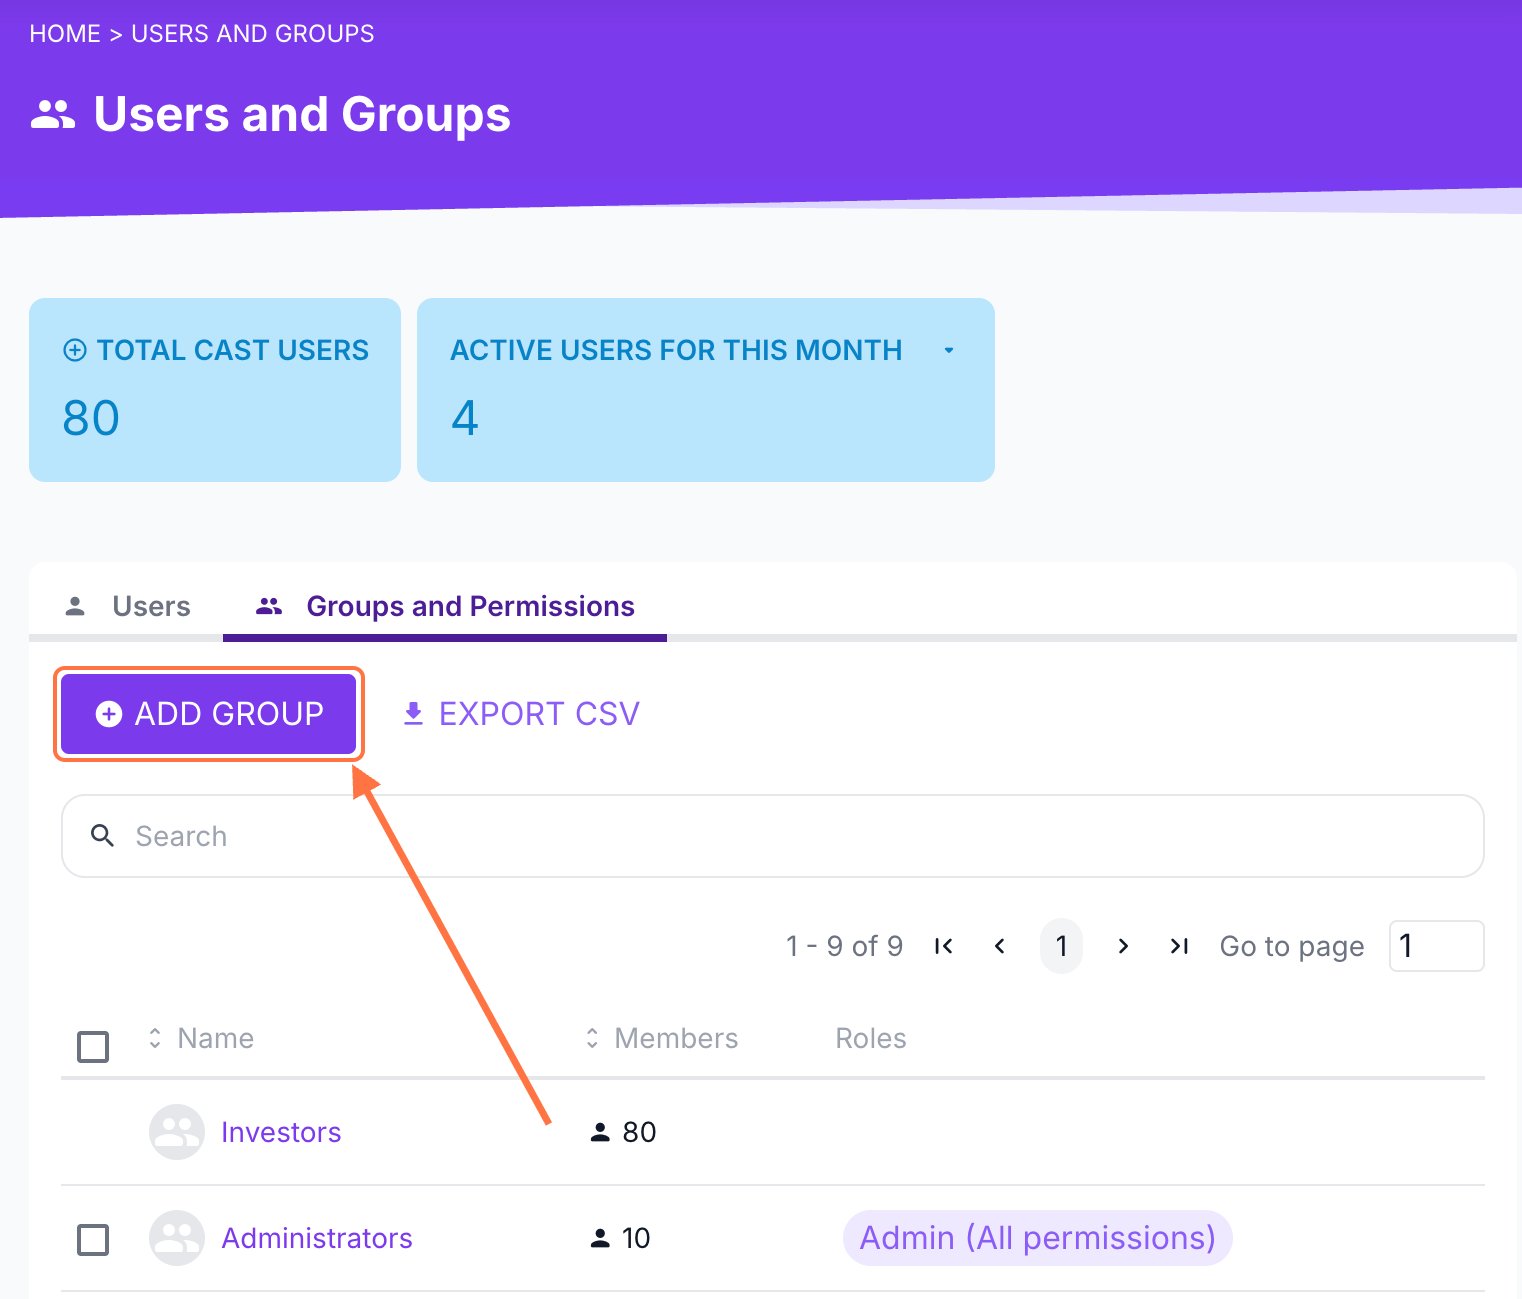
3. To create a new group, click the + Add Group button above the search bar.
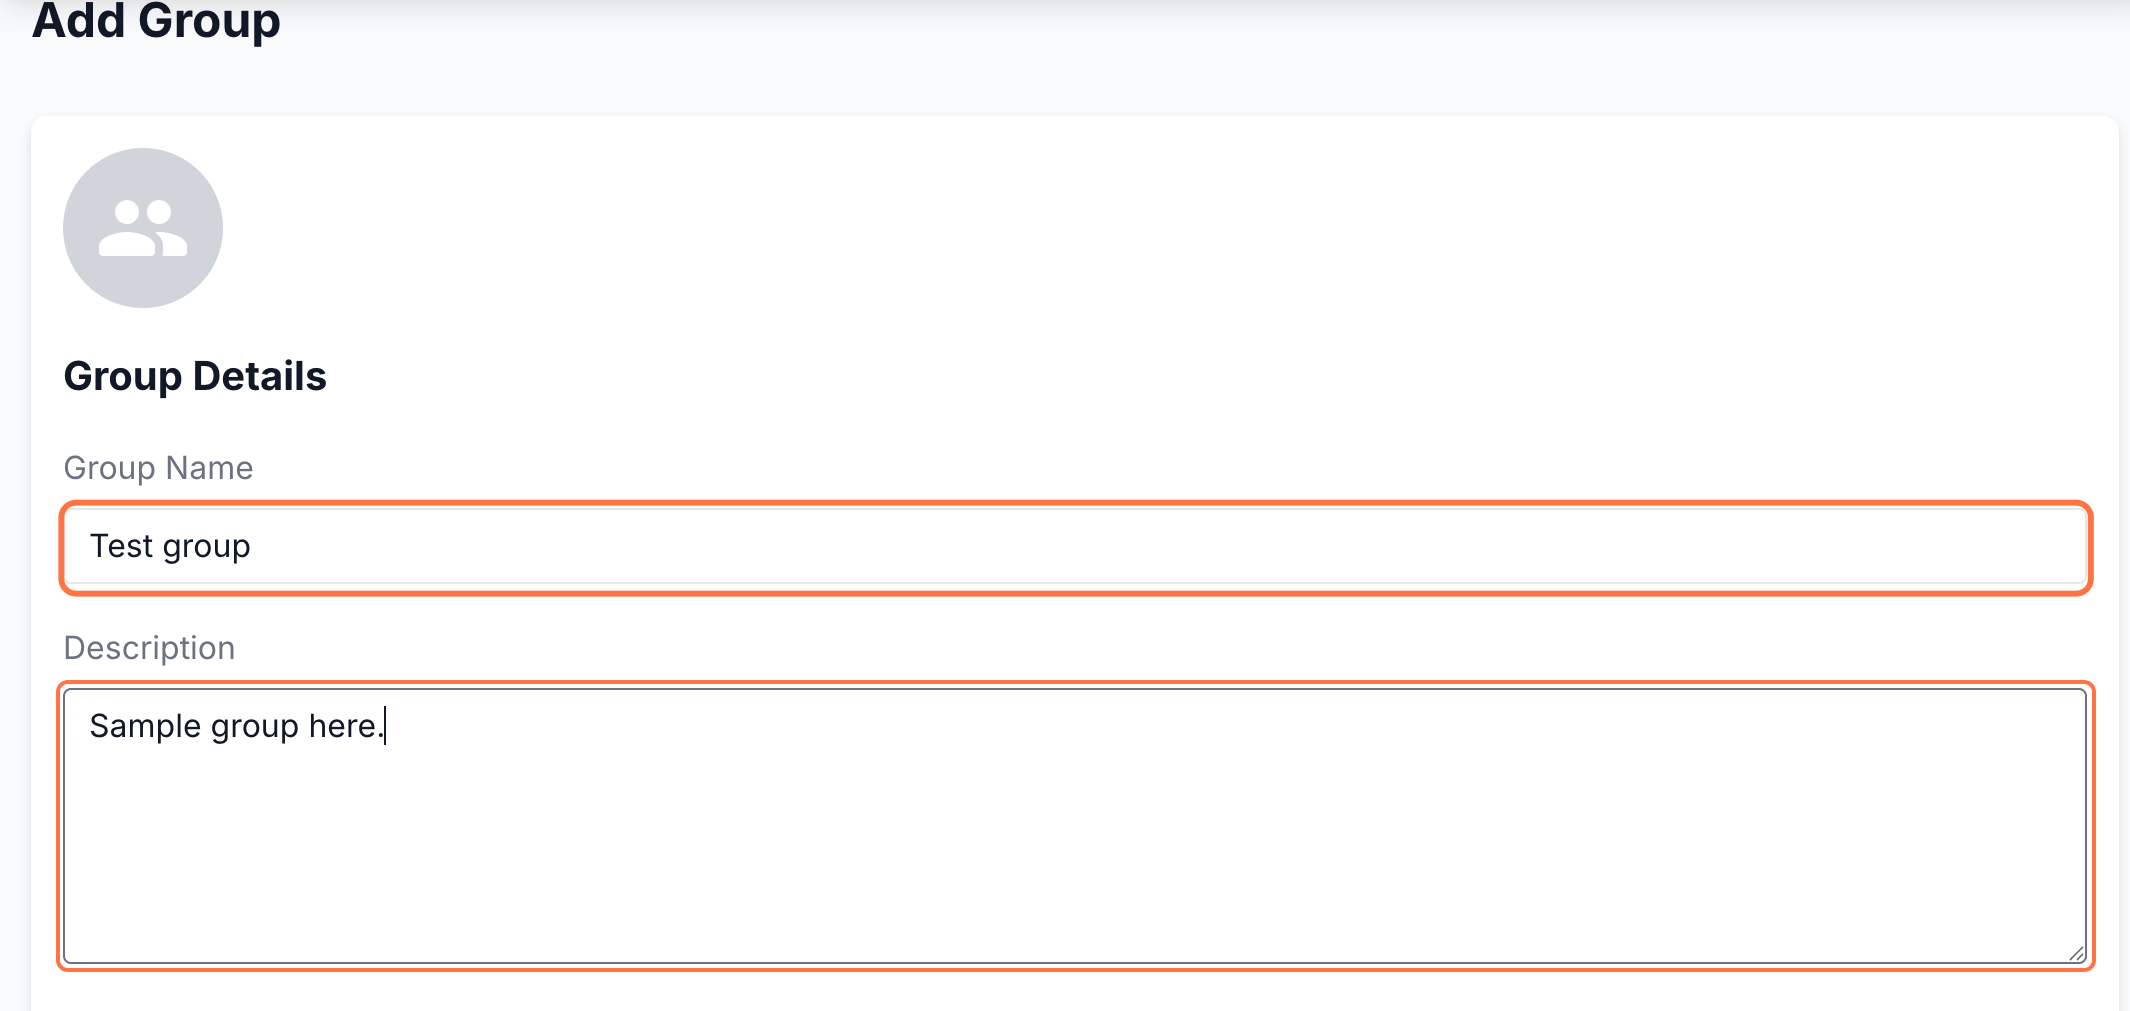
4. Enter your chosen group name in the field provided.
Ensure that you choose a unique name to avoid confusion with other groups.
Then, write a brief description of your group in the space provided.
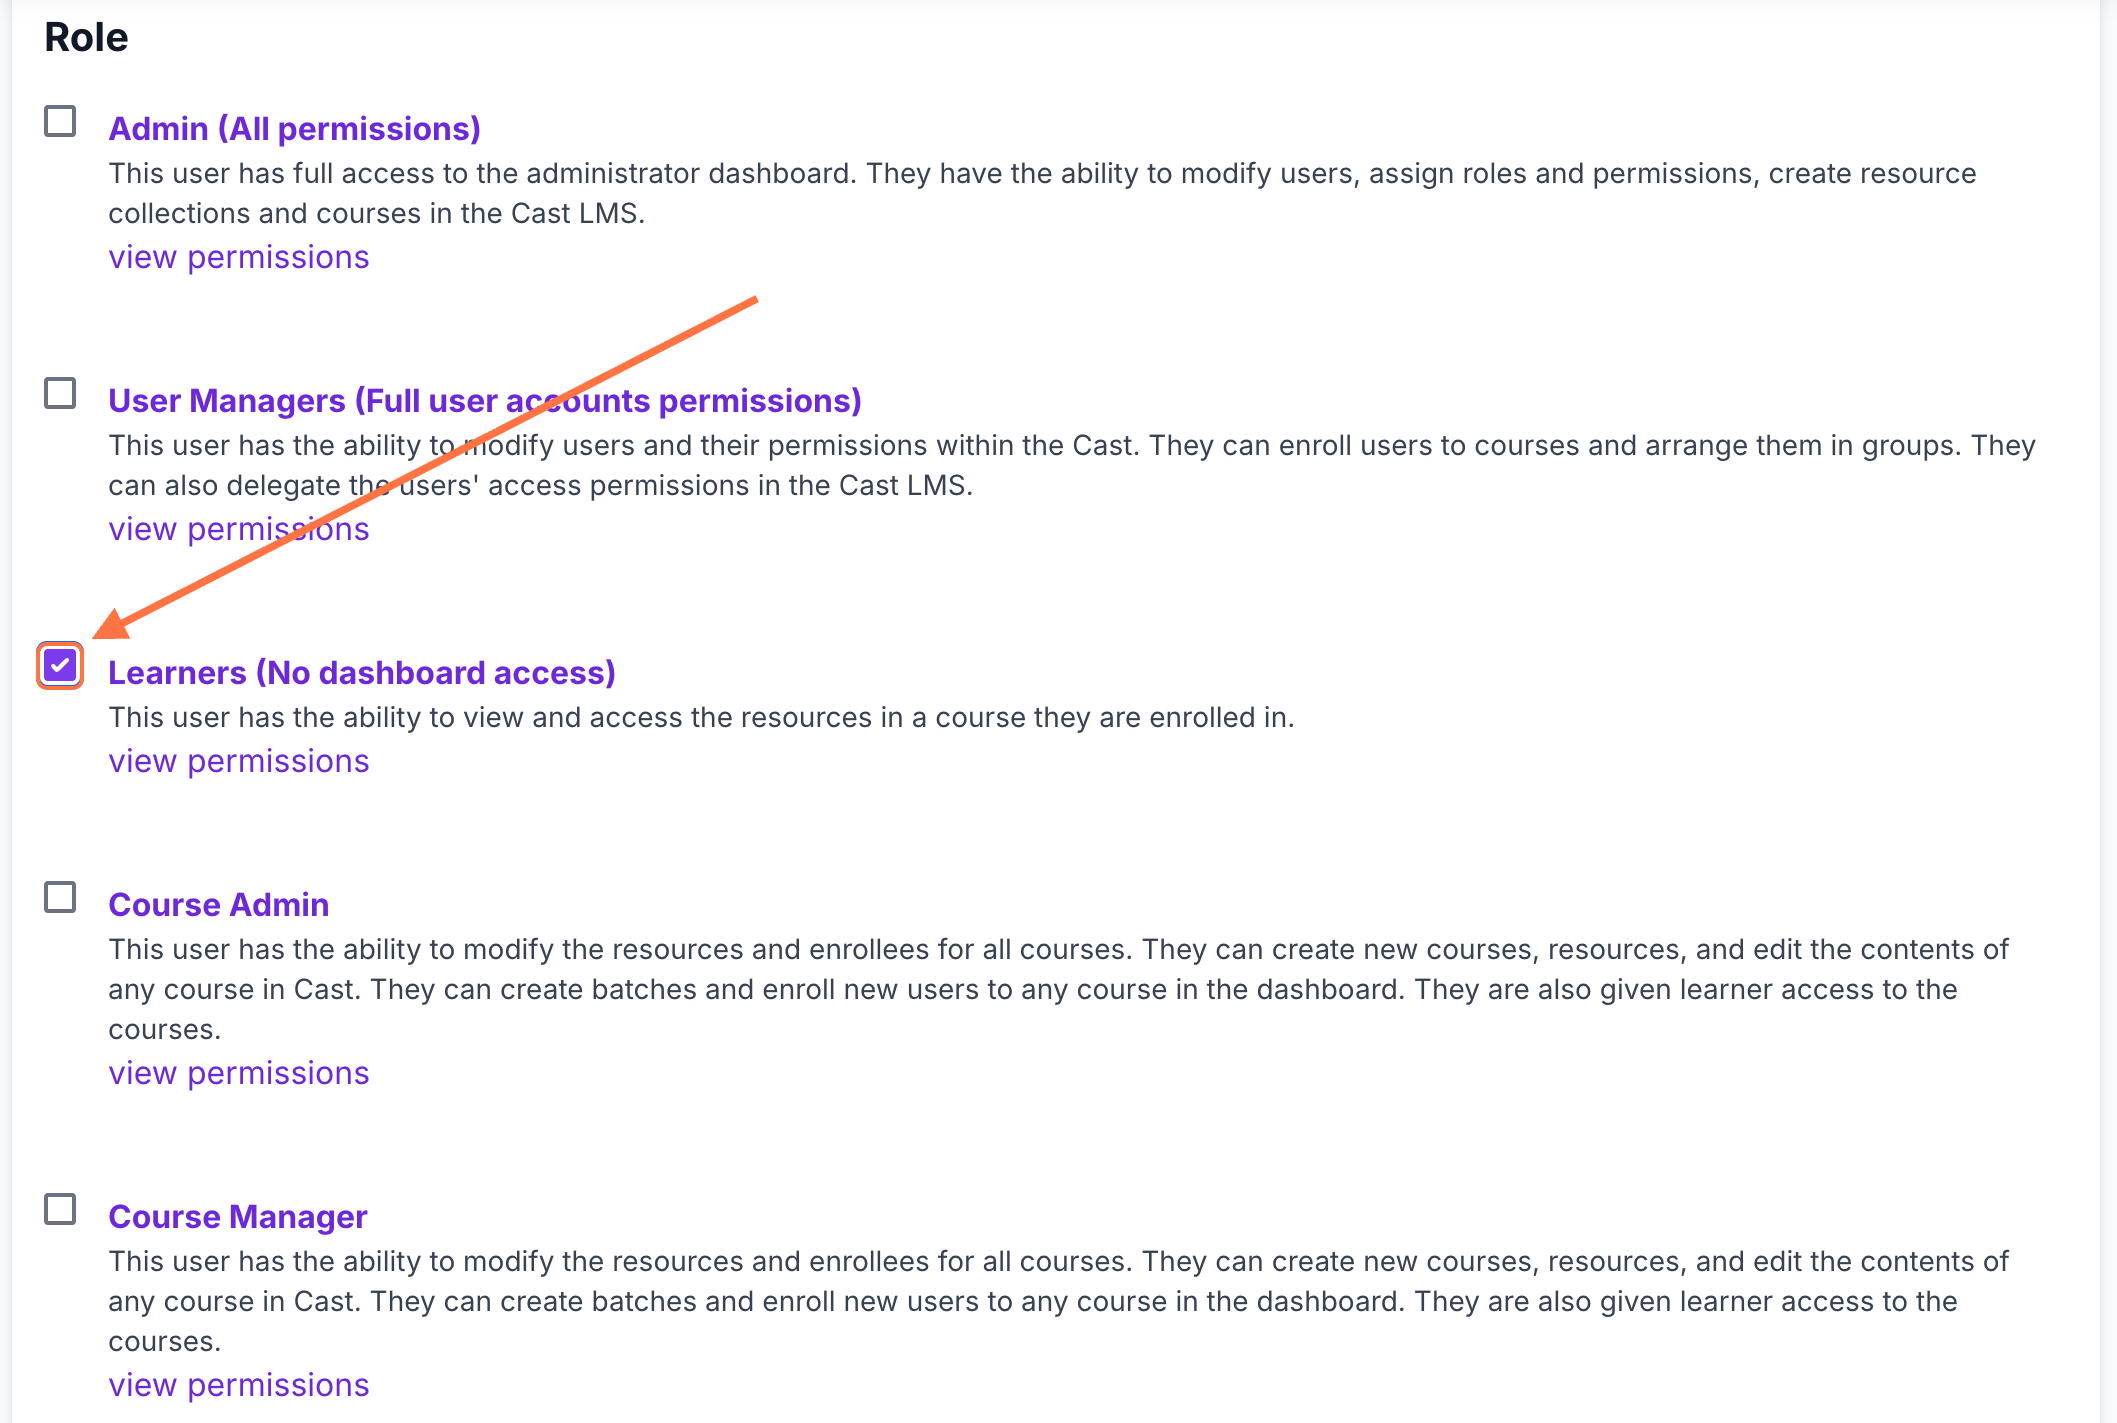
5. Select a role for your new group. Check the box for the role that best fits your group’s purpose. See the descriptions or click on view permissions to see the detailed permission settings for each predefined role:
Learners
Course Admin
User Managers
Course Creators
Admin
You can also create a new role with customized permissions.
Learn how here: Creating a Custom Role with Specific Permissions
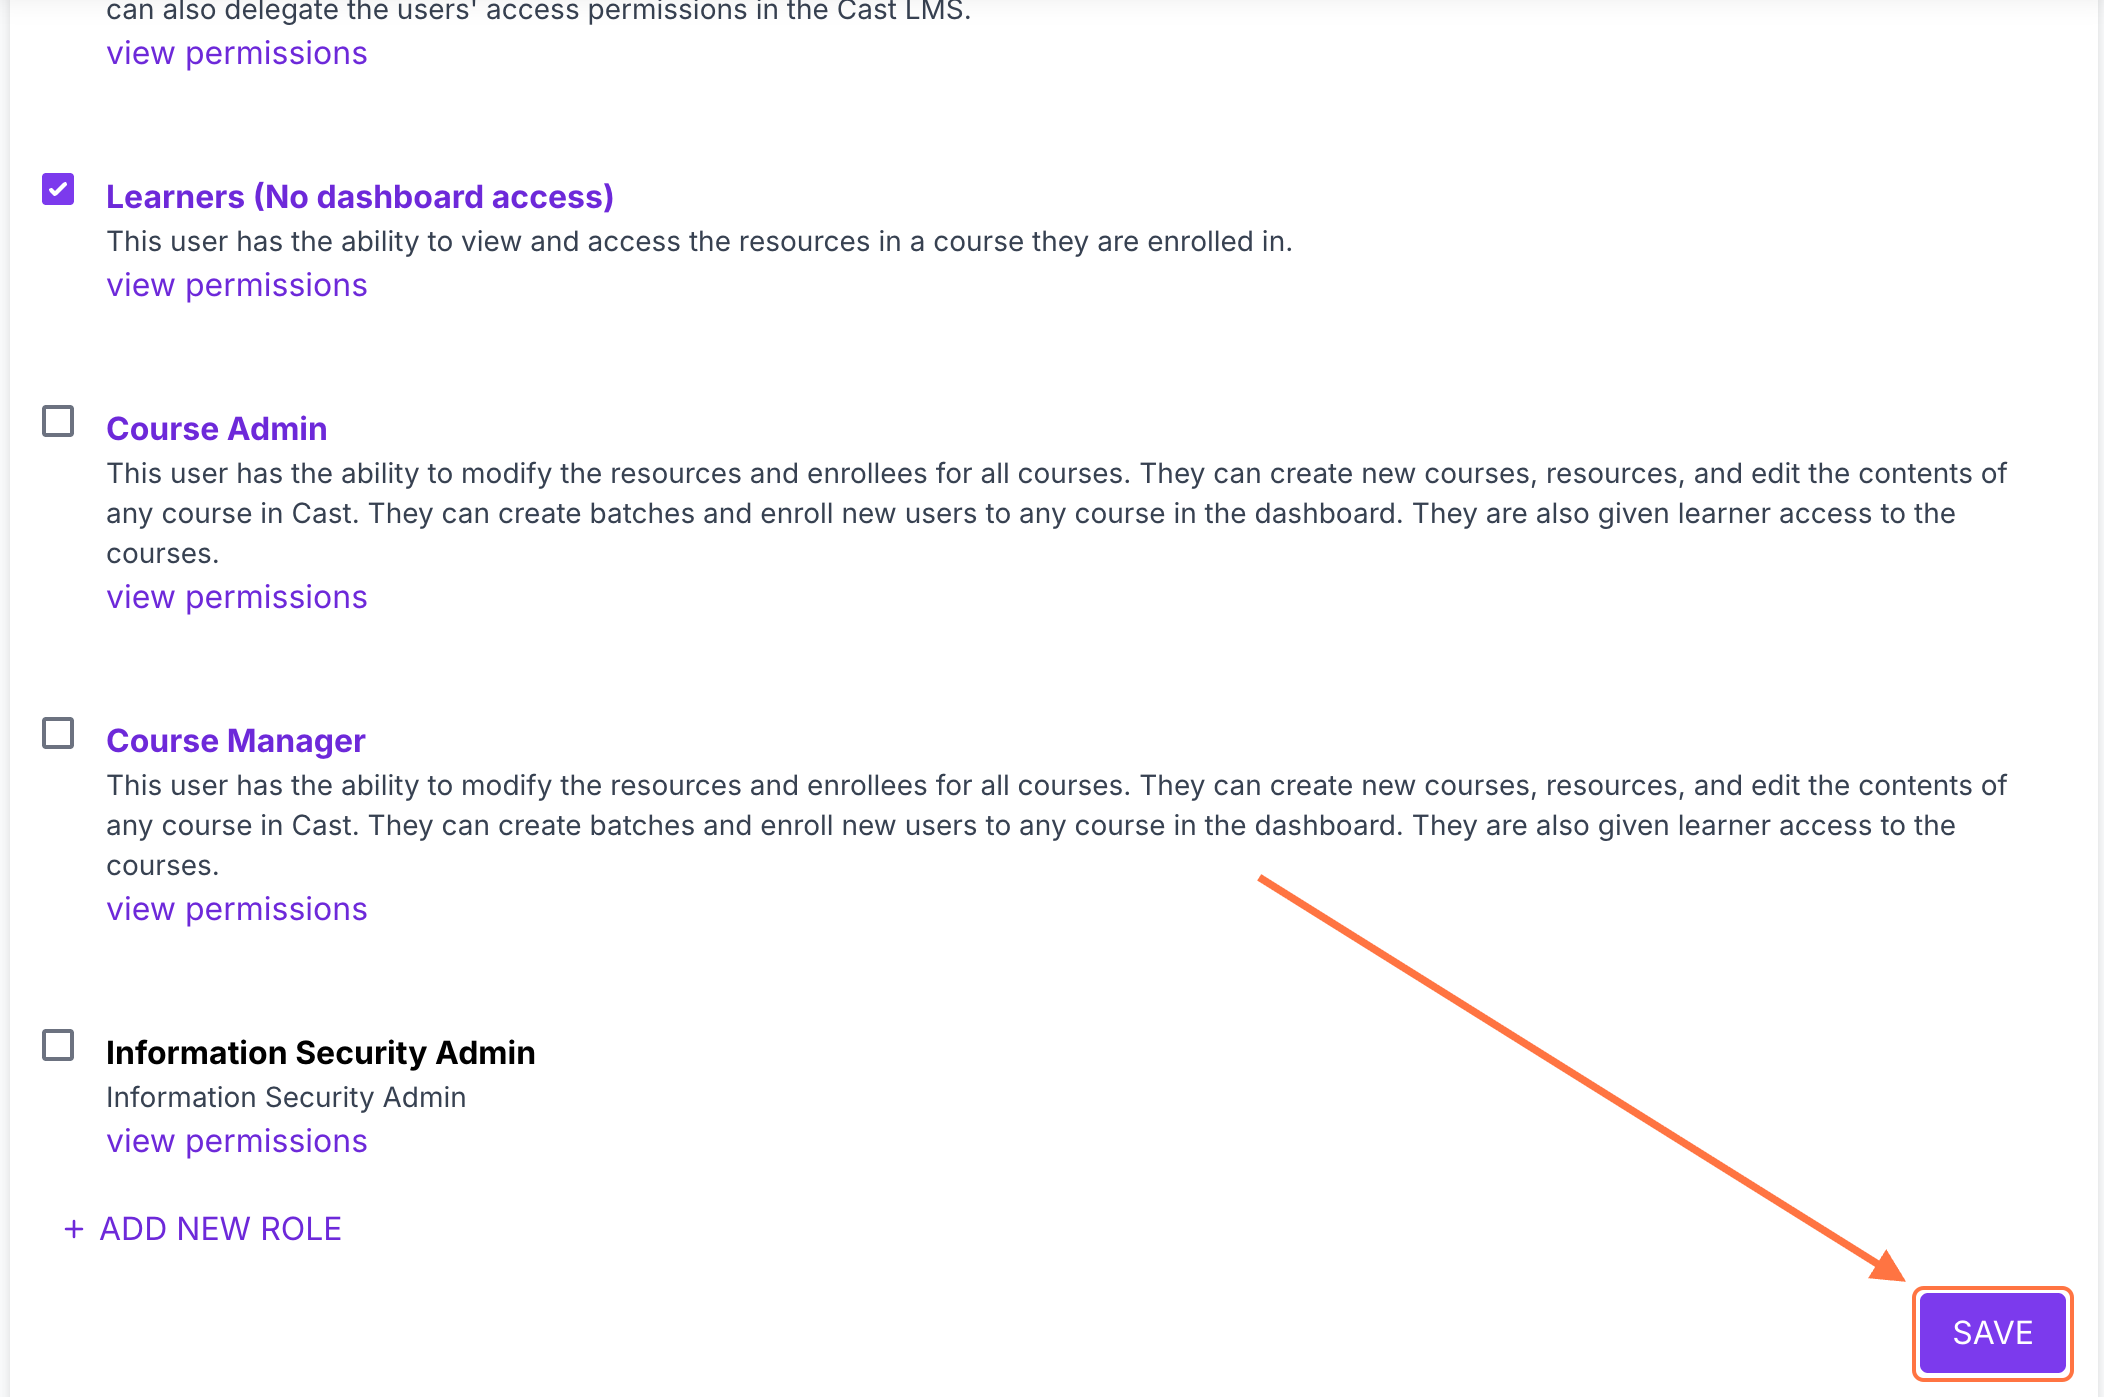
6. Once you're done selecting your group, click SAVE at the bottom of the page.
7. Add members to your group. To know more about adding groups, visit this article: Adding users to a group