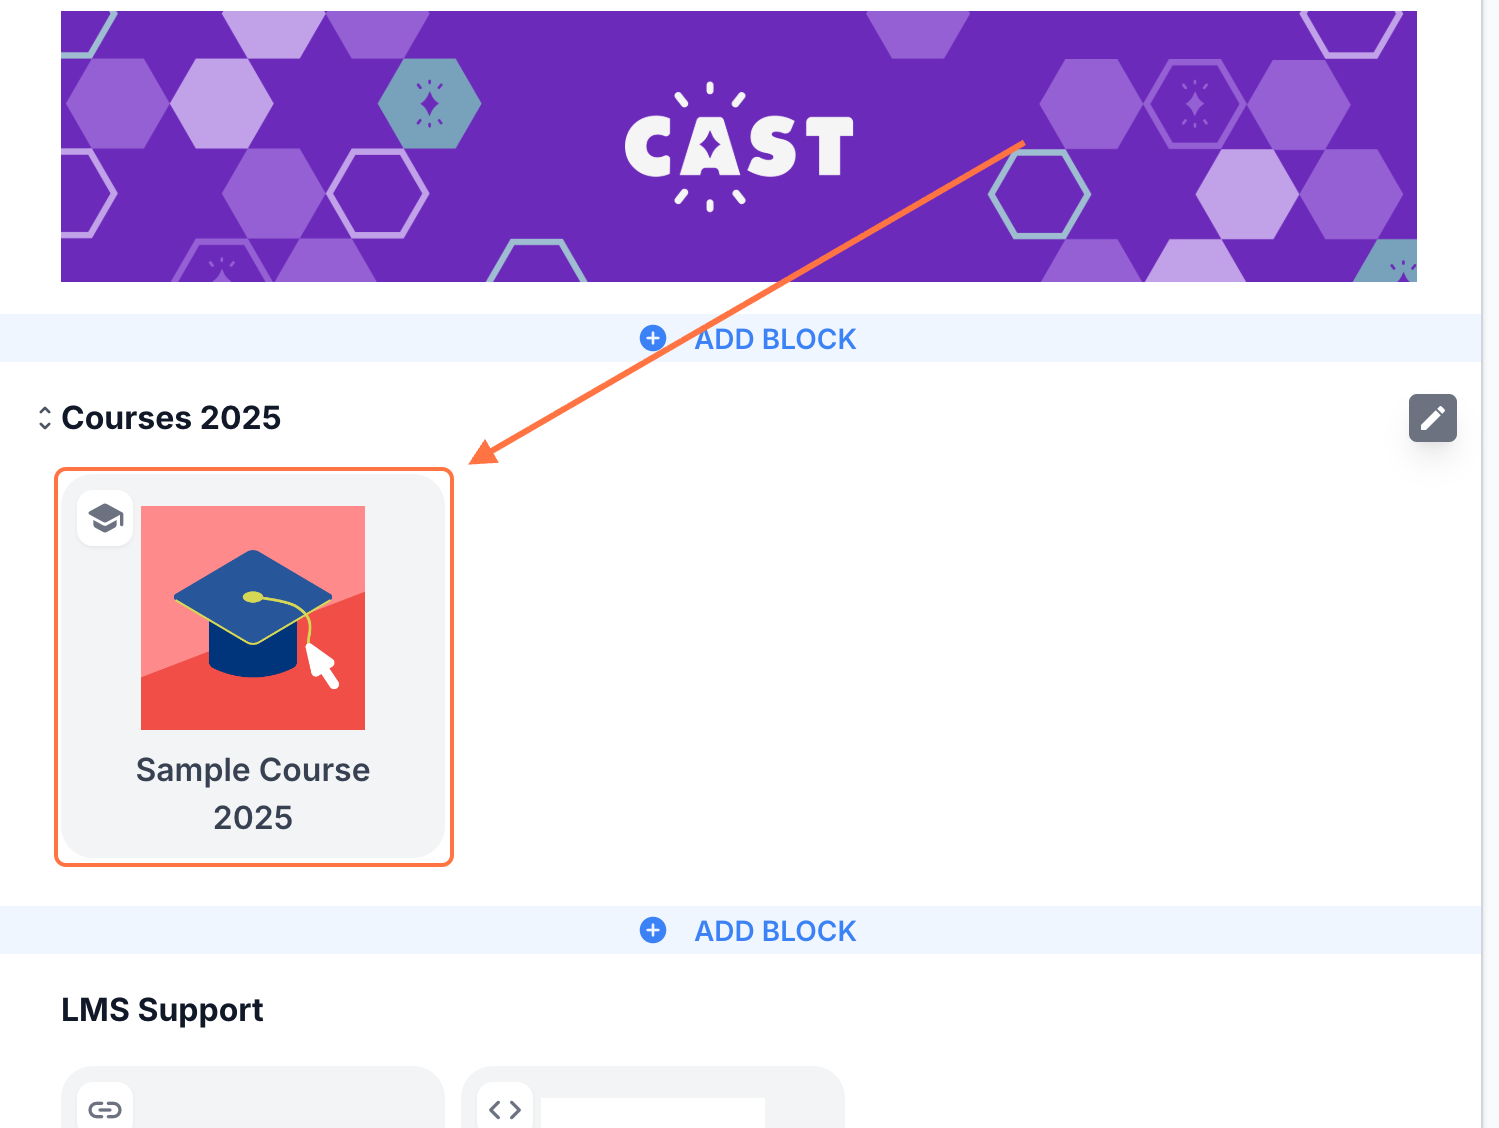
1. If you intend to upload the resource inside a course, open any course in the Cast Editor.
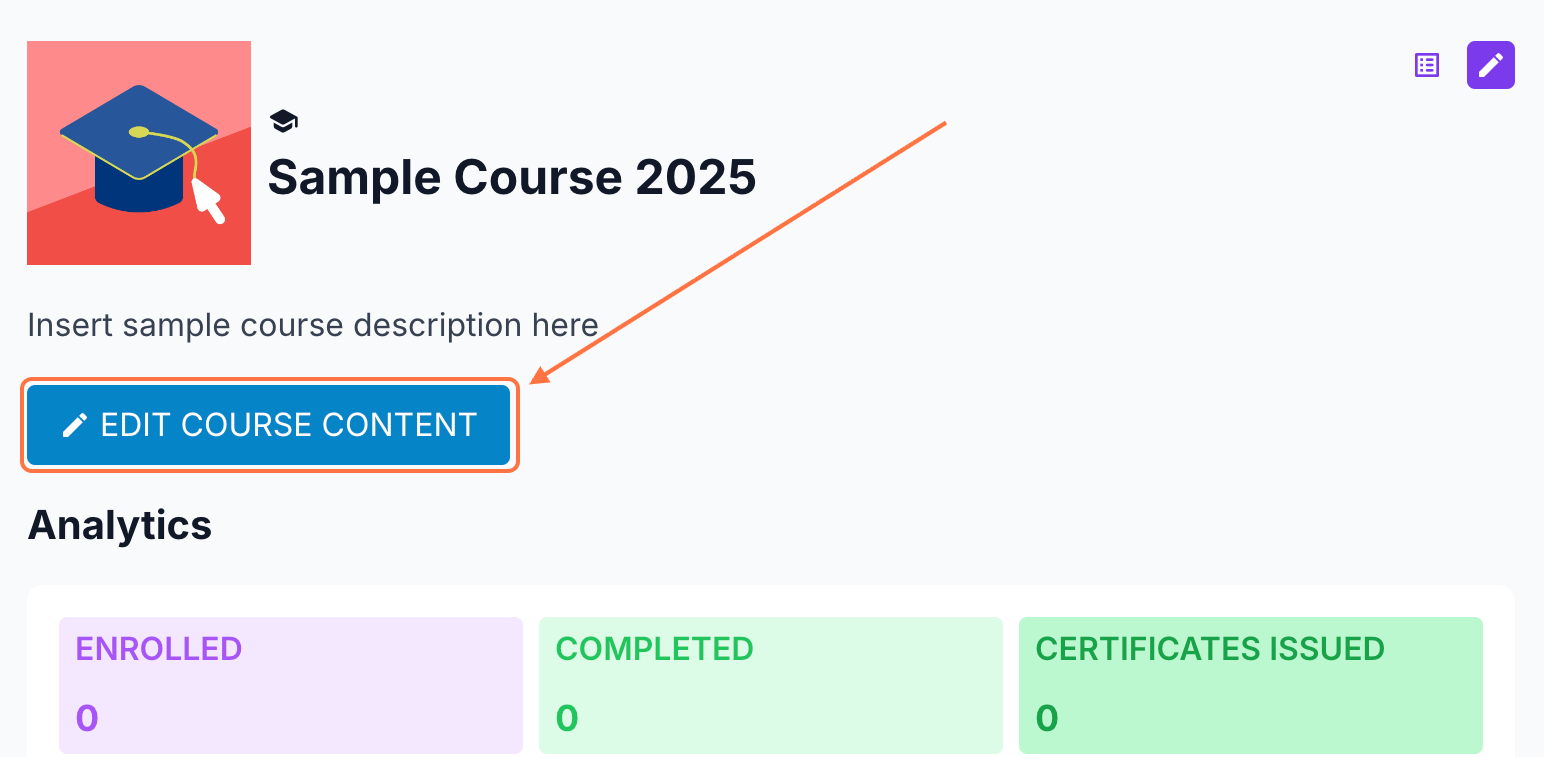
Then, click the Edit Course Content button in the Course Profile.
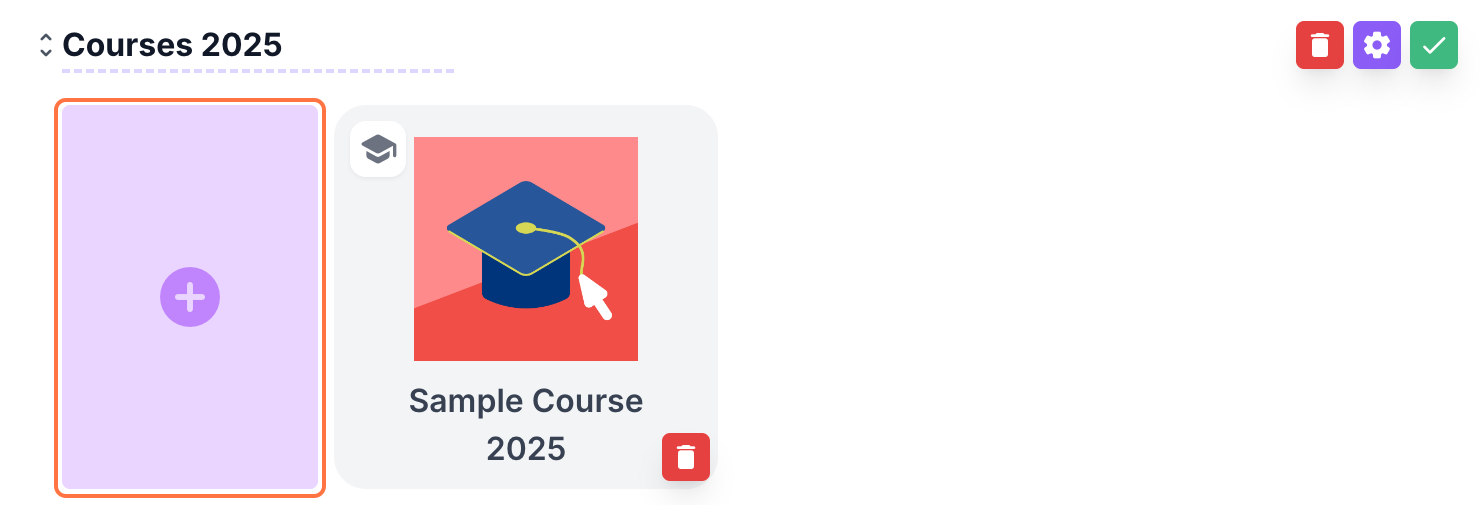
If you want to upload the resource directly through the Cast Editor, click the Edit (pencil) icon on your chosen block. Then, click the + sign to add a new resource. You can learn more about uploading resources in the Cast Editor through this article.
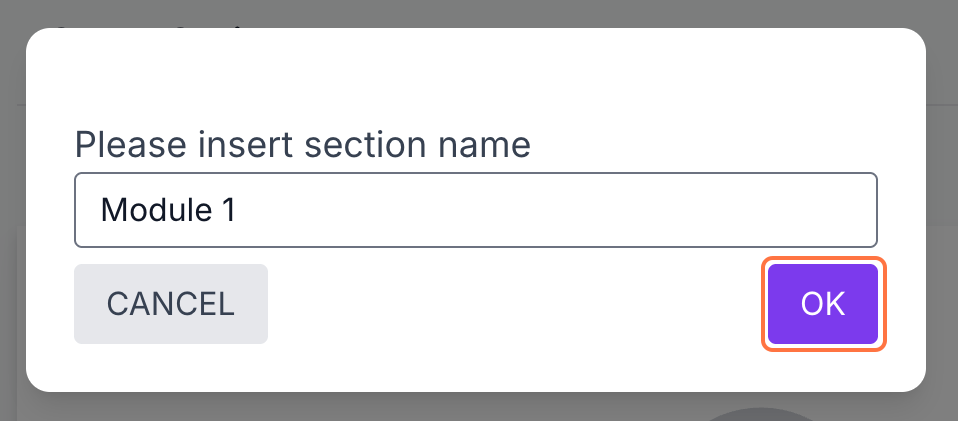
2. If your course is new, add a section by clicking on + Add Section.
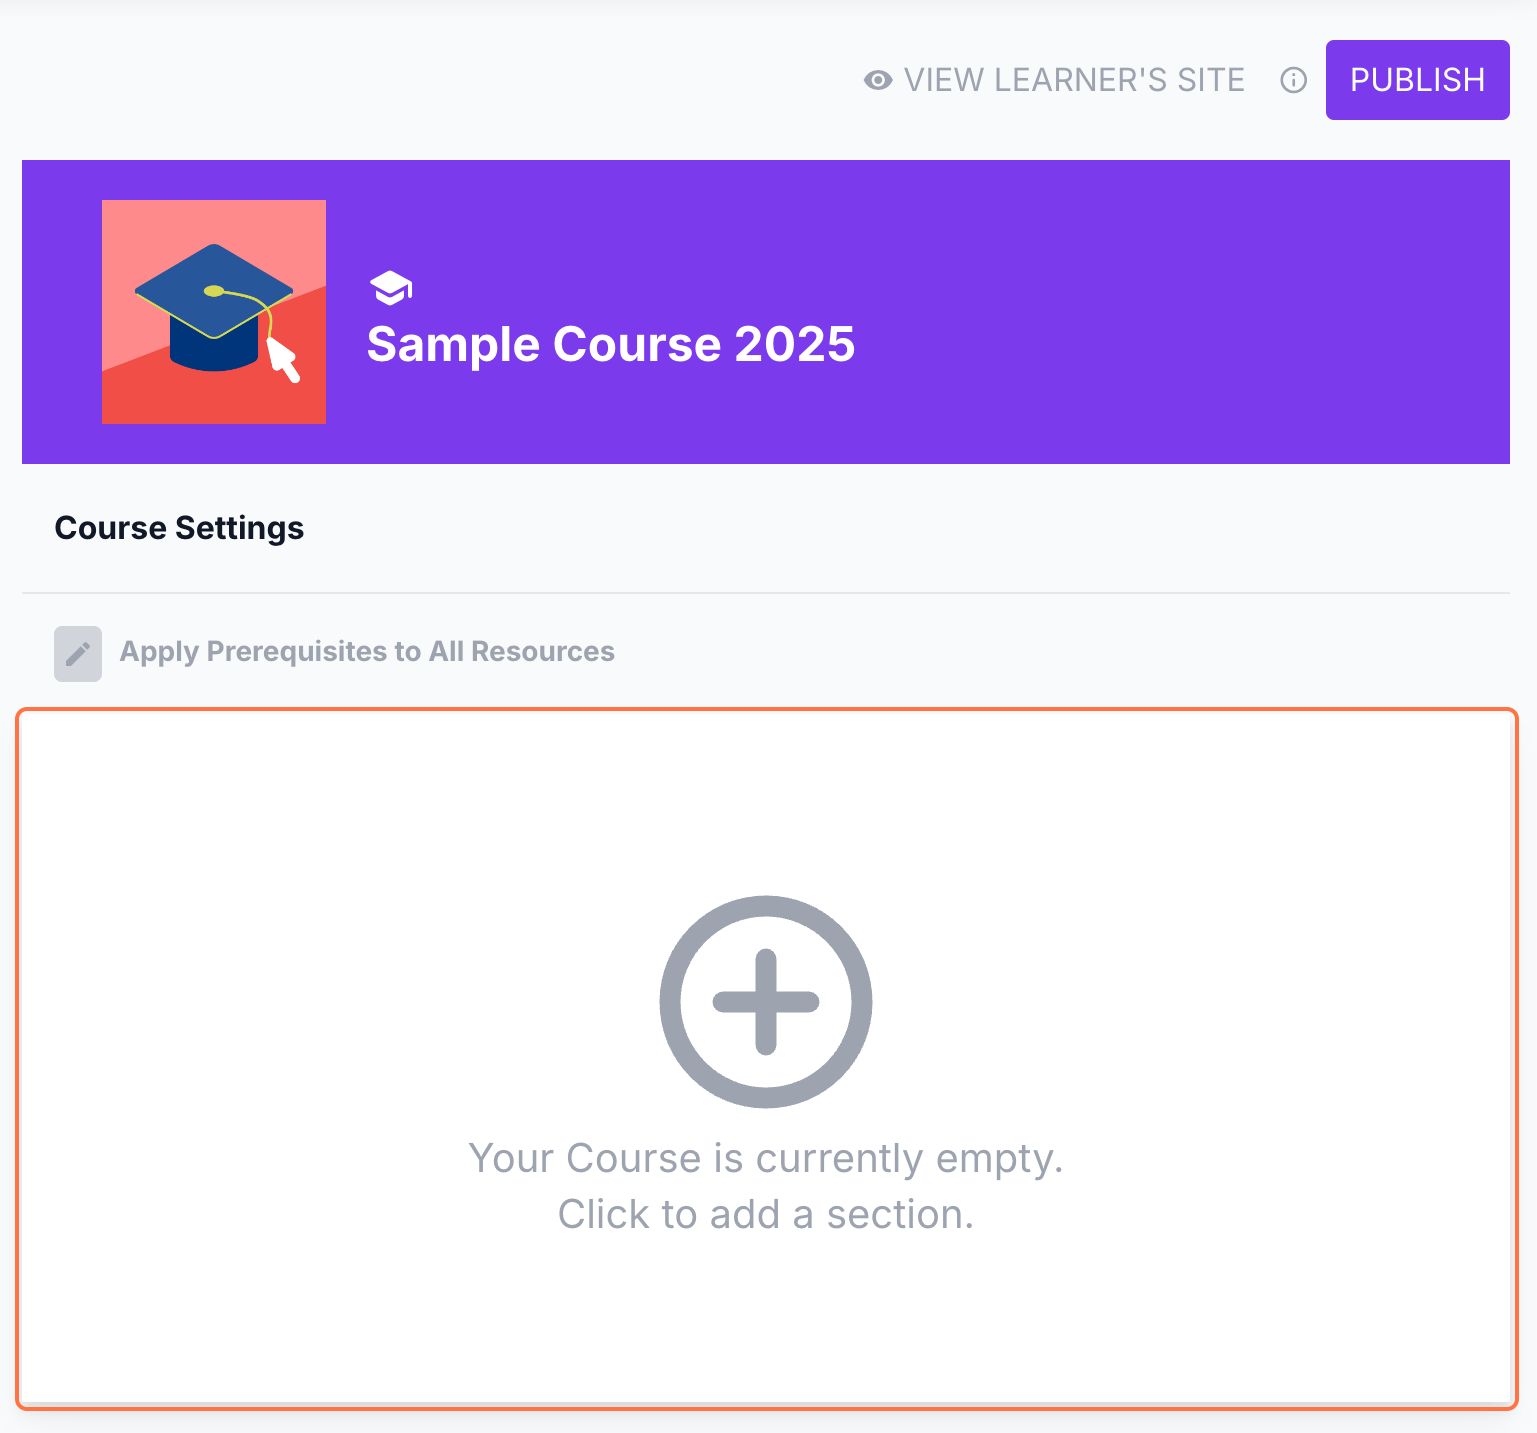
Click the + Add Resource button in the section where you want to place the resource.

3. Select PDF from the list of resource types.

4. Click Drag and Drop File Here, or click Change and select the PDF you want to upload.
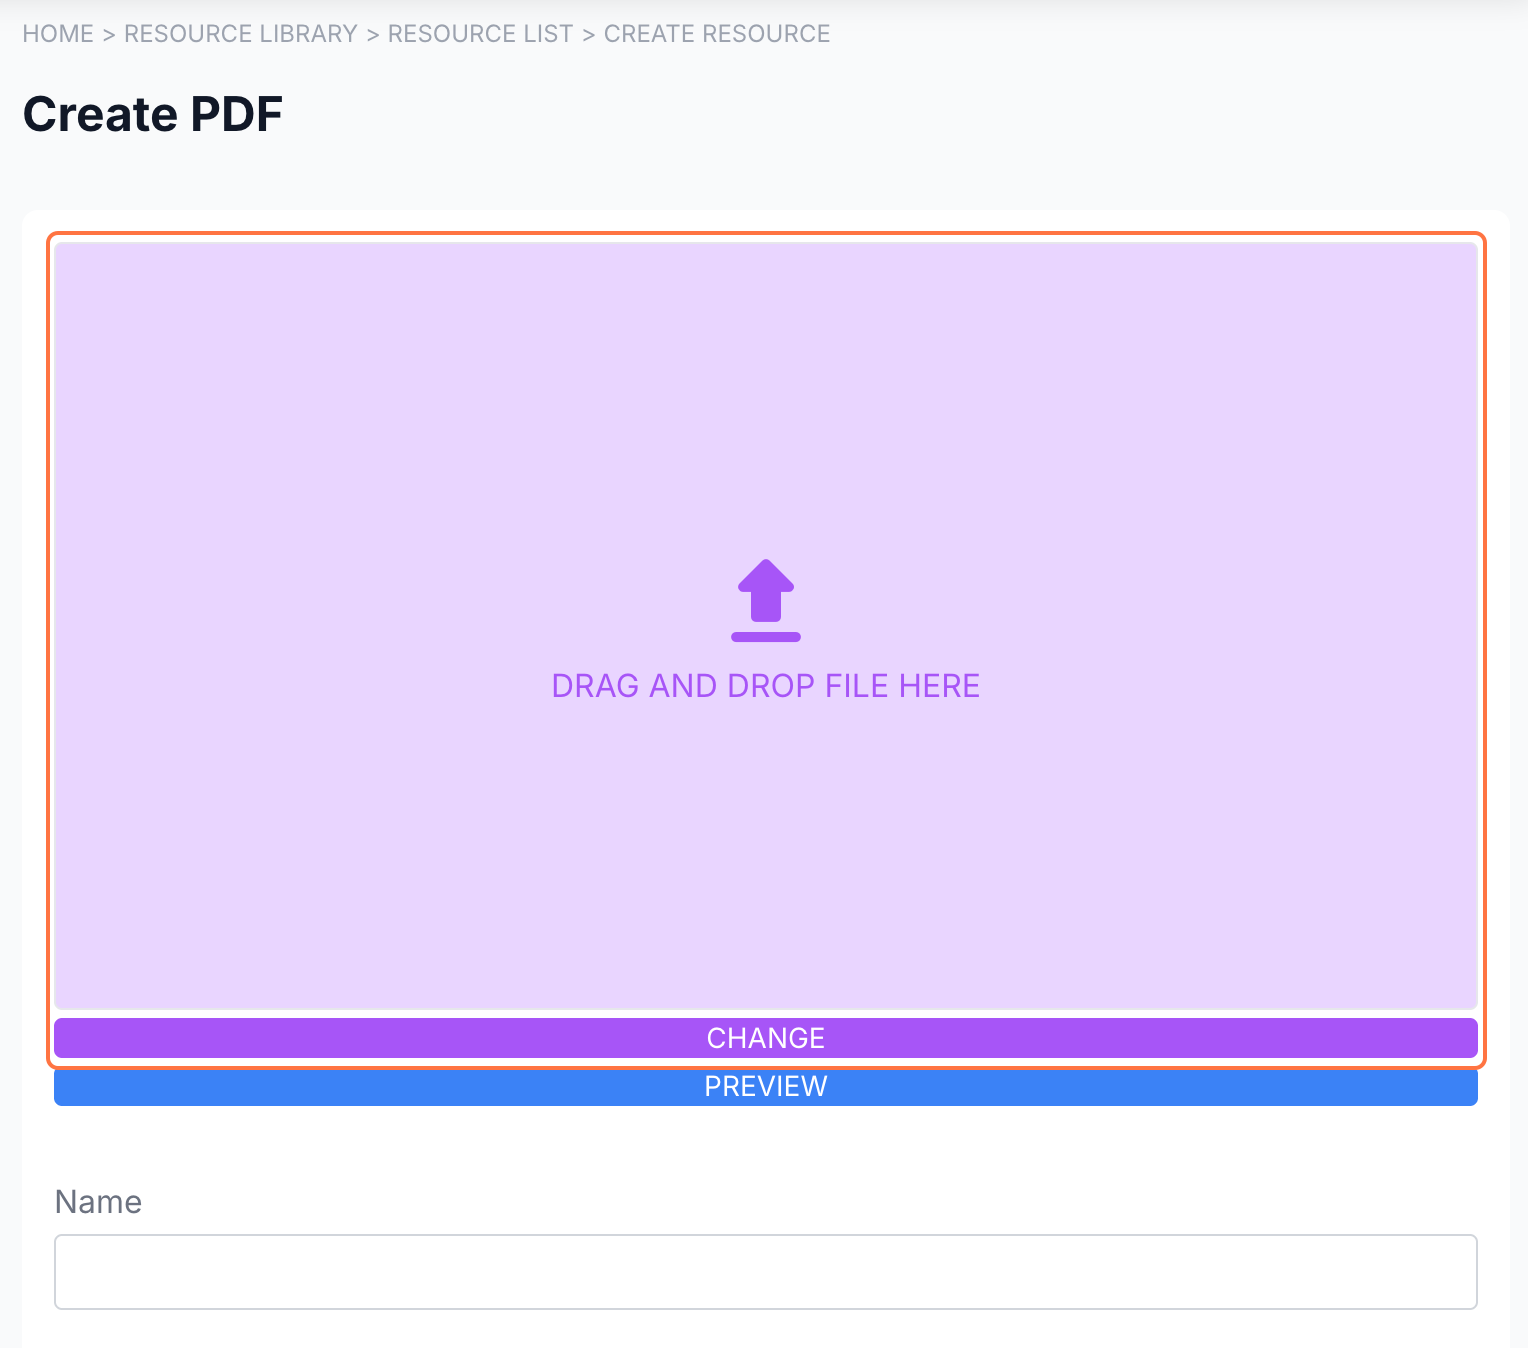
Once the file is uploaded, you can immediately view it. Click Preview to see how it will appear in the learner's portal. Click Change if you want to upload a different file.

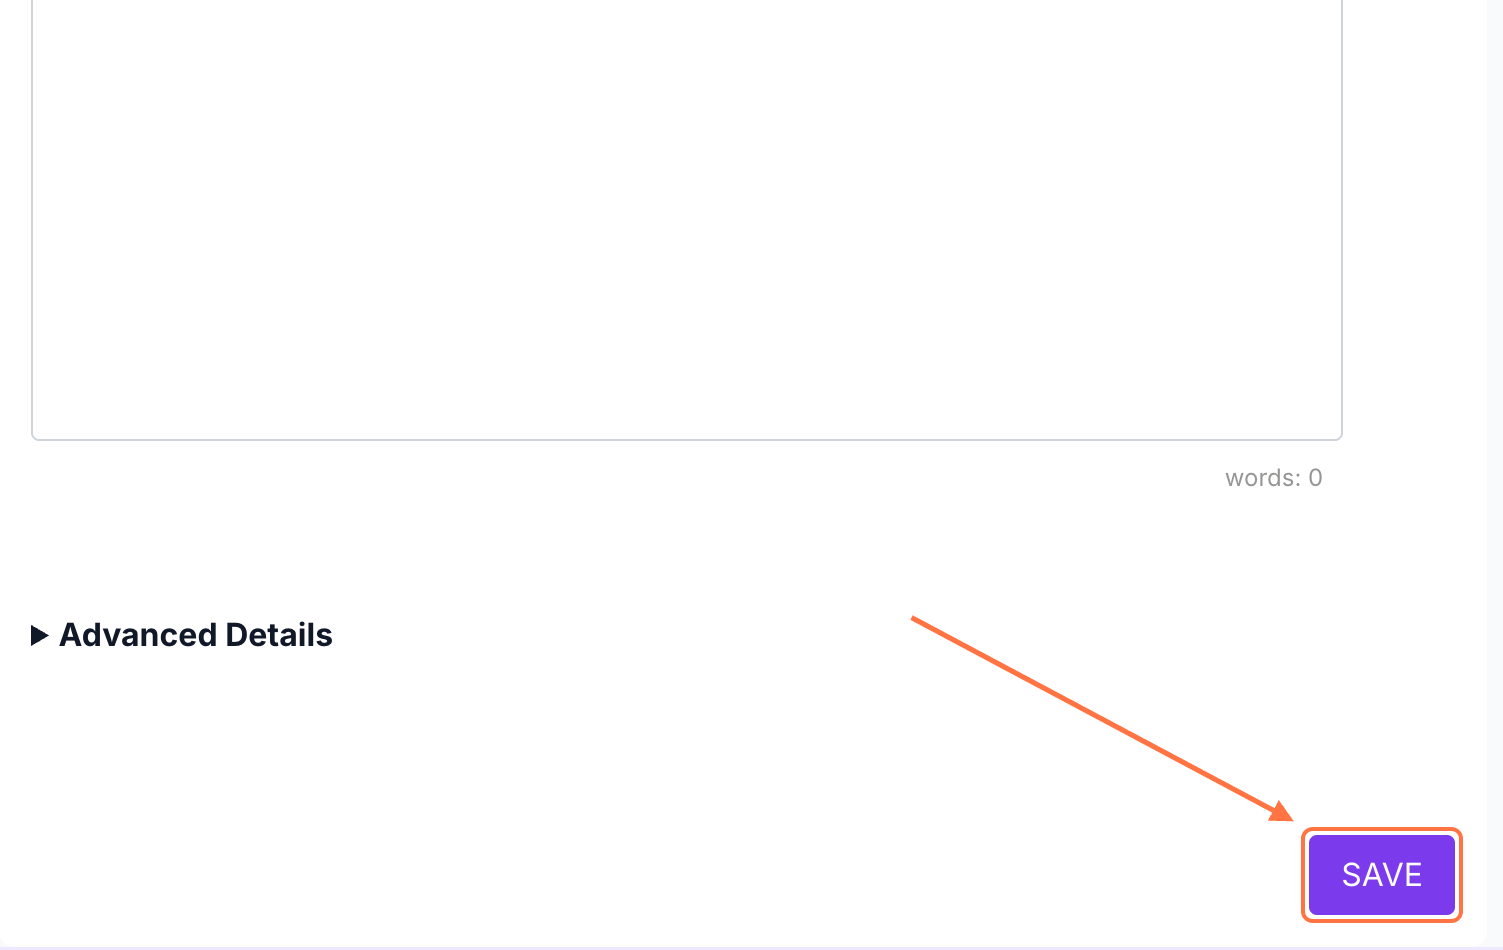
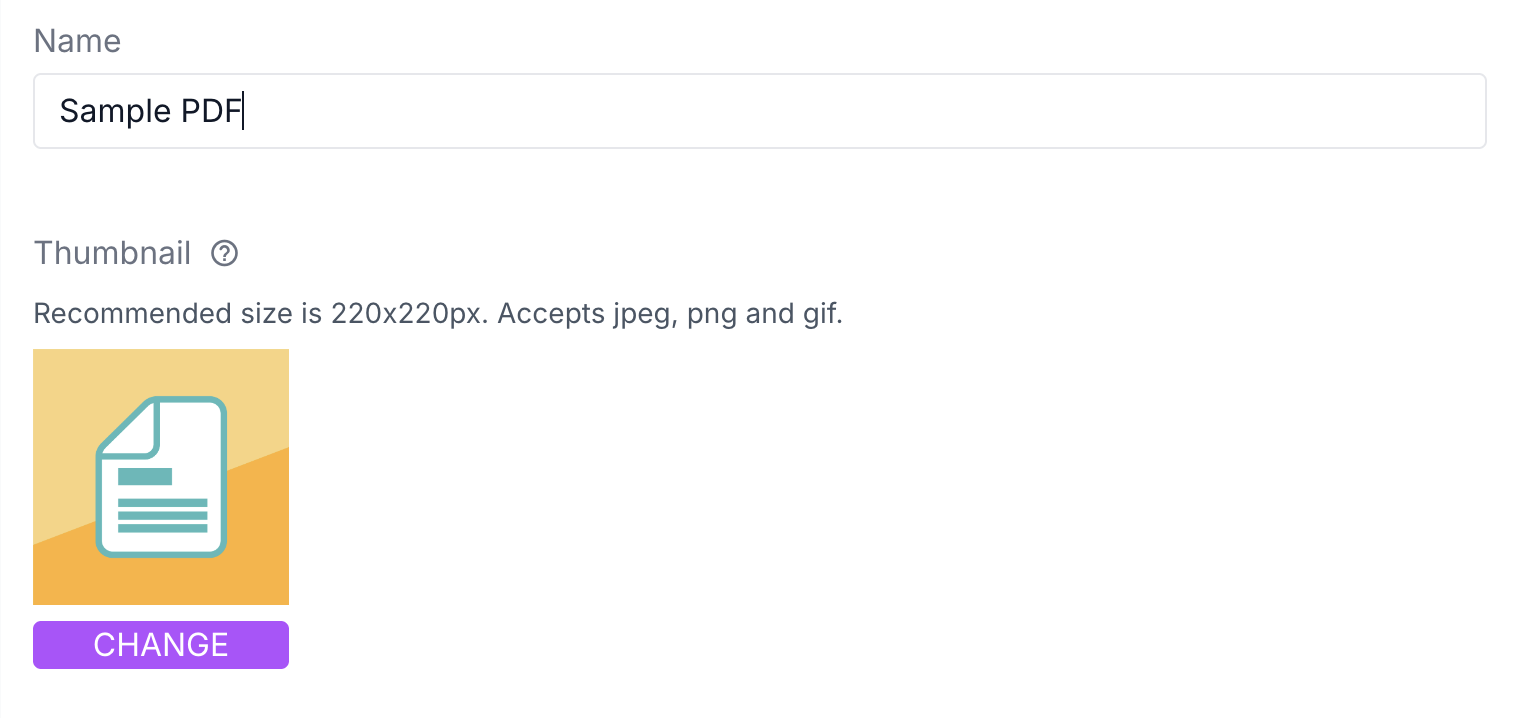
5. Enter a name for your PDF. Click the image icon or the Add Image button to update the PDF thumbnail.
6. Type a description for the PDF. Click SAVE to save your changes.