Screens refer to pages in the LMS where you can add resources such as courses, that may serve a different purpose from the resources that are uploaded in the default screen.
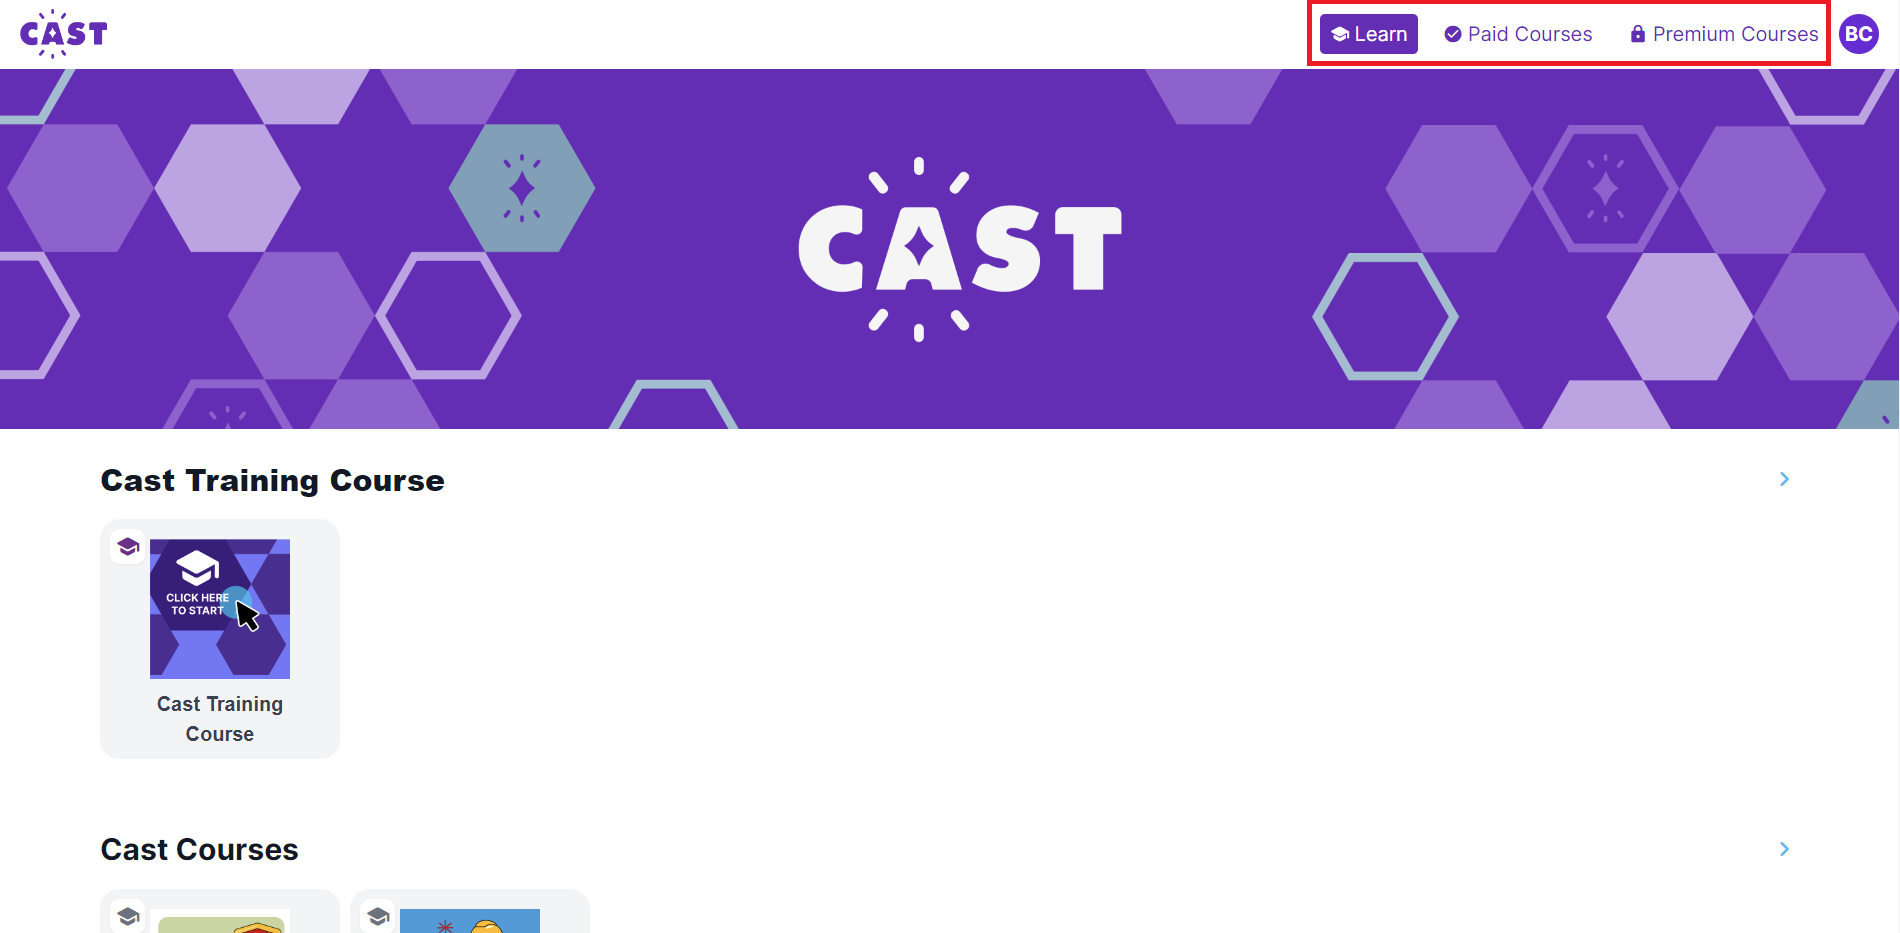
These screens appear as tabs on the navigation bar. The default screen is called Learn (which you can also rename) but you can also create your own screen that will display your preferred resources. This may help you in organizing your course offerings for your learners.
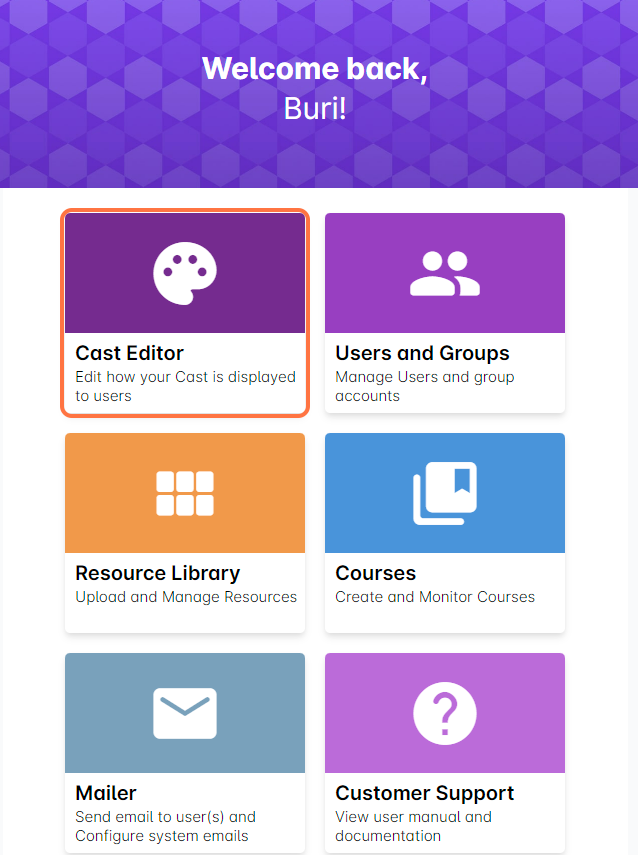
1. From the Admin Dashboard, go to Cast Editor.
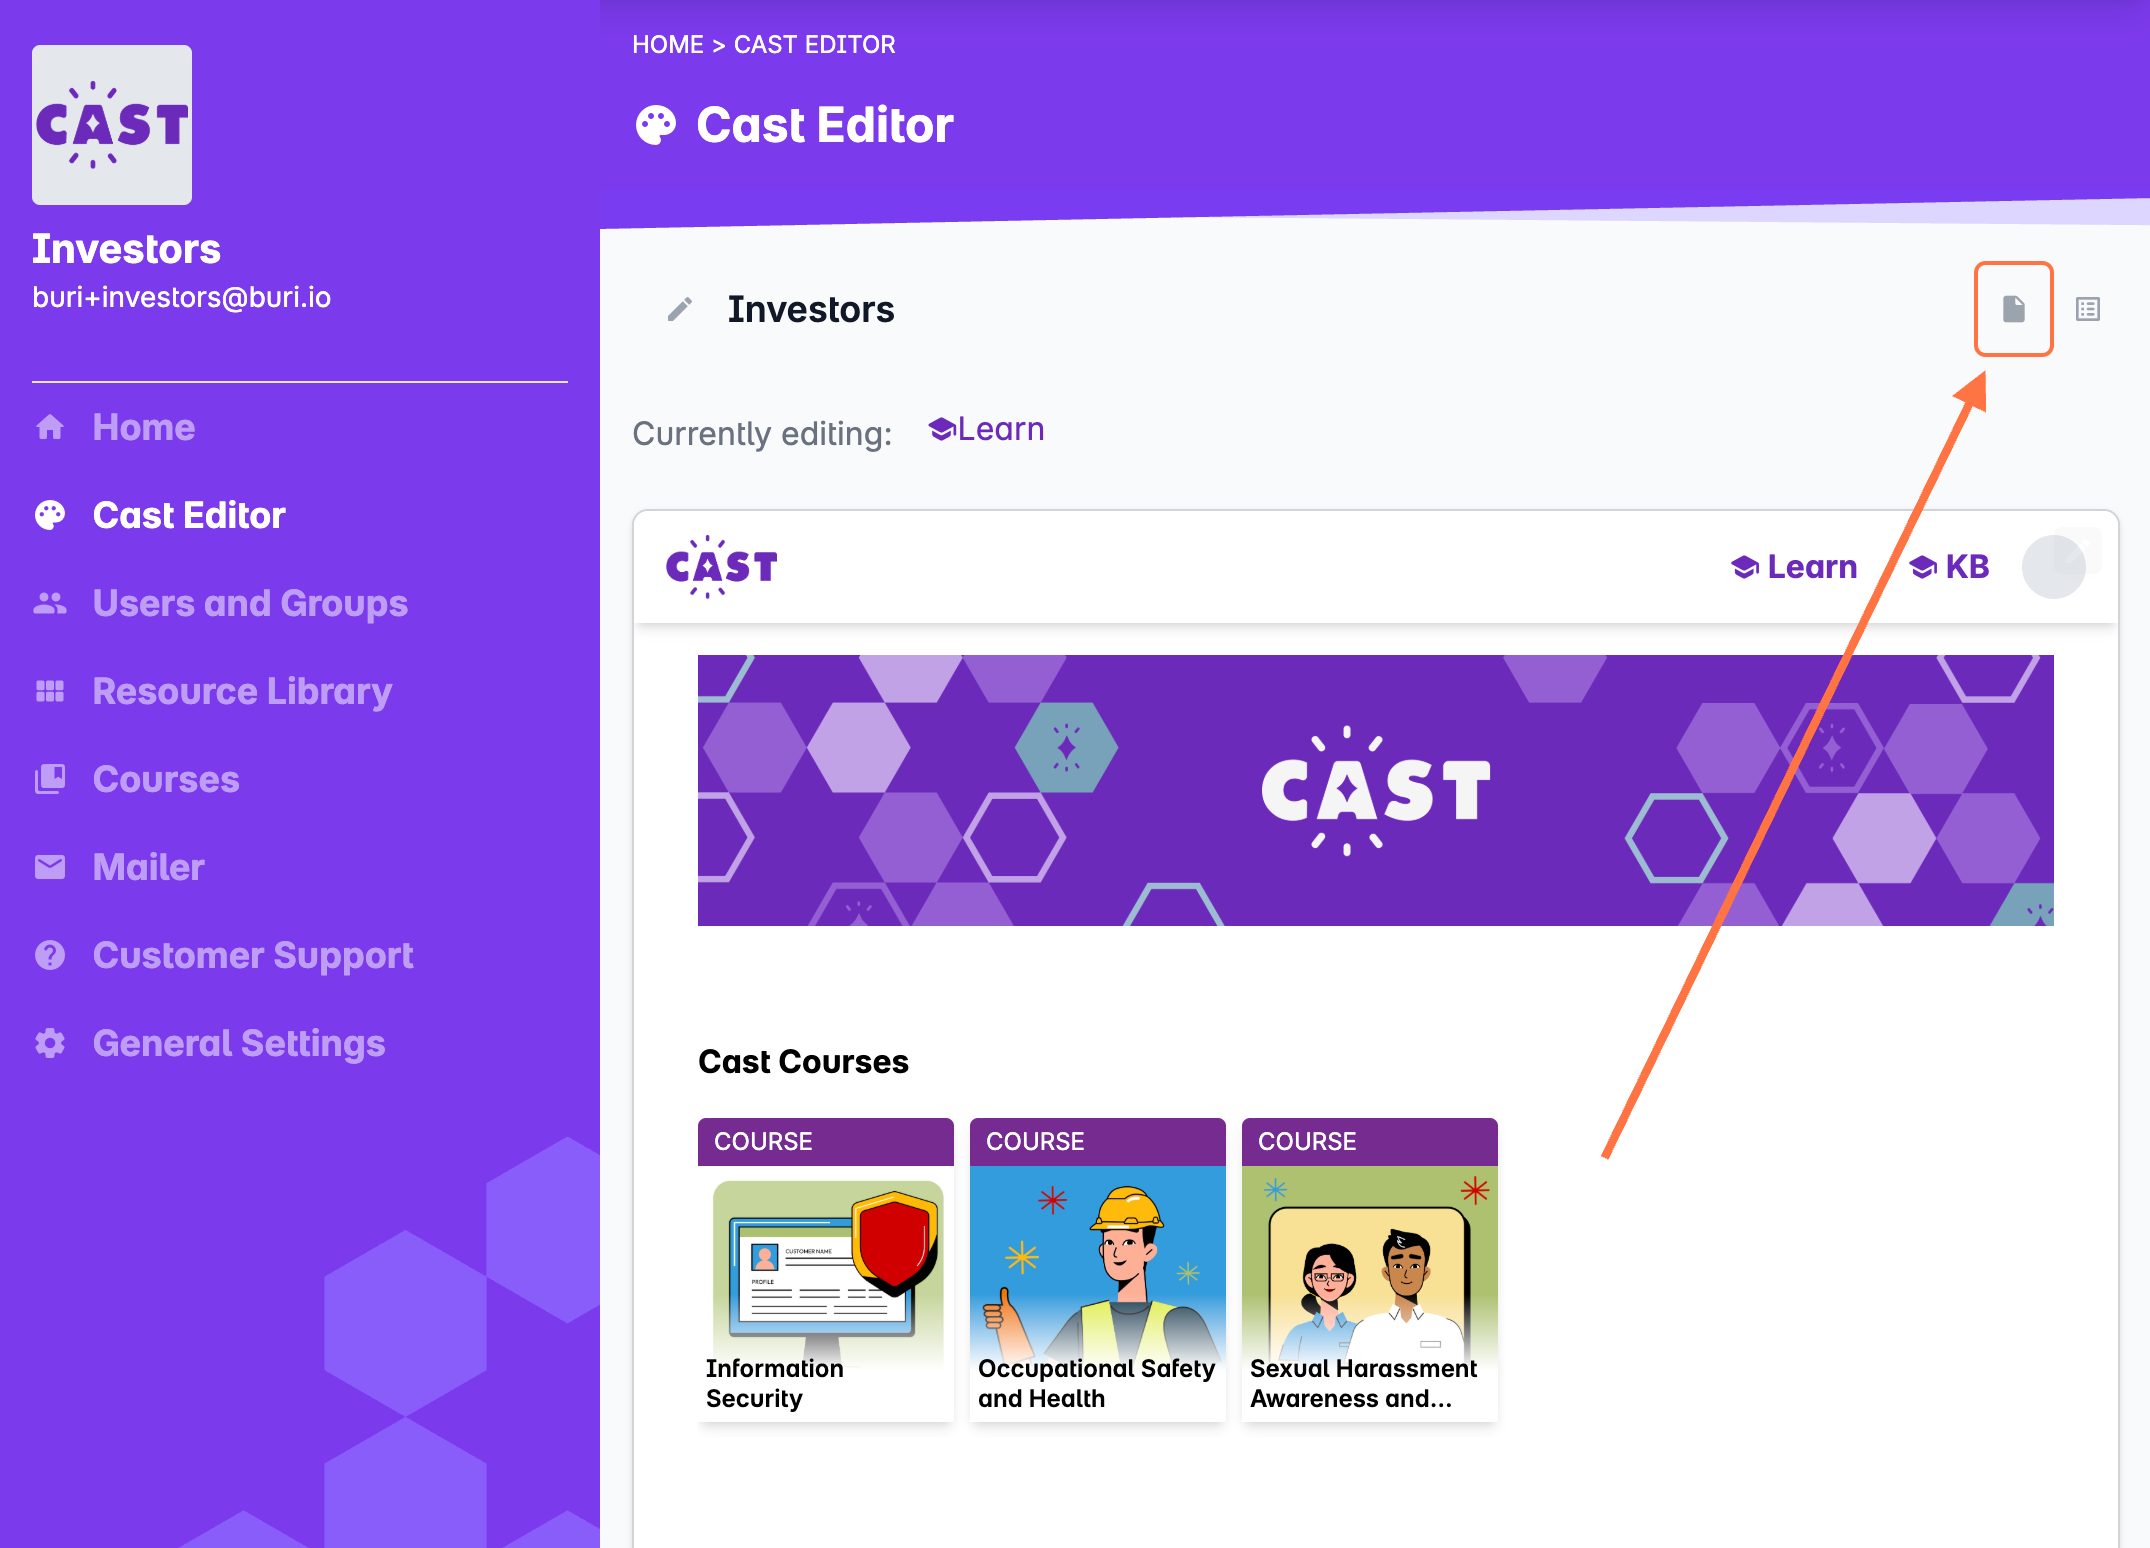
2. Click on the icon for screens.
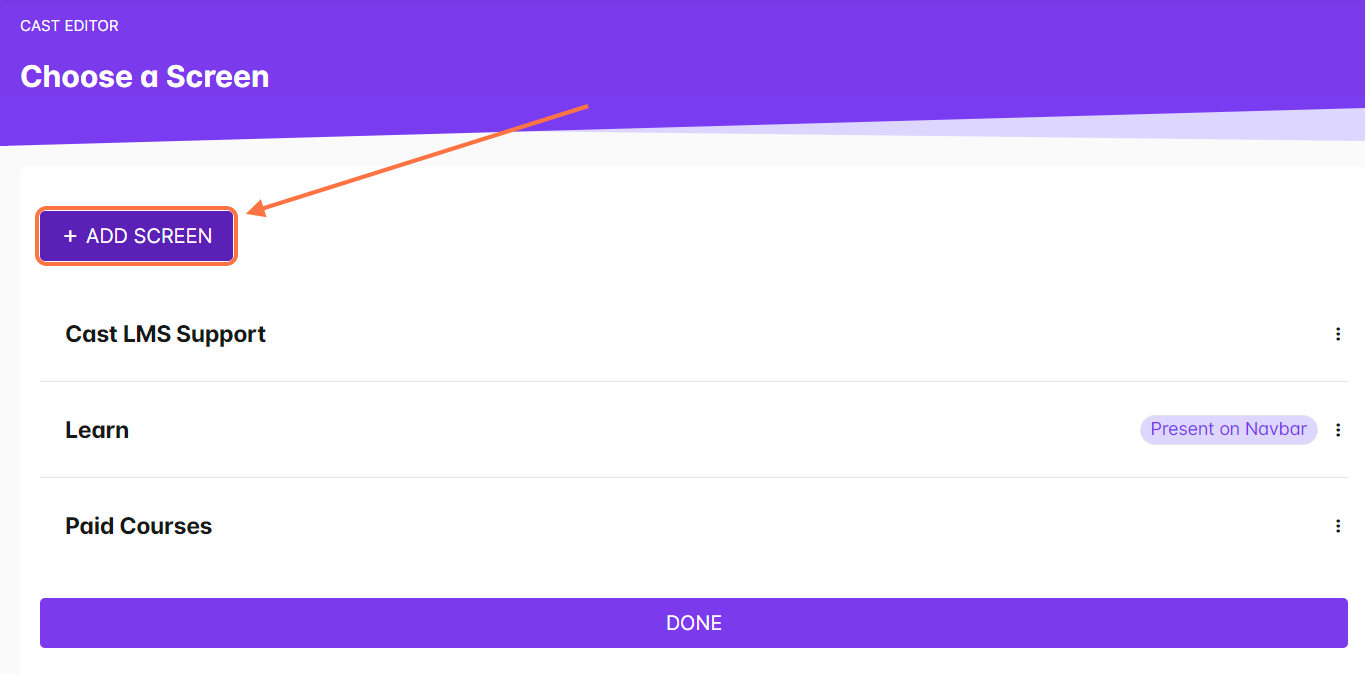
3. Click the + Add Screen button.
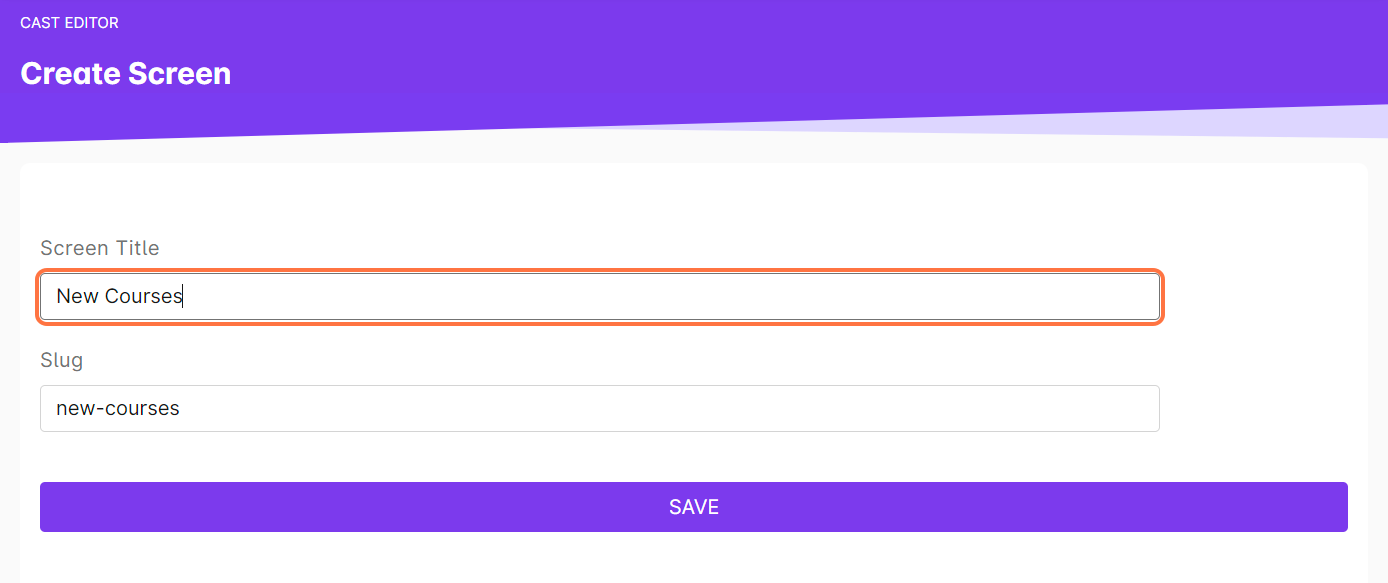
4. Give your new screen a unique name under Screen Title. This word will also be reflected in Slug, which is the word that will be displayed in the url when the user clicks on the tab for the new screen through the learner's portal. (For example, for the Learn screen, the url may be https://training.castlms.com/screen/learn)
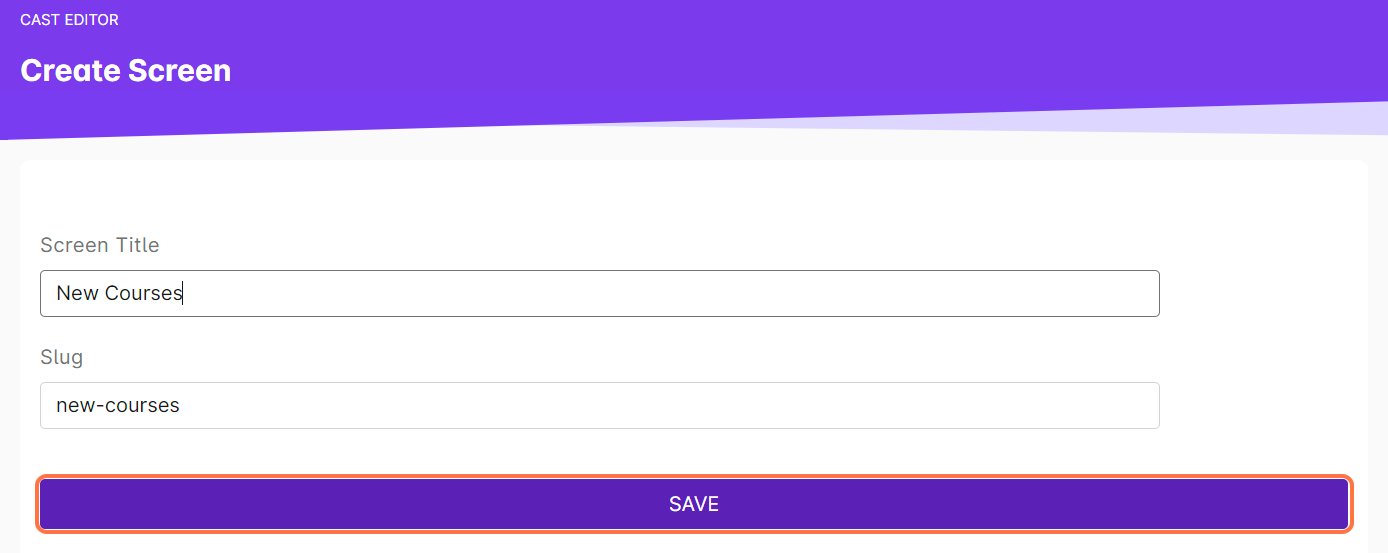
5. To finish creating the new screen, click on Save.
Now you have a new screen in the LMS! This screen will be listed in the Screens page and the Navigation page.
To know how to select which pages or screens are visible or not on your LMS' navigation bar, go to this article.
To learn how to customize and add courses and resources to your new screen, go to this article.