Aside from deactivating users through the Users and Groups page in the dashboard, admins should be able to deactivate a bulk of users by uploading a CSV file.
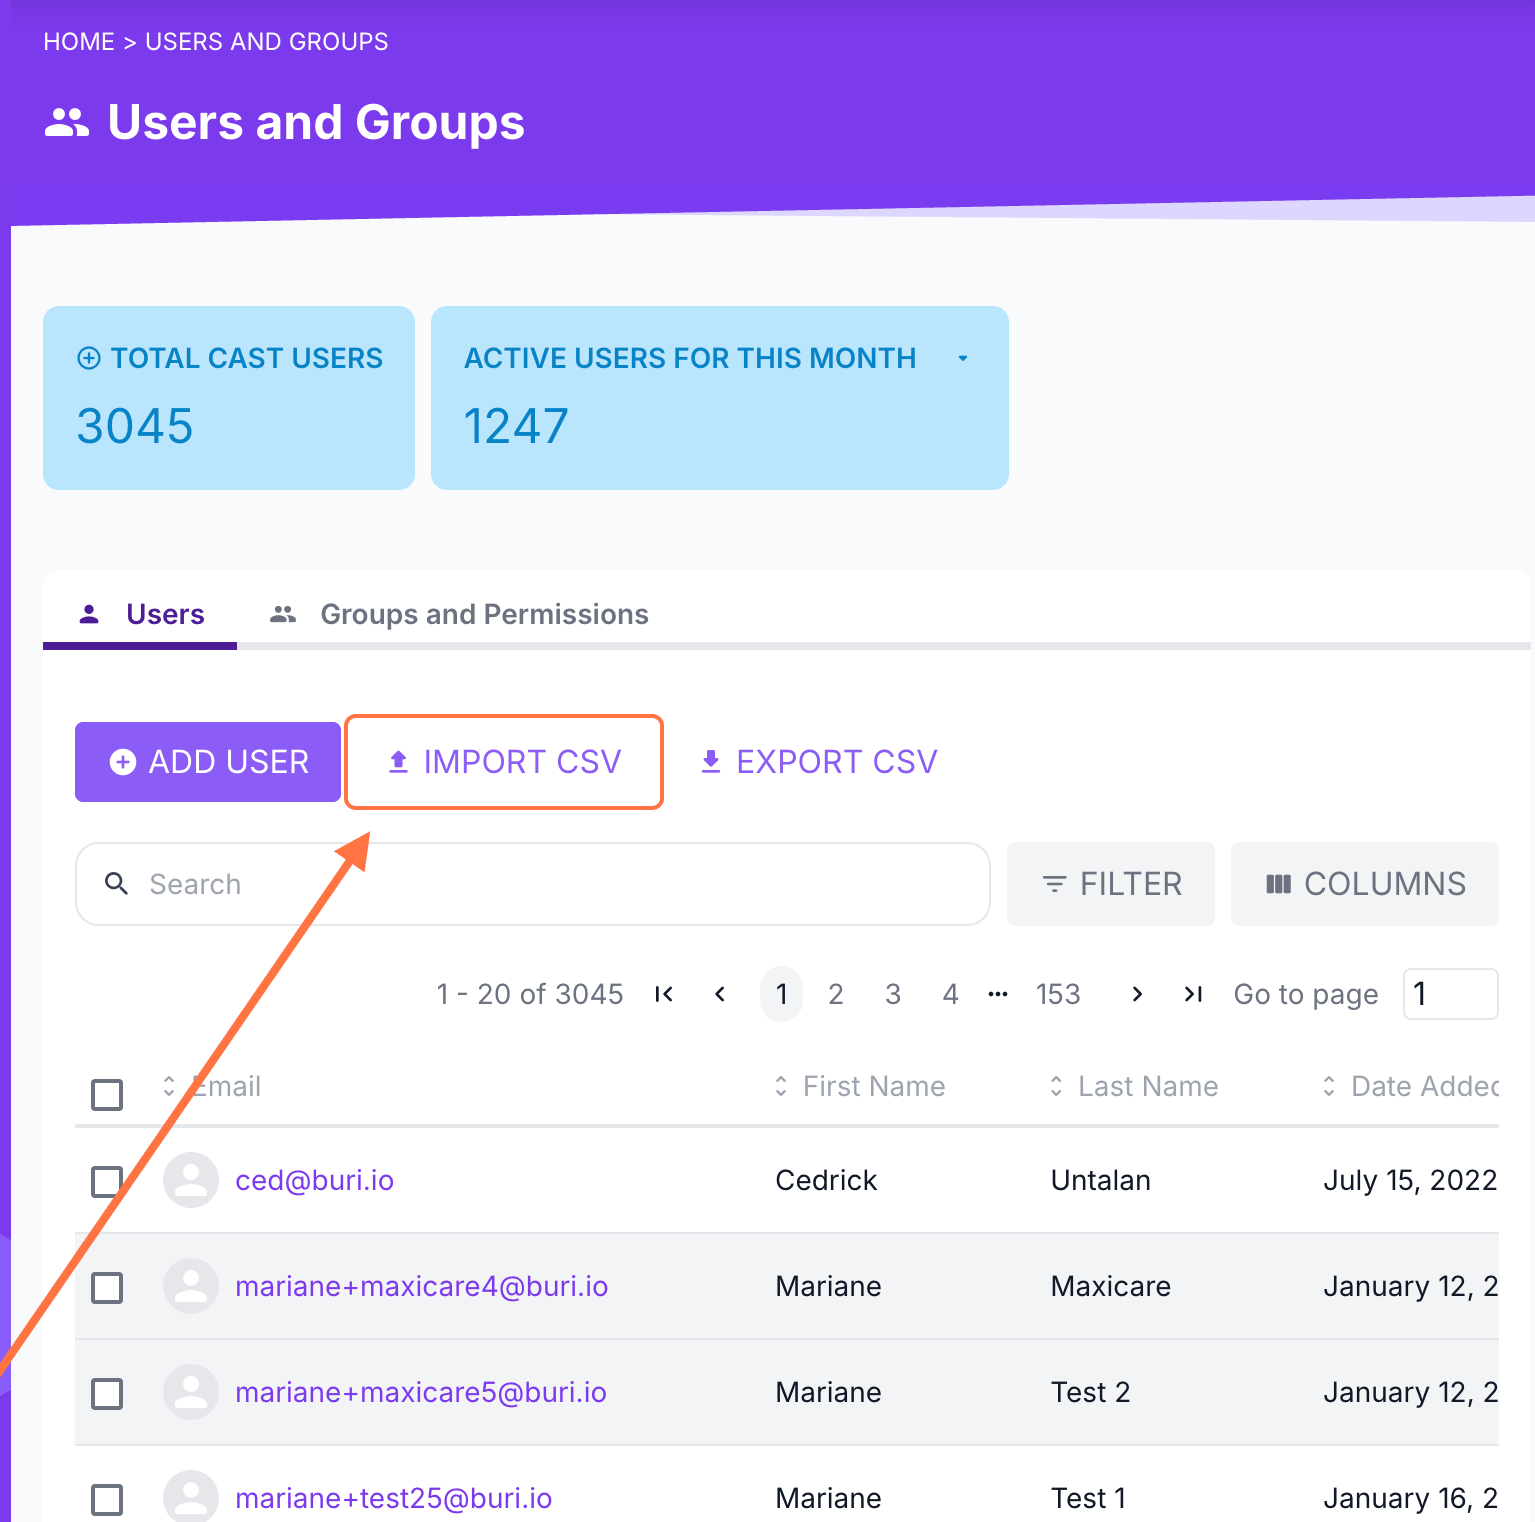
1. In your dashboard, go to Users and Groups.
2. Click on IMPORT CSV.
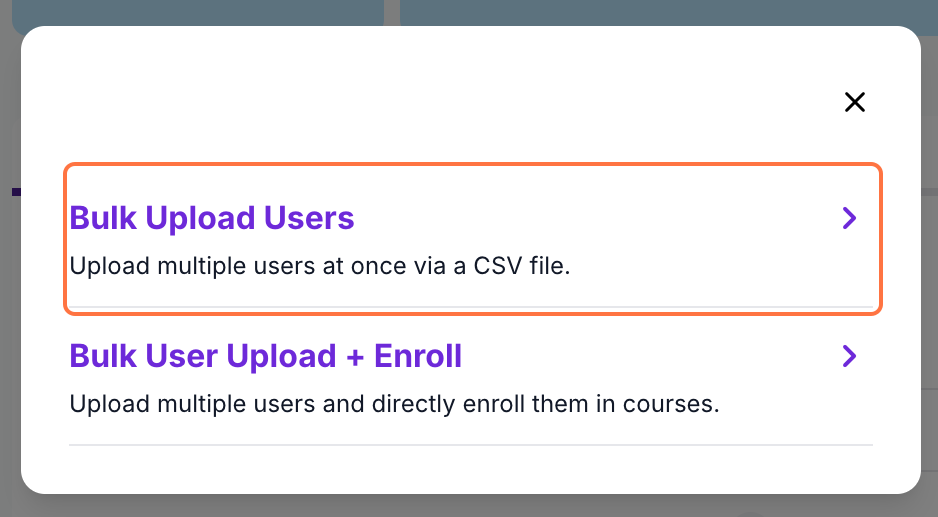
3. Select Bulk User Upload.
4. Click download the CSV template to get a copy of the CSV template that you can use.
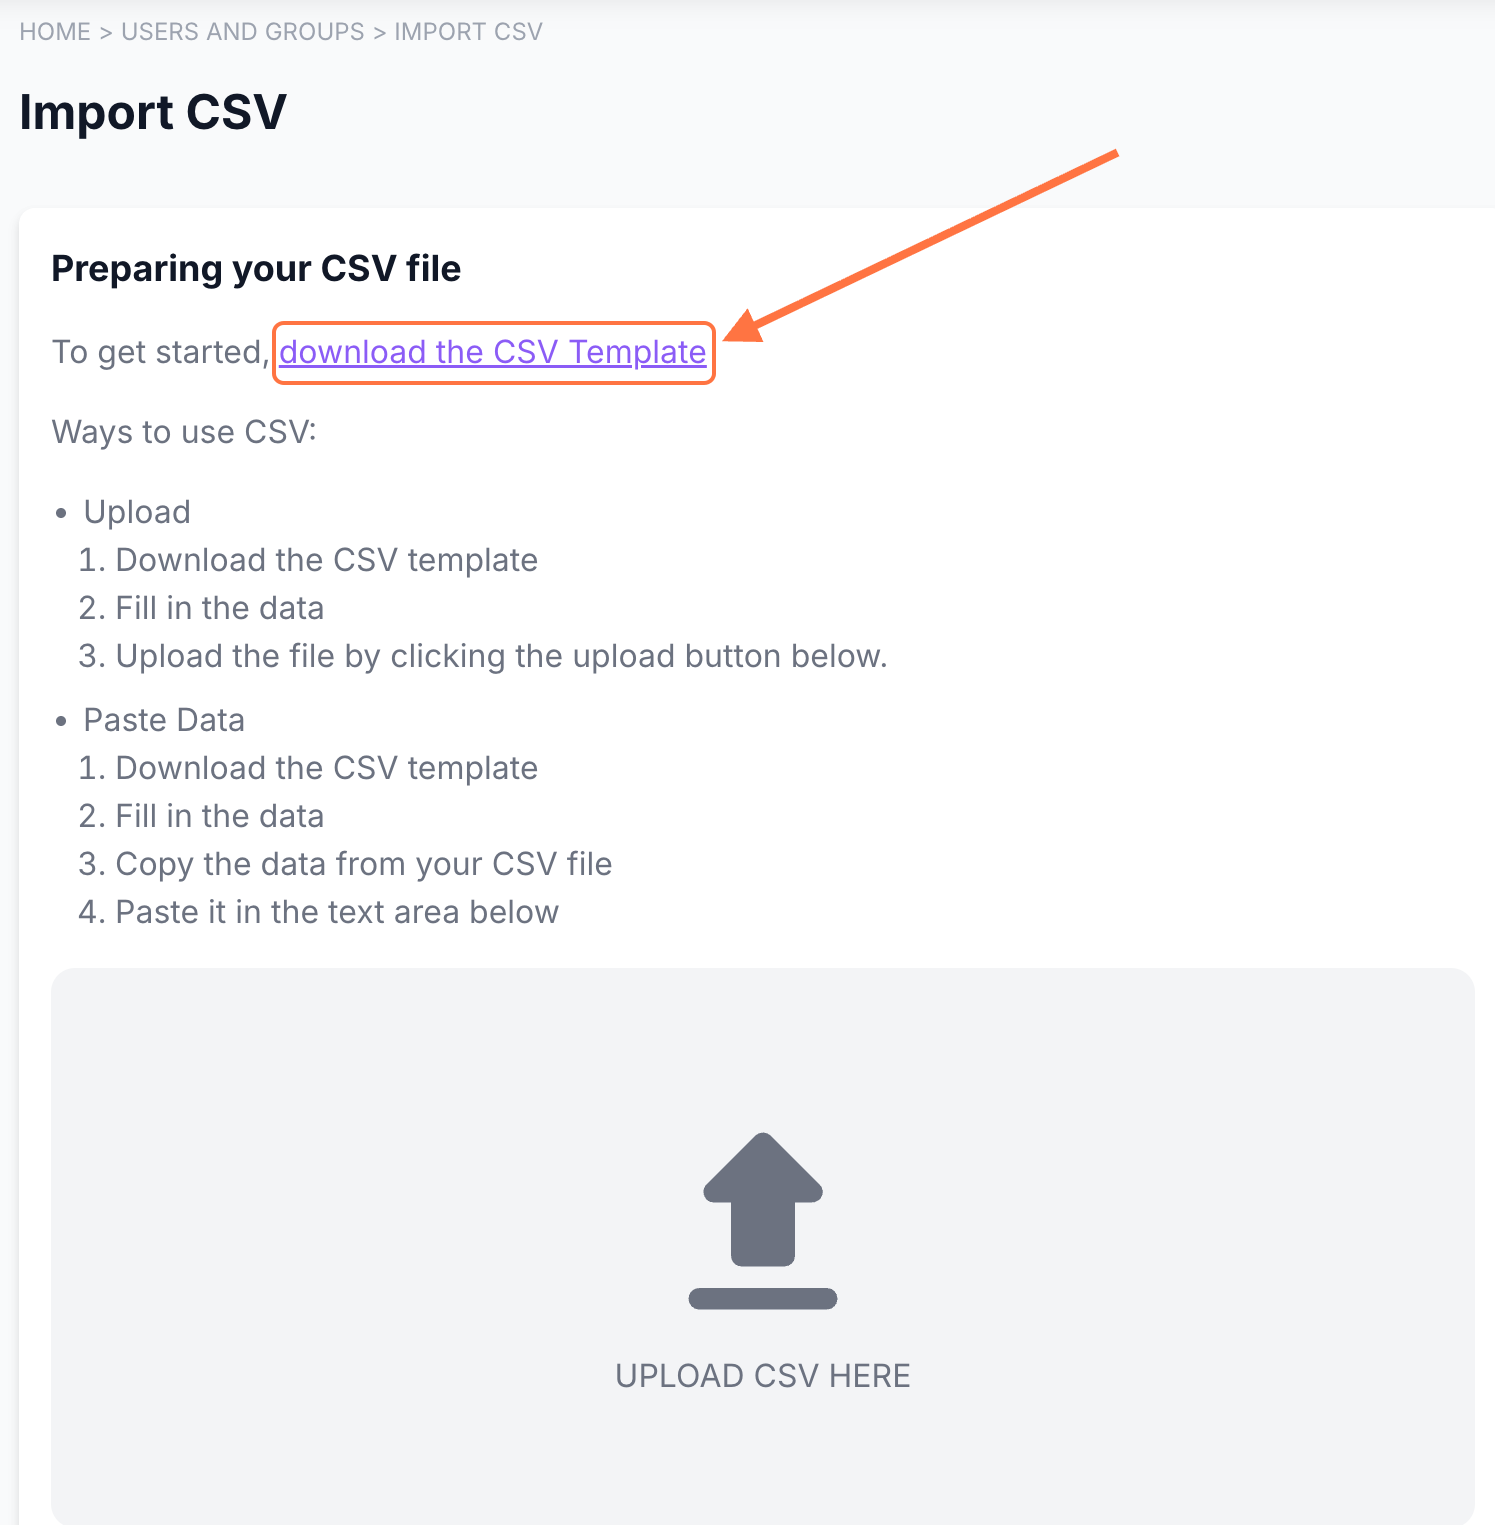
Make sure to fill in the column for Deactivation Date with the format, [YYYY-MM-DD], (e.g. 2026-08-25)

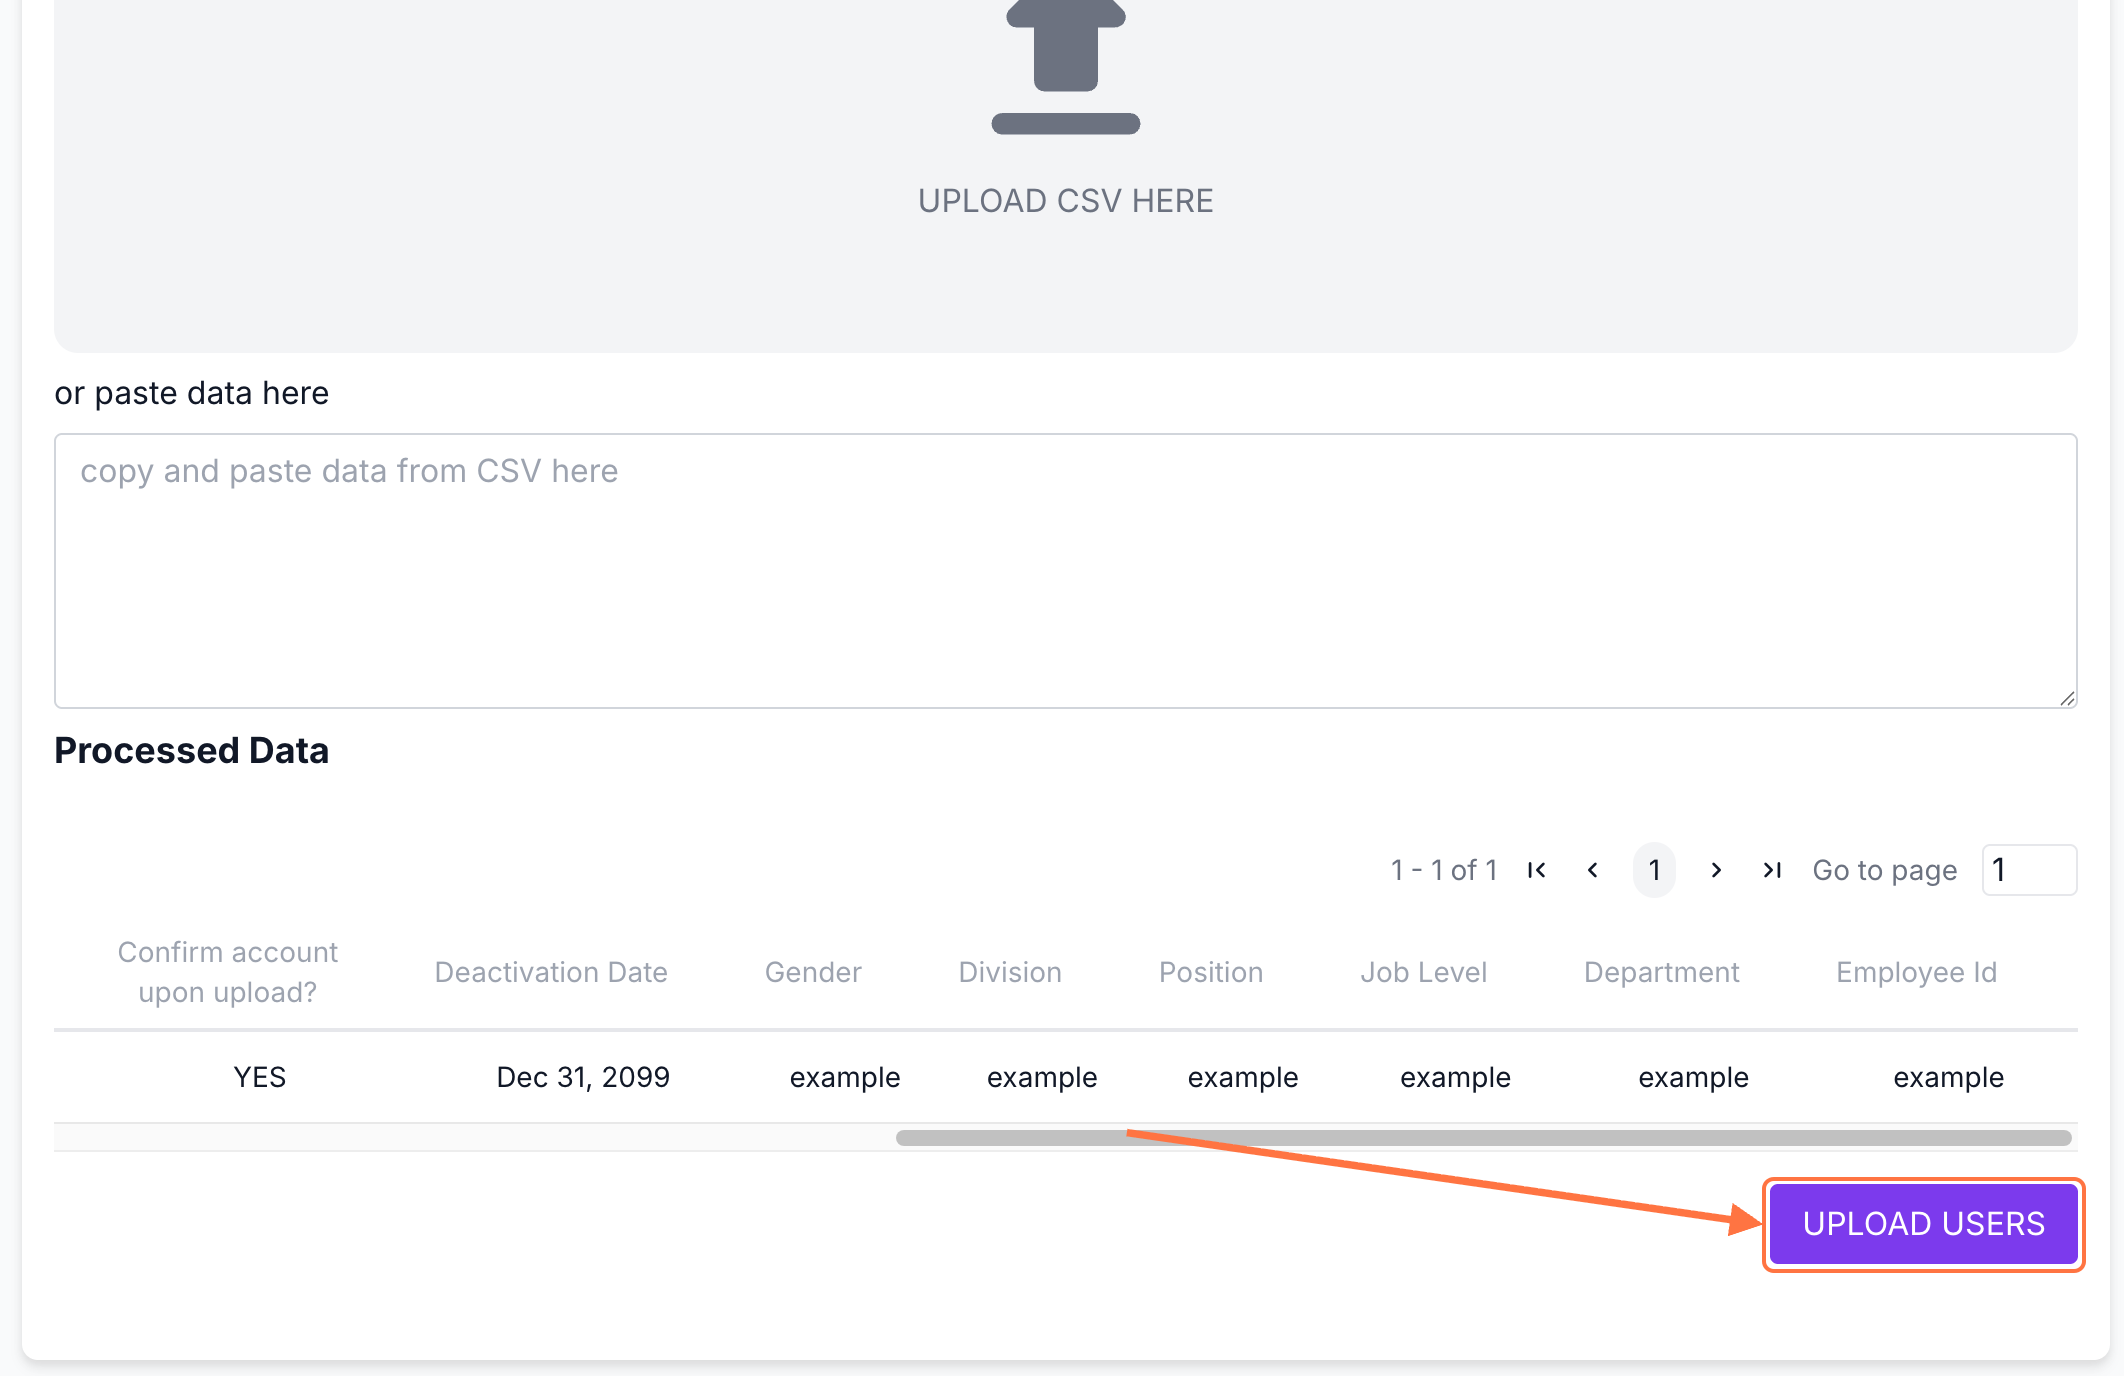
5. You may either upload the file in CSV format or you can copy all the data and paste it into the space provided. Double-check the information you pasted or uploaded to see if the deactivation date reflects correctly.
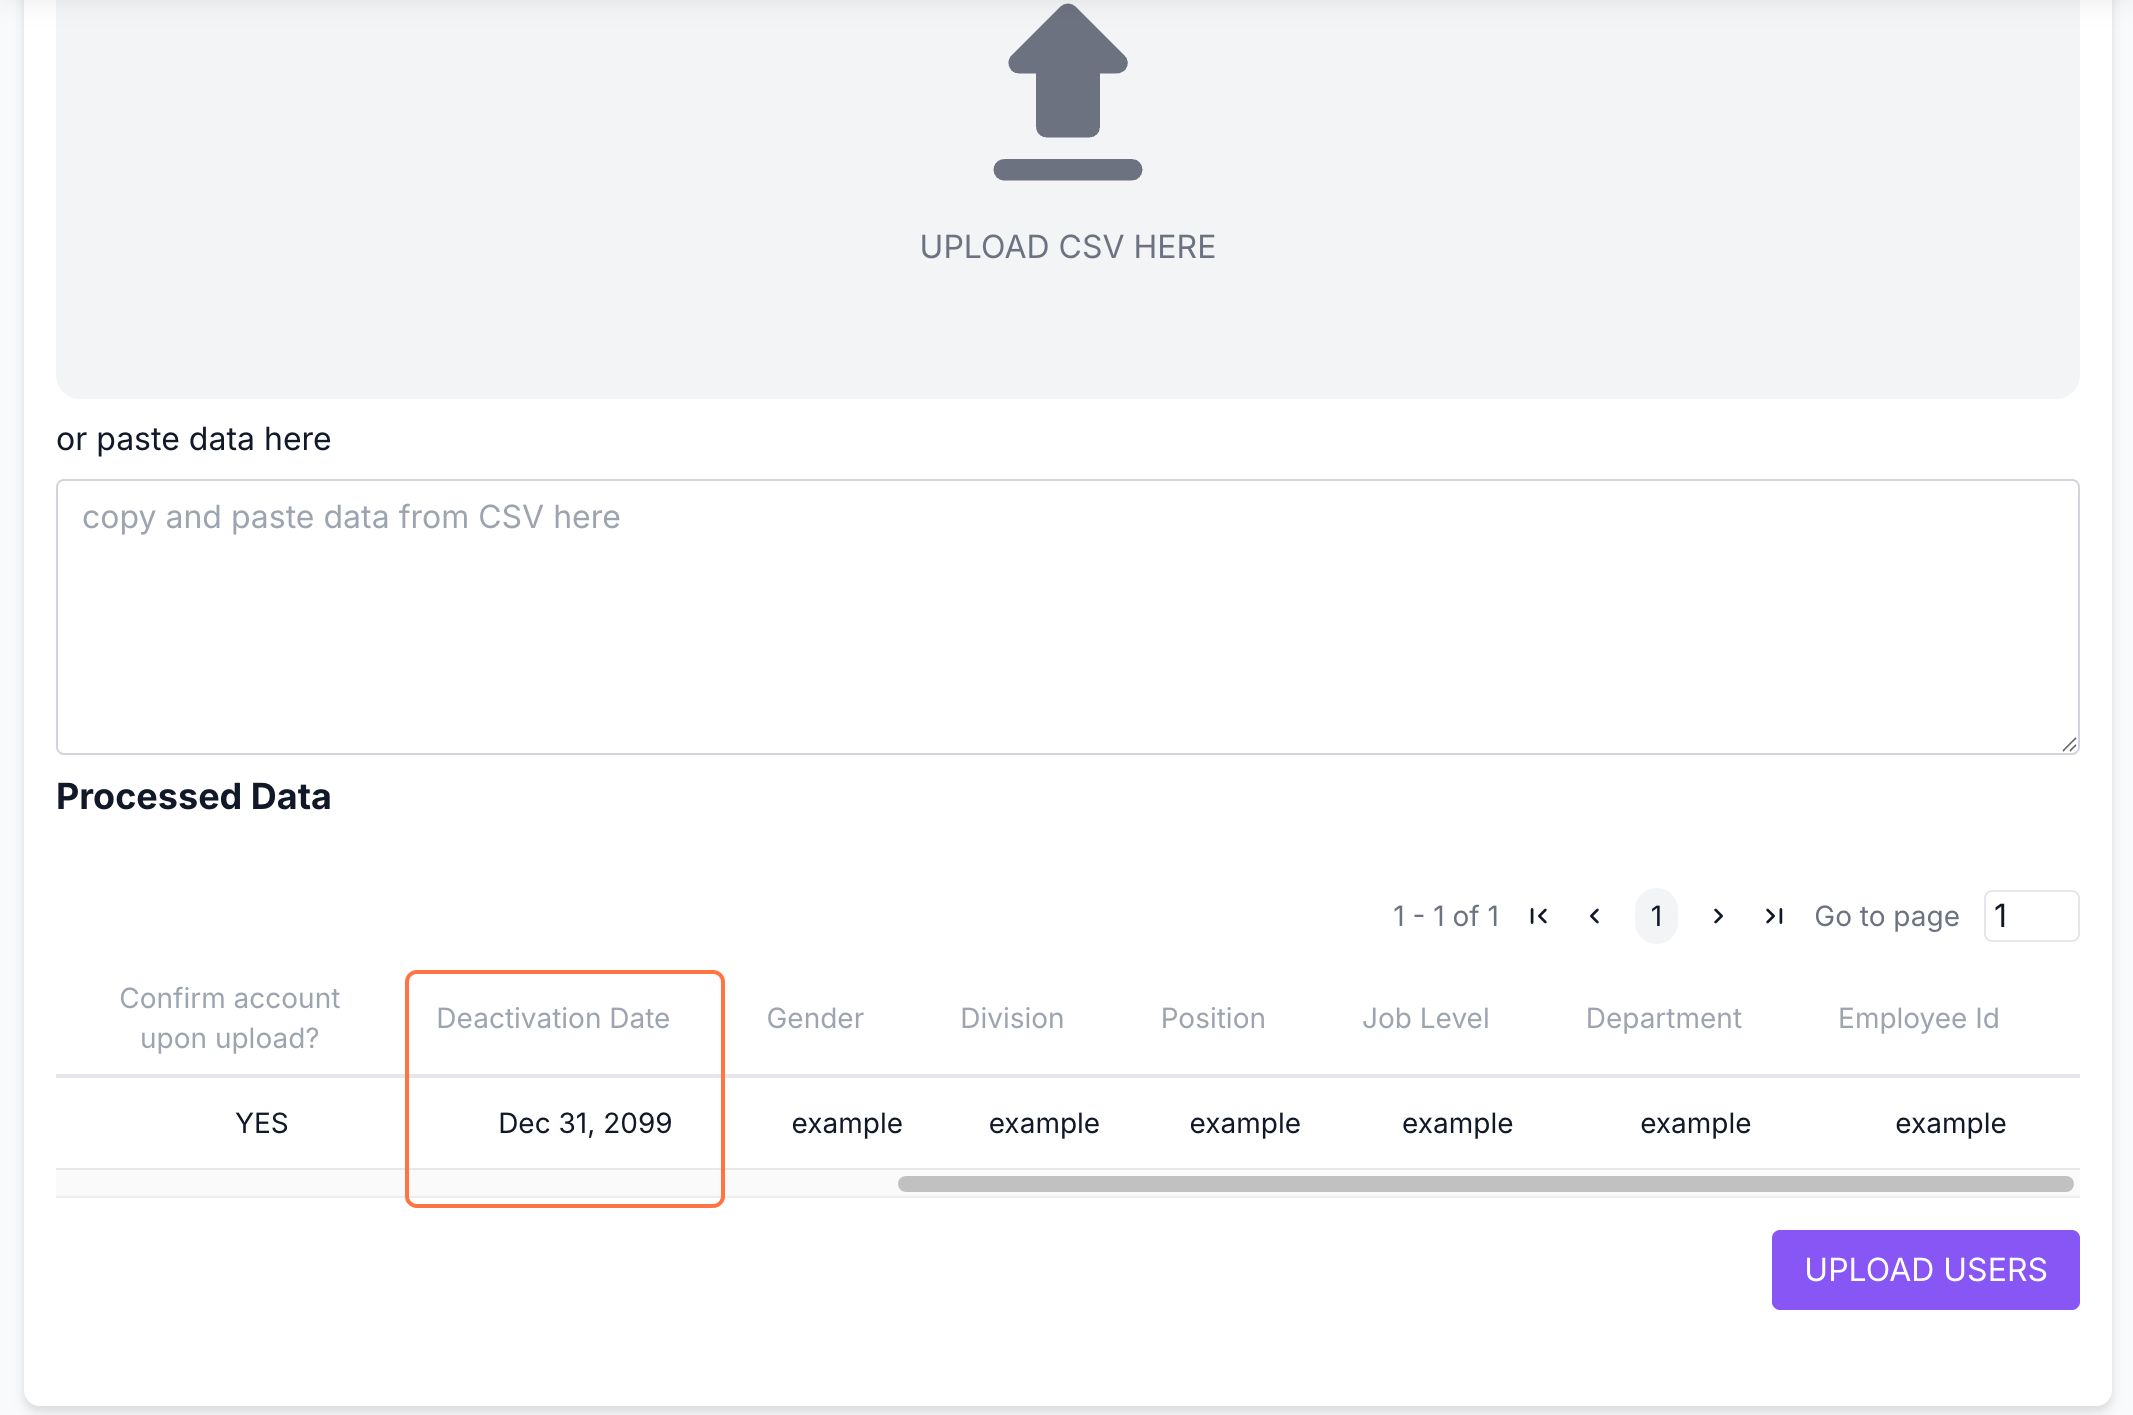
6. Click on "Upload Users" to process the data.
7. Once the data has been processed, the users' deactivation dates will be updated. You can check the User List, specifically the Deactivation Date column, to view when the user account is scheduled to be deactivated.
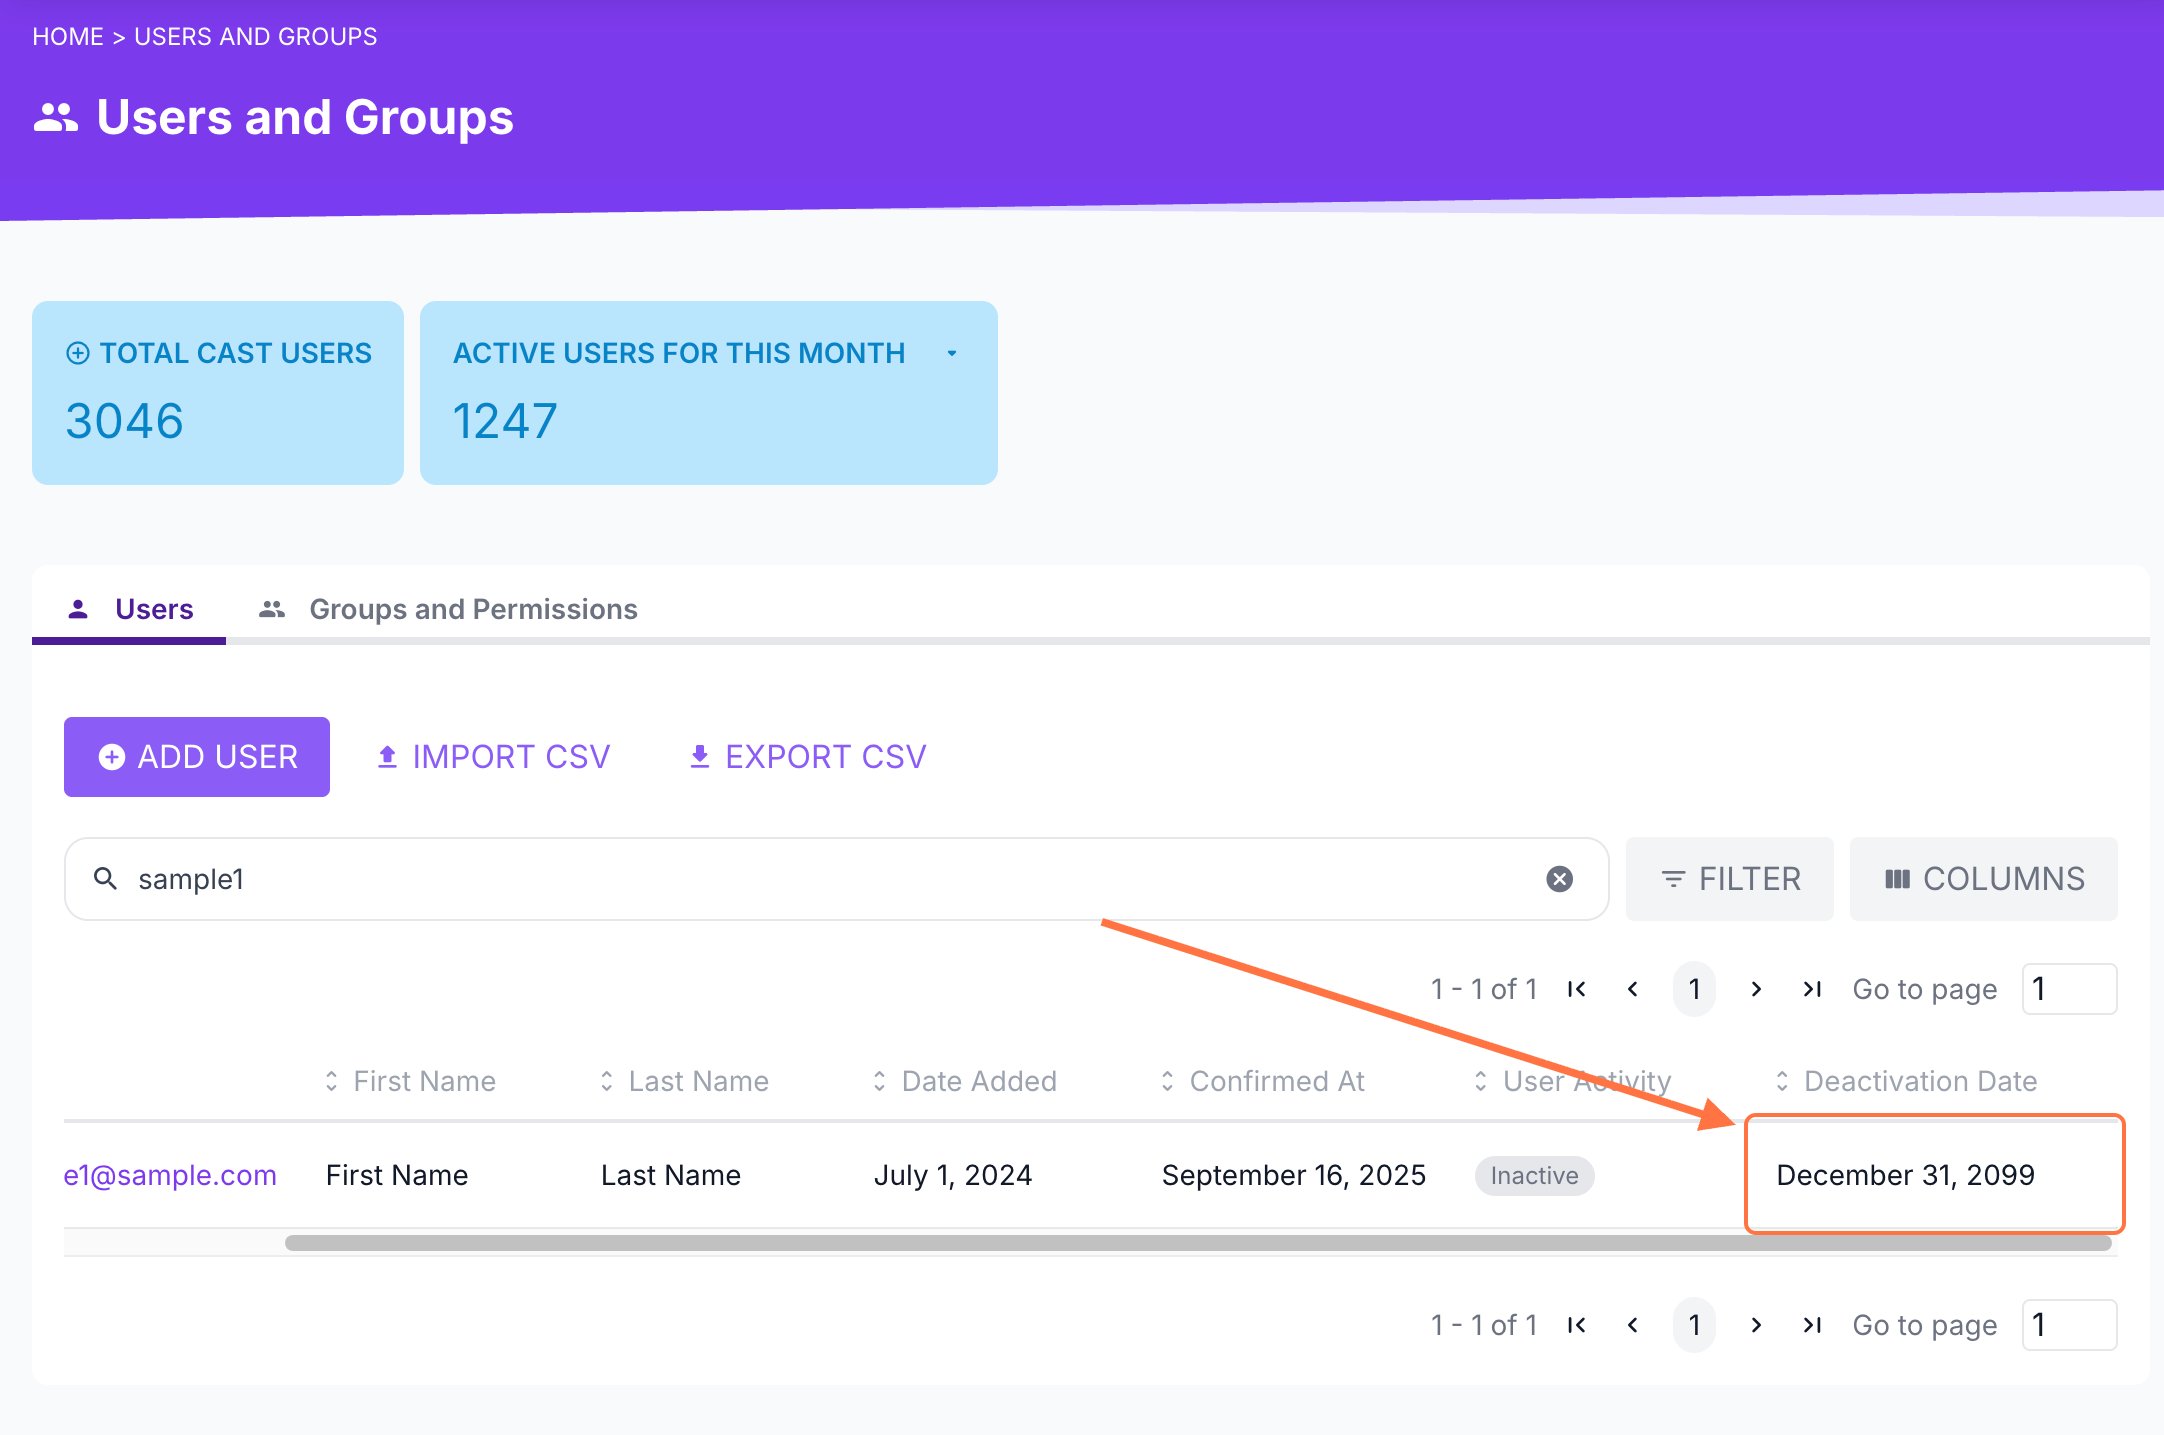
This will also appear in the User Profile page and can be edited anytime in the User Details page.

Deactivated accounts will be placed in the Inactive Users group. Users who have been deactivated will still appear in the user list.
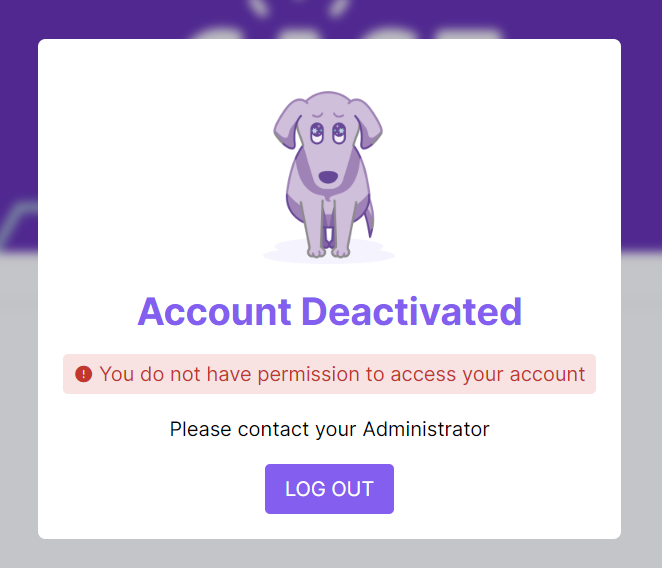
Deactivated users will see this message upon logging in to the portal.
Users can be reactivated at any time. To reactivate a user: https://support.castlms.com/help/reactivating-a-user